|
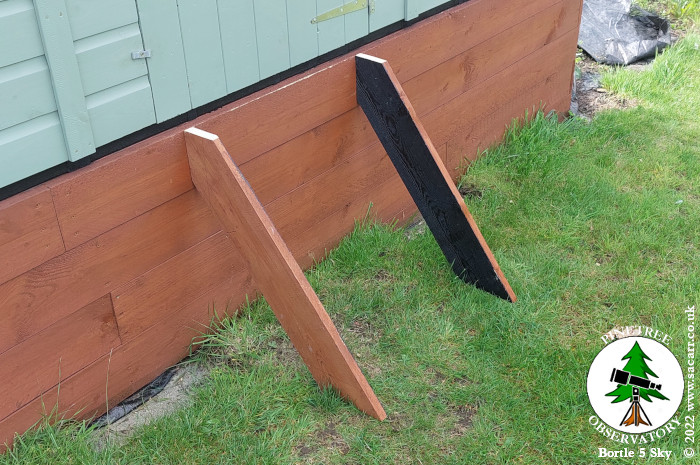
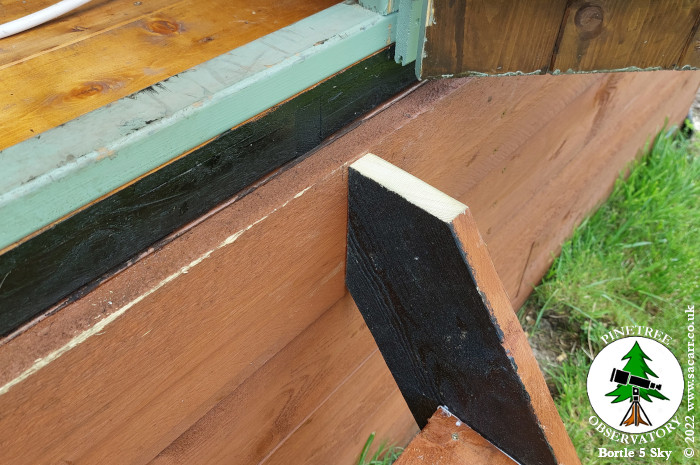
Work on the steps continued
in September, painting the bare wood several coats and waterproofing the
feet where they would rest on the lawn with waterproof PVA glue. |
|||
 |
 |
 |
 |
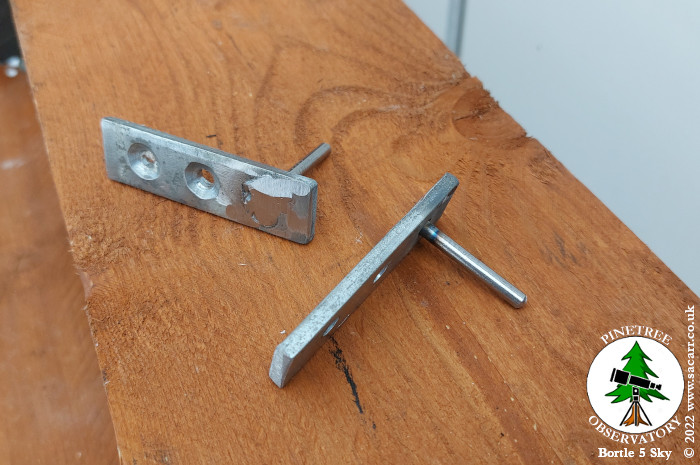
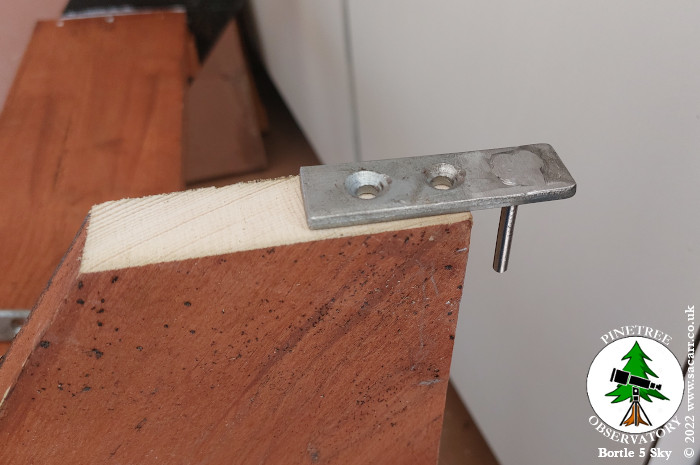
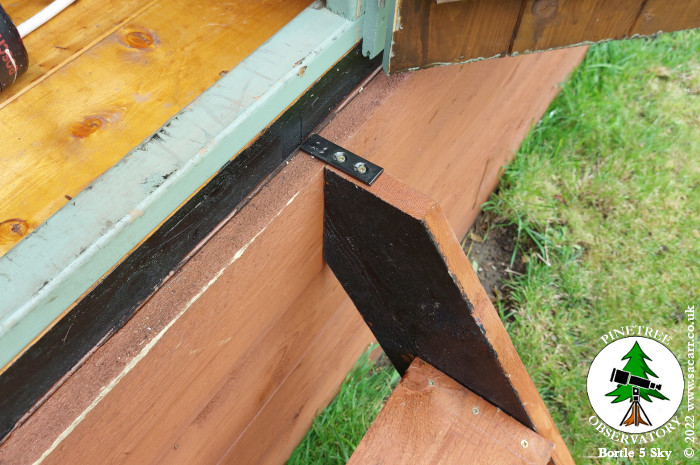
| The steps would rest against the plinth, but used small metal locating pins to hold them in place. |
|||
 |
 |
 |
 |
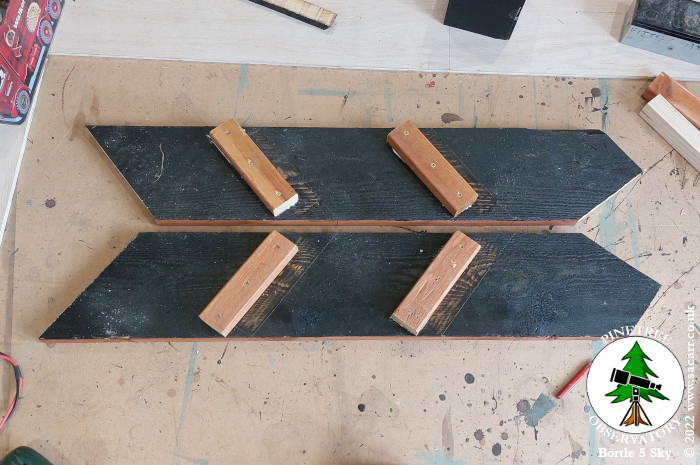
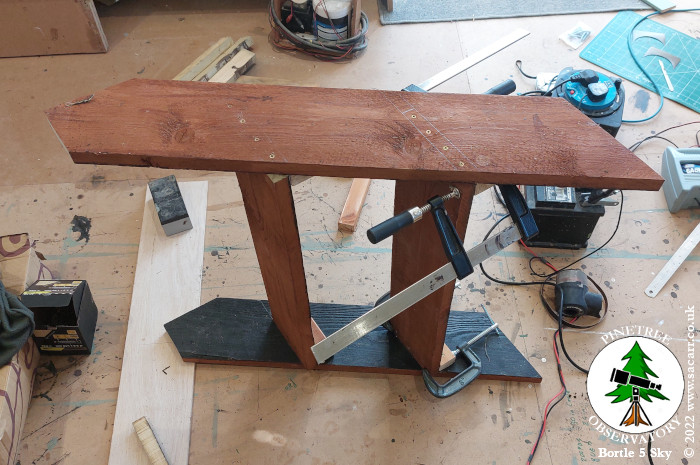
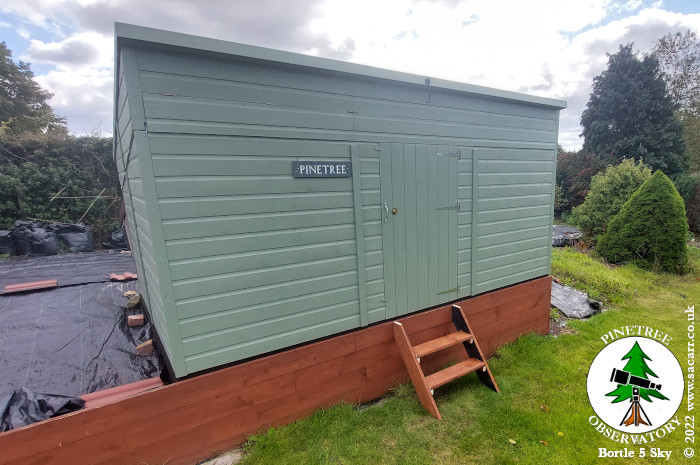
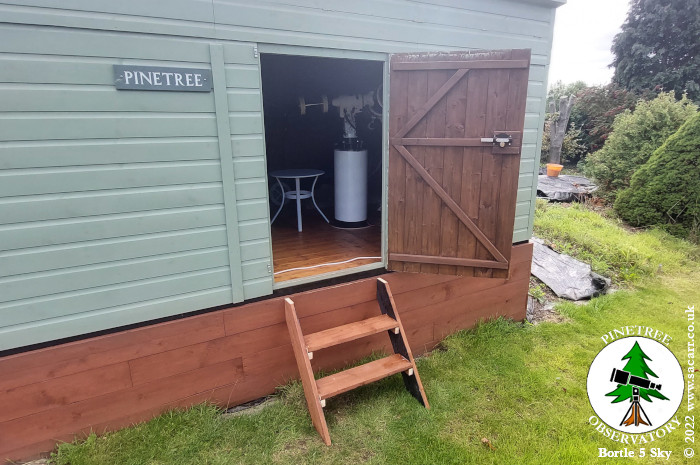
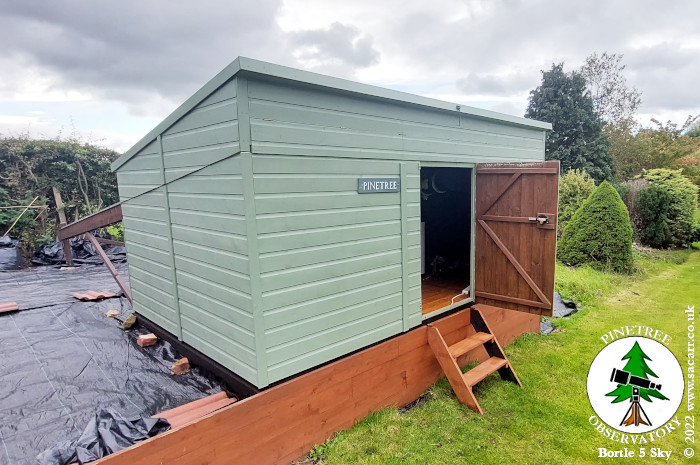
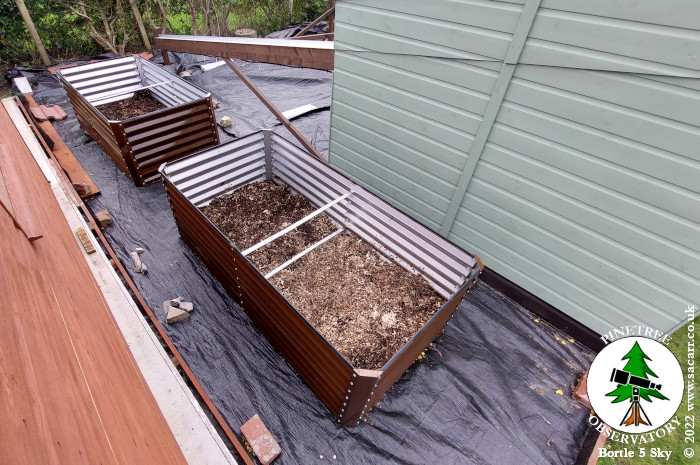
At the end of September, the plinth was drilled to allow the steps to fit. The door can still shut with the steps in place to keep the wind out. When not needed, the steps store inside the door way to leave the lawn free of obstructions for cutting. In early October, we got the
raised bed vegetable planters purchased, assembled and partially filled
with woodchip/compost from hedge trimming which took place last year. I
also finally got some concrete edging and got that concreted along the
edge of the observatory roof runner. This will be the divide between the
slates behind the observatory and the new lawn that will continue down
the garden. |
|||
 |
 |
 |
 |
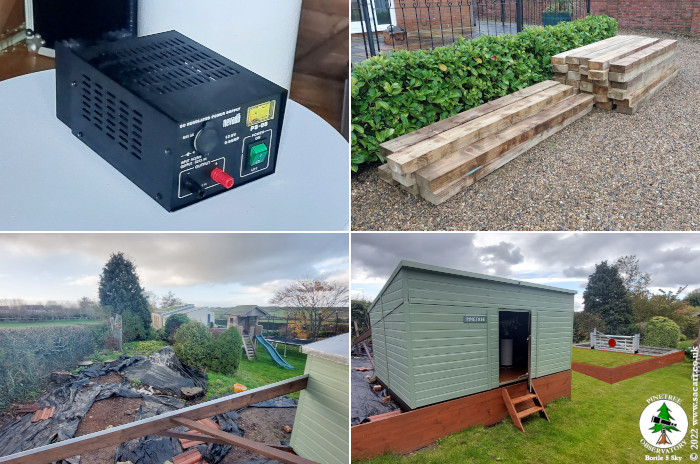
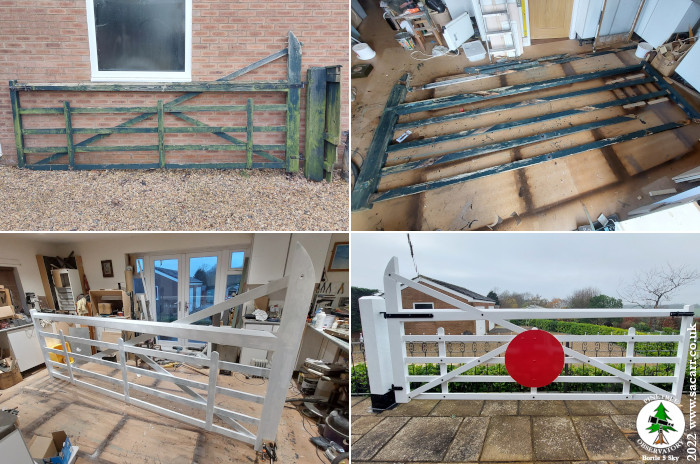
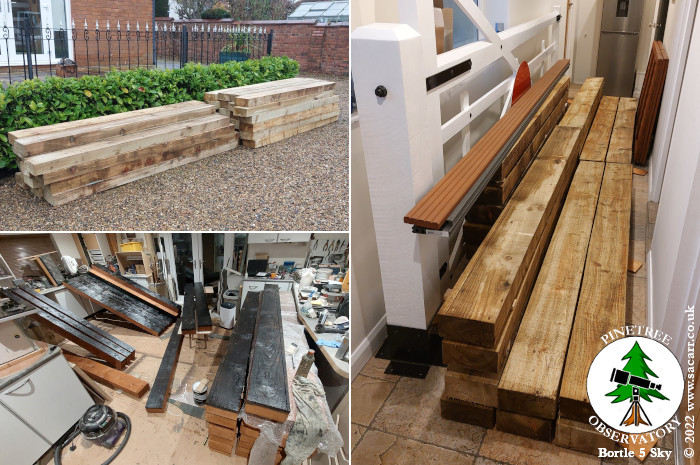
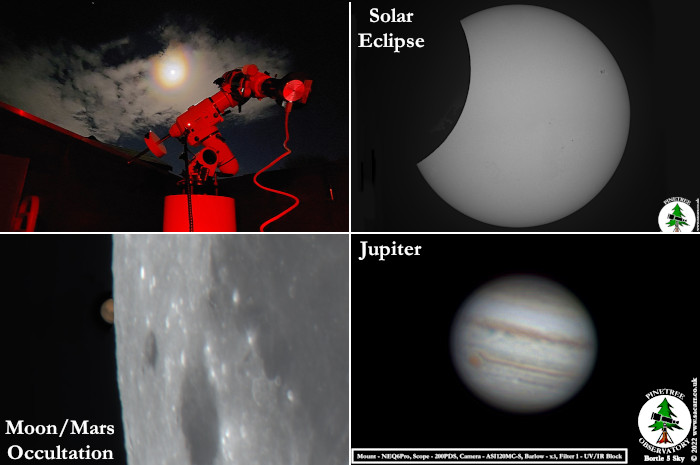
In early December, the postman brought me a new power supply for the observatory, but also a huge pile of railway sleepers for the next phase of the garden. Slowly over the Autumn months, I've been restoring the old driveway gate into a level crossing gate for the railway garden feature. There used to be two railways that ran across the bottom of the garden, so the railway feature will be a nod to the past history of the site. With the gate complete, the railway sleepers were brought into the workshop to dry out, were sorted by thickness and then painting began. First a shed paint on the wood, followed by bitumen on the surfaces that will be in contact with the ground. These will form a wall between the original lawn and the raised new lawn area between the observatory and railway. They will also edge the other sides of the lawn, next to the hawthorn hedge, leaving a gap for paving which will allow easier trimming and clearing of the hedge cuttings. In the mean time, the
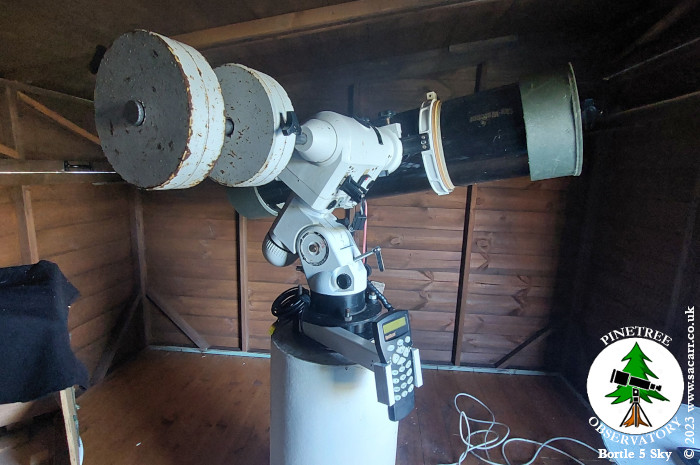
observatory has been getting some use and since completion, I've
captured a solar eclipse and the Moon/Mars Occultation amongst other
things. |
|||
 |
 |
 |
 |
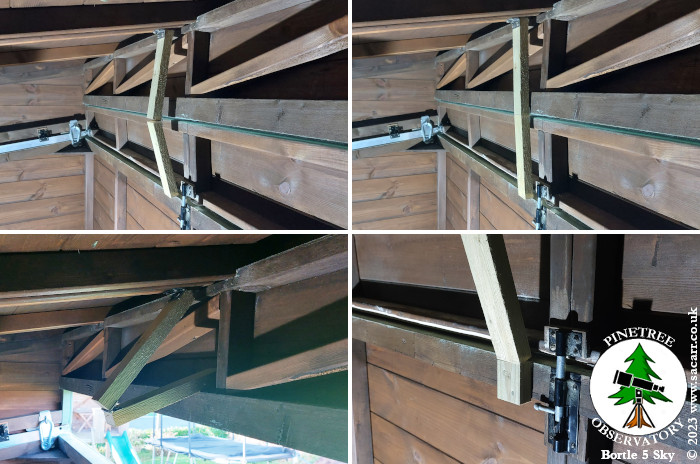
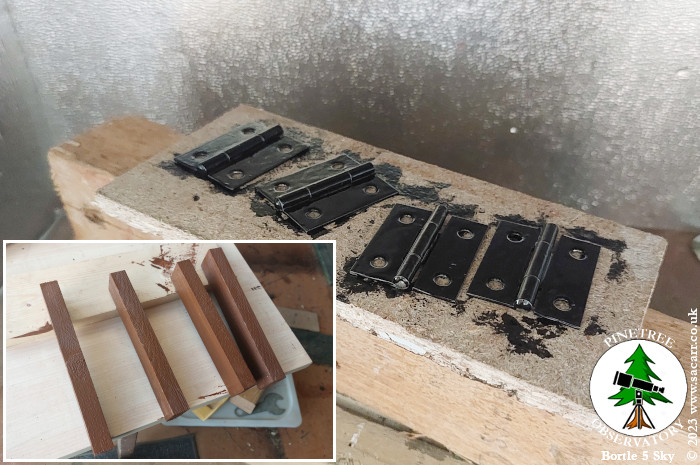
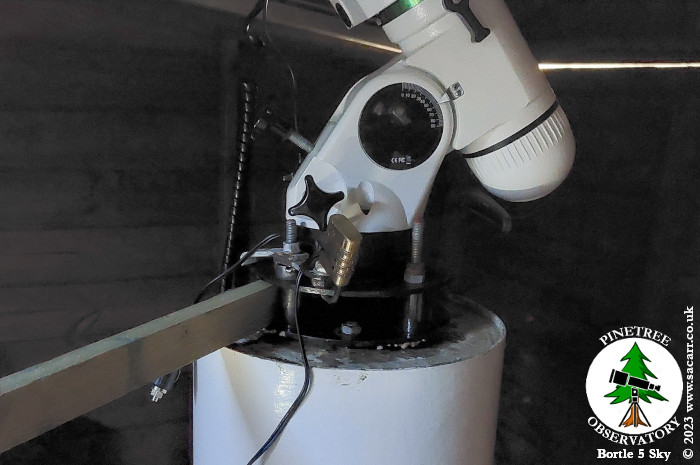
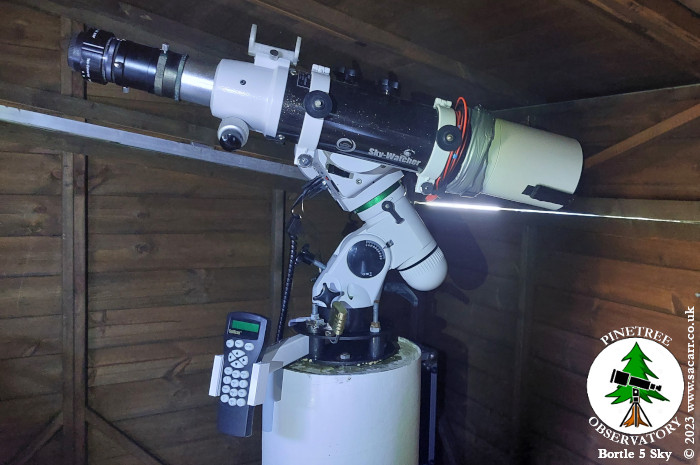
| January 4th To help with the weight of the roof, pressing down on the opening flap, I've added some 'lifts' with over centre hinges. The hinged wood is slightly longer than the length of the distance from the roof to the bottom of the opening flap. When the bottom of the wood is rested on the top of the front wall and is pushed straight, the length increases slightly, lifting the roof and taking the weight off the opening flap. This is then free to open, without the weight and friction of the roof pressing down on it. I added some additional blocks to the top of the front wall to give a greater bearing area for the wood to push against. Those are nailed and glued and currently drying. After checking everything worked as it should, the pieces were removed again and the wood and hinges painted. They will be refitted once dry. January 16th For a while, I could have
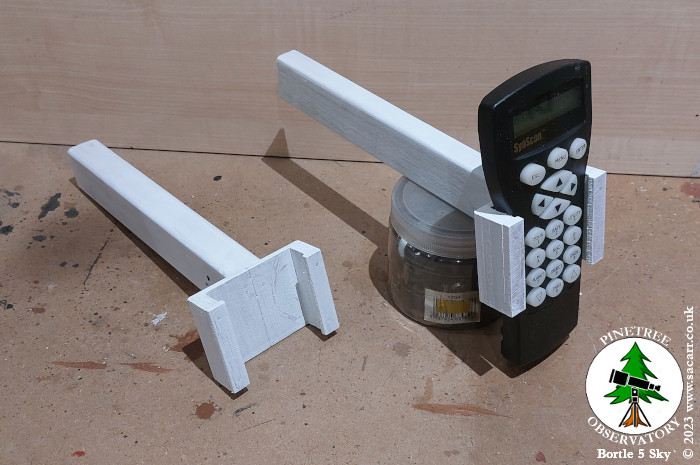
done with a holder for the mount hand controller. I didn't want anything
fixed in place, as I move around the mounts during a session. These
wooden holders slot into the pier adapter but aren't fixed, so they can
be moved and also clamped to the side of my shaded computer box when I'm
doing solar imaging. I'll probably add a slotted box on the side of the
computer box so the holder can just be slotted into the side when
needed. |
|||
 |
 |
 |
 |
|
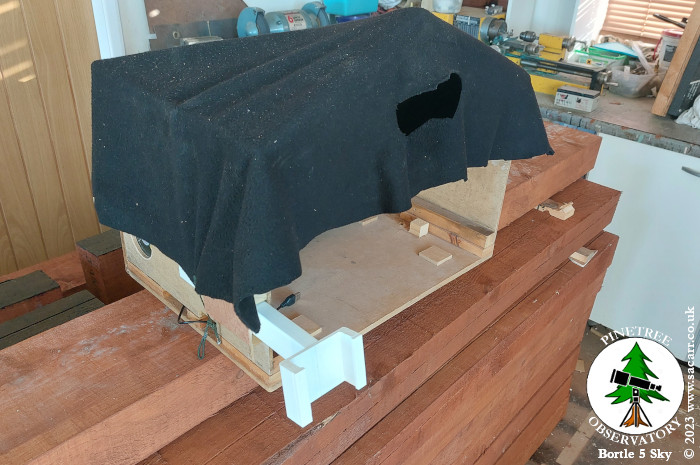
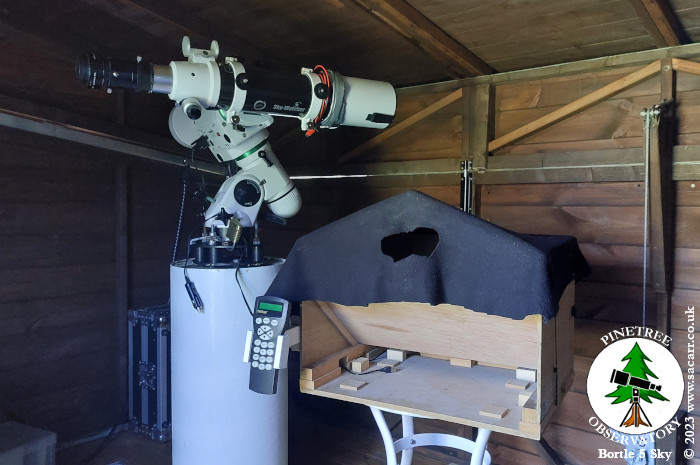
January 17th The brackets for the mount
hand controllers were finished today. I also modified the laptop box I
use when solar imaging, so that one of the controller mounts will slot
into a recepticle on the side. |
|||
 |
 |
 |
 |