|
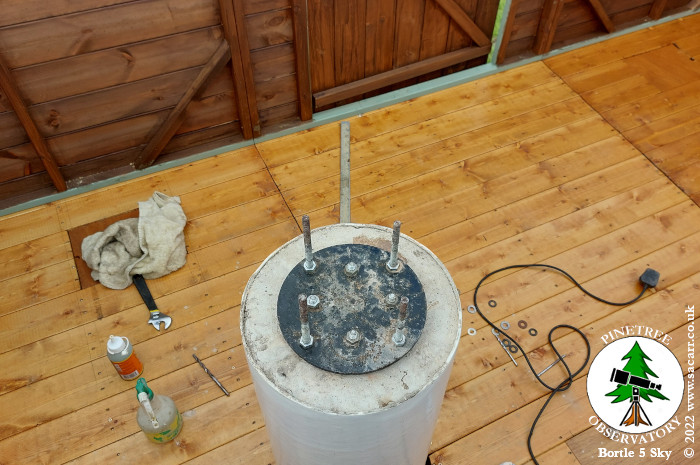
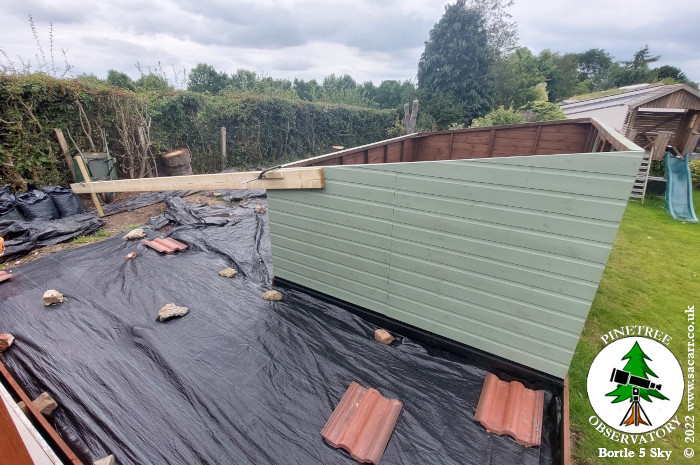
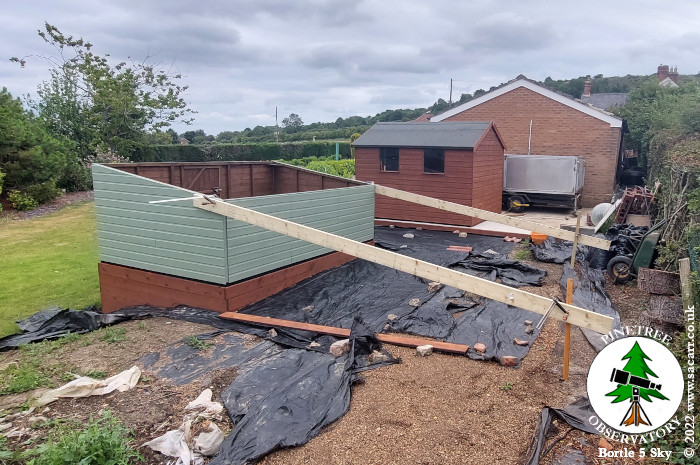
July 13th - I continued working
on the roof walls, getting the rear wall filled, sanded and painted,
then made a start on the fixed part of the front wall. I also measured
up where North was so that I could drill the solar system pier for the
pier adapter. The concrete took some drilling, but I got there in the
end and was able to glue the studding and base plate onto the pier. It
was left overnight to set. |
|||
 |
 |
 |
 |
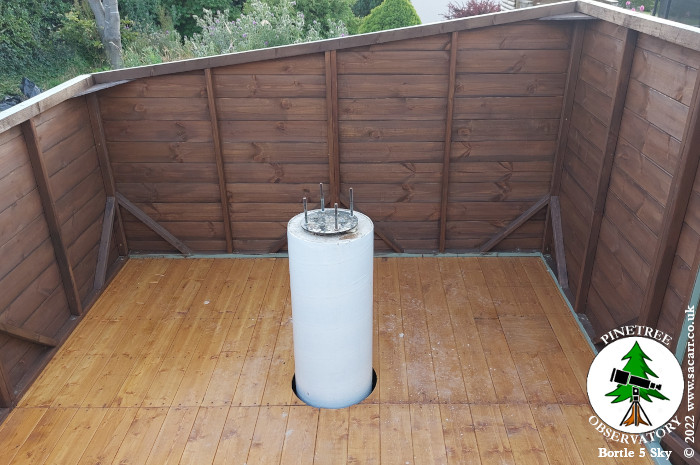
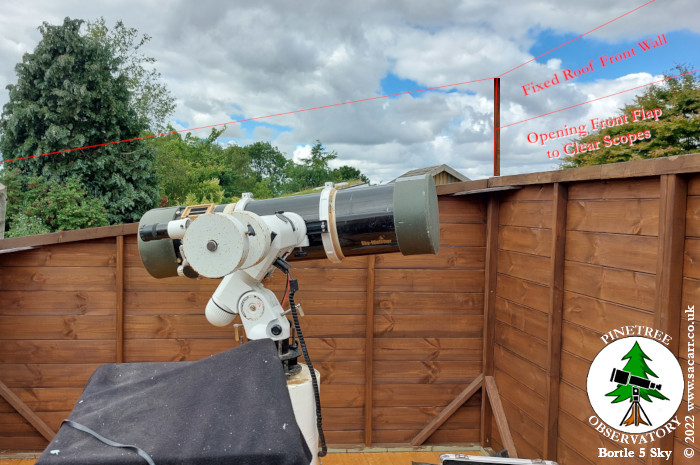
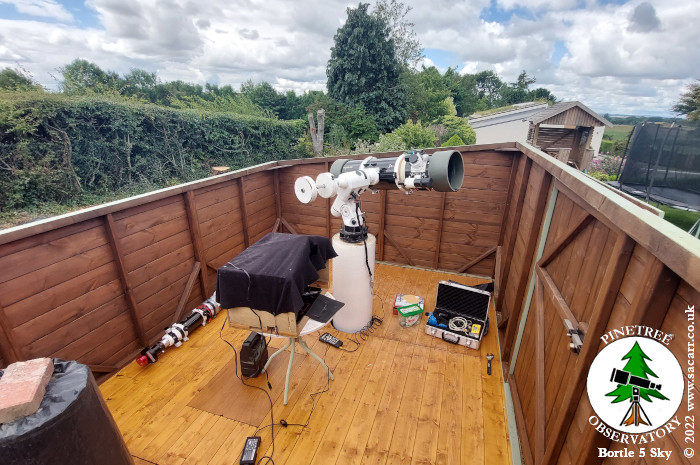
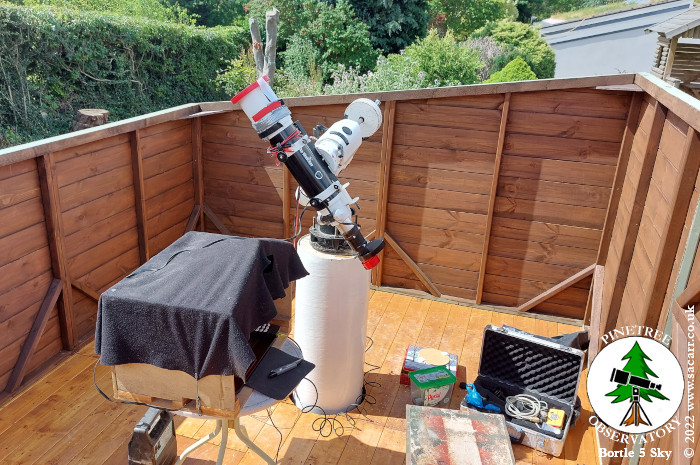
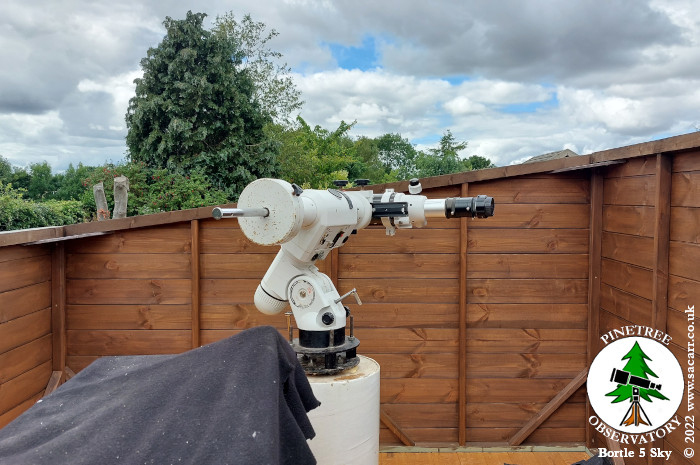
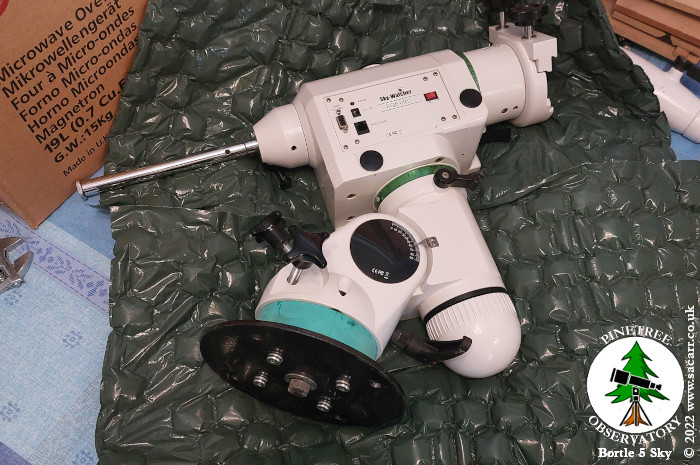
| July 14th - The next day, I fitted the rest of the adapter and mount and trialled both scopes on the mount to get an idea of how much higher than the roof runner they would be. This would dictate the size of the opening flap in the front wall of the roof. While set up, I grabbed a few quick videos of a white light sun - first light for the solar system pier. |
|||
 |
 |
 |
 |
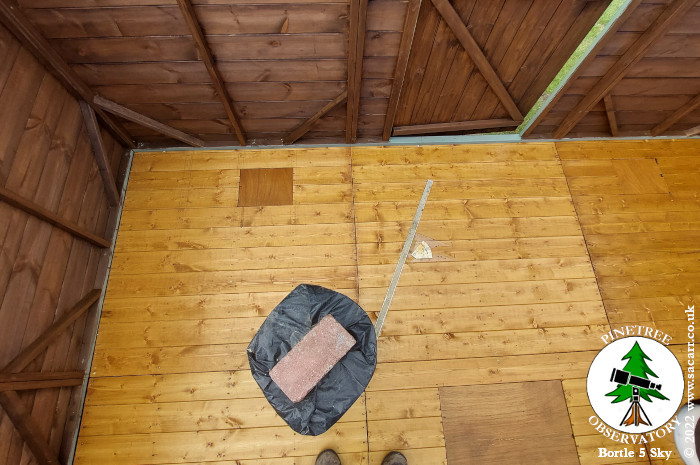
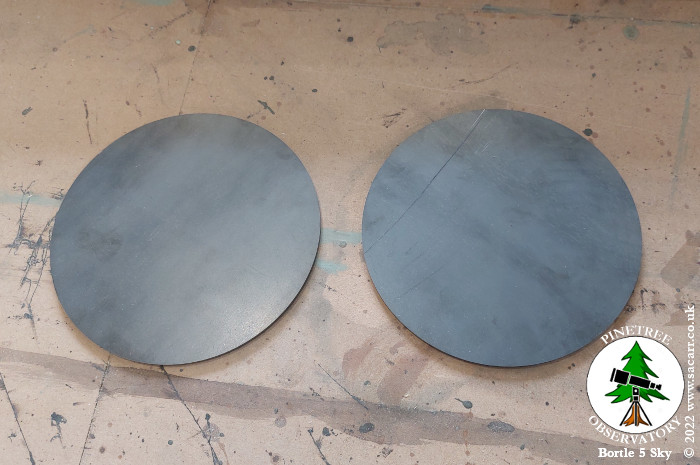
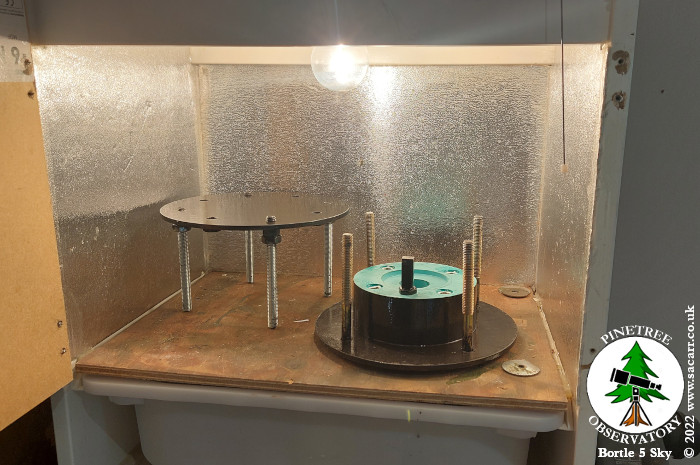
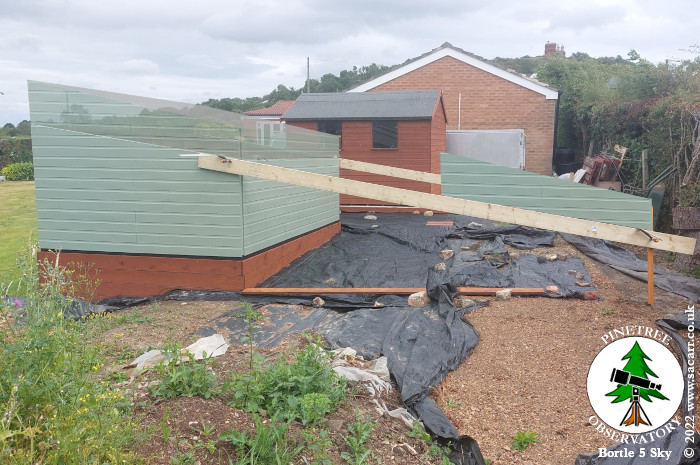
| July 20th - The fixed part of the front roof wall was sanded and painted. I hadn't done much over the hottest days on record here in the UK. The postman also brought two steel discs for the second pier adapter. July 21st - The inside of the
roof was given two coats of shed paint to help waterproof it from dew
when open. |
|||
 |
 |
 |
 |
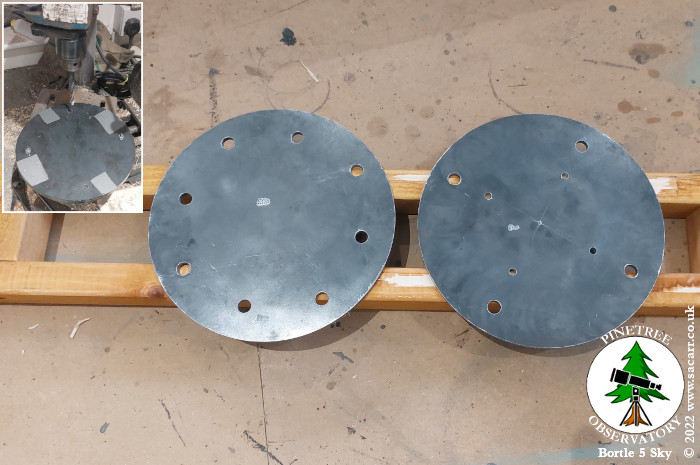
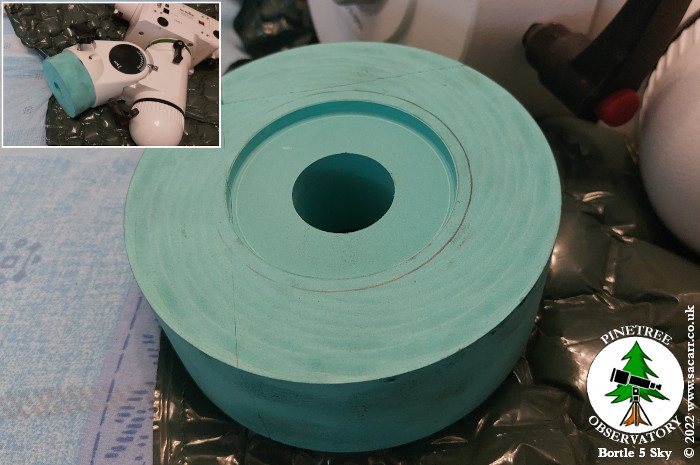
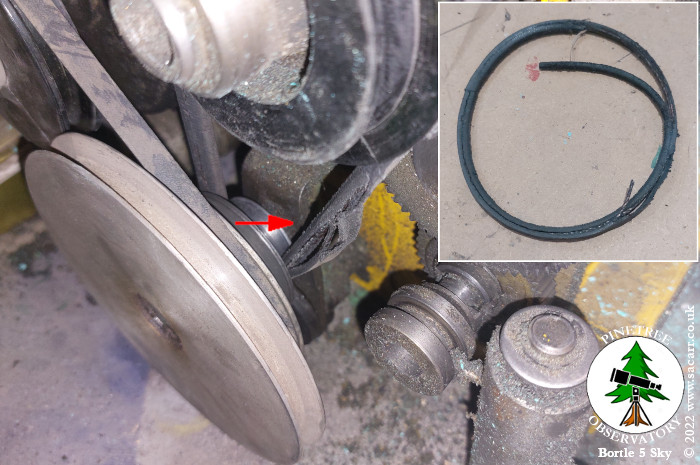
| July 21st continued - The two steel discs were also drilled for the studding that will link them together and to the concrete pier. July 22nd - I continued work
on the pier adapter, machining the spacer that fits between the top
plate and mount. During this process, my lathe started making some odd
noises. Opening up the motor unit confirmed my suspicions that one of
the drive belts was failing. I just hoped it would hang together long
enough to finish the spacer. It did. |
|||
 |
 |
 |
 |
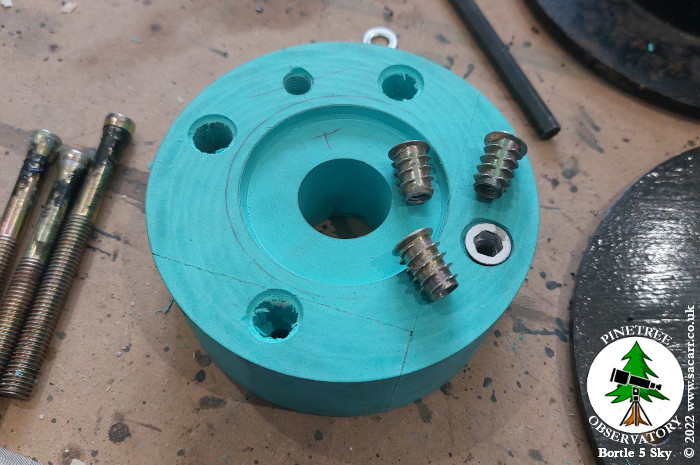
| Threaded inserts were fitted in the spacer to allow it to be bolted to the top plate and the azimuth peg from the tripod was fitted to the spacer too. After a test fit on the new mount, the adapter parts were painted in Hammerite metallic black and left to cure in my drying cabinet. |
|||
 |
 |
 |
 |
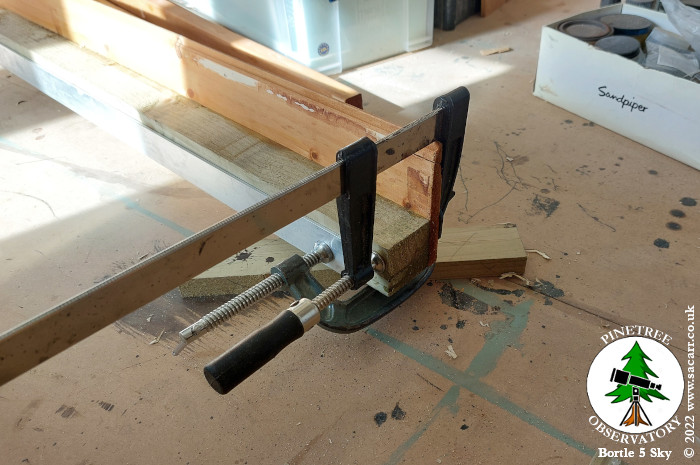
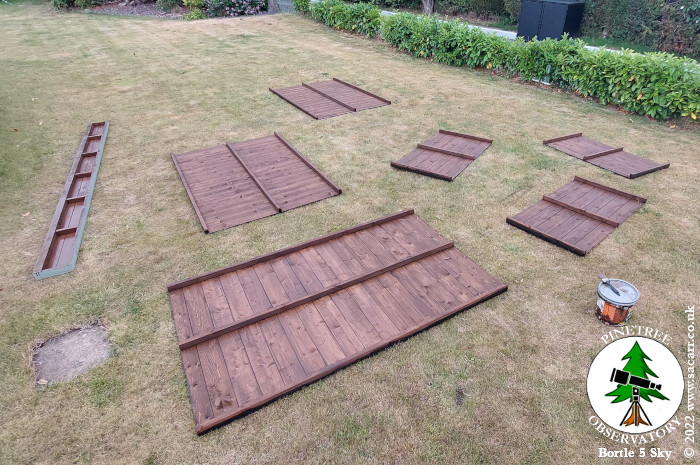
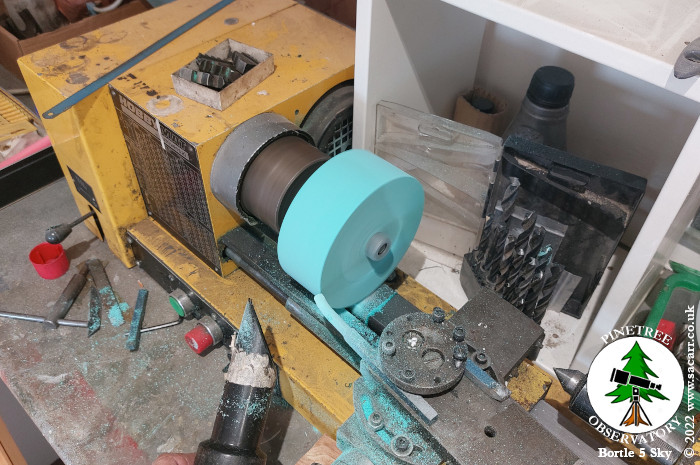
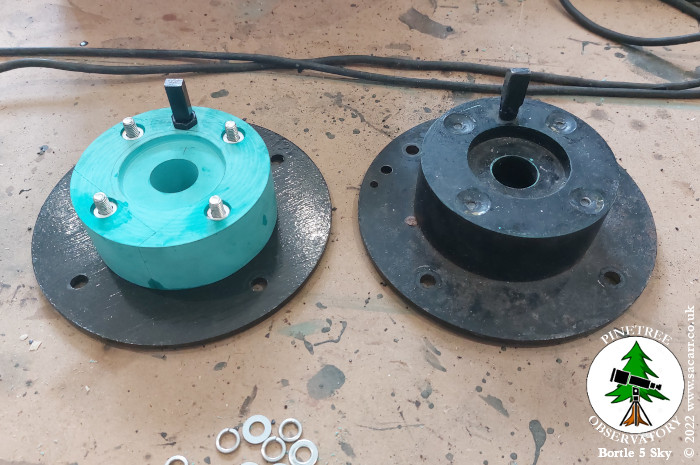
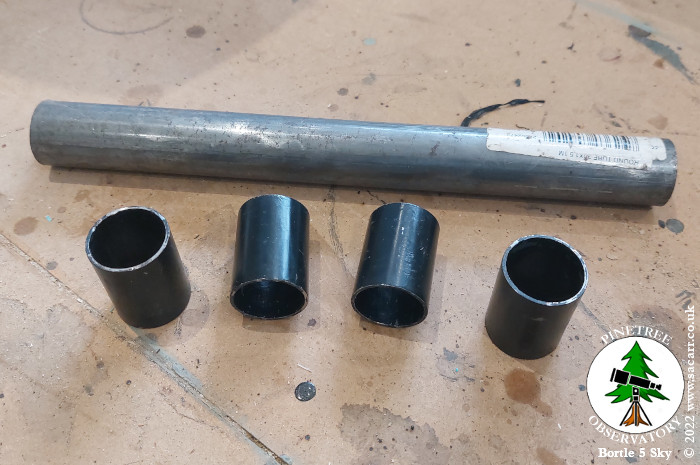
| The last part of the adapter that needs making are some steel tube spacers for between the plates. These give a wider and more stable base for the upper plate. I need my lathe to machine these all to the same length, so will wait until a replacement 'V' belt arrives. The picture shows the original four from the first adapter and the remains of the tube I bought six years ago, found in my scrap metal box. This will be used for the four new spacers. July 23rd - I bought the
timber for the roof runner supports and clamped them in place to
establish the end support position. |
|||
 |
 |
 |
 |