|
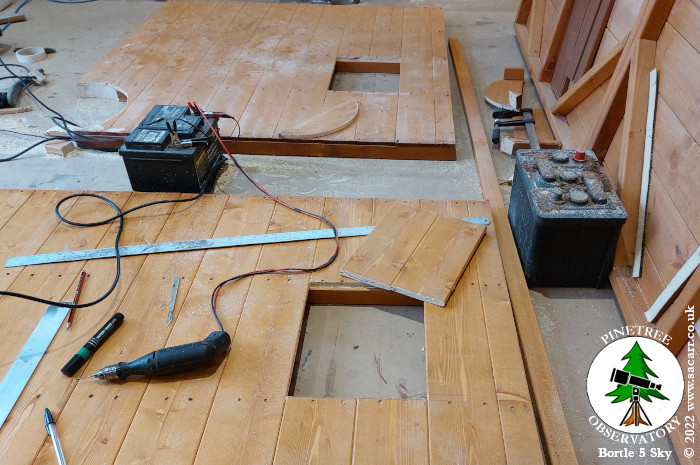
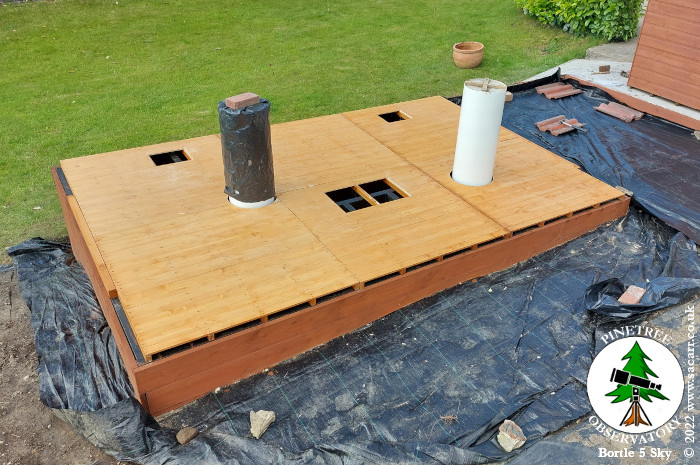
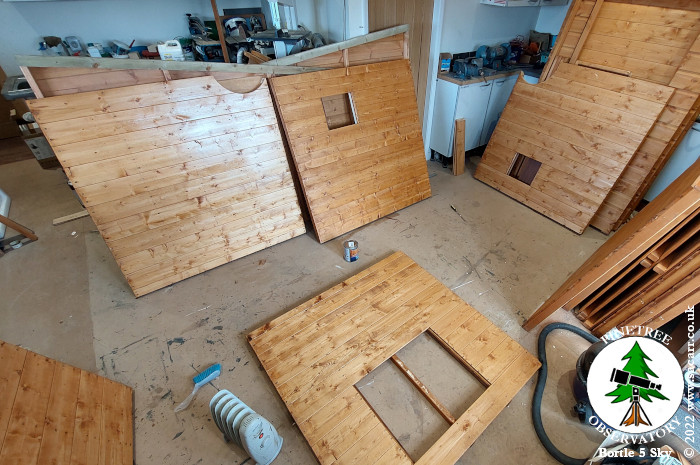
One larger hole was cut in the
rear centre floor for access below. On June 1st, I worked on building up
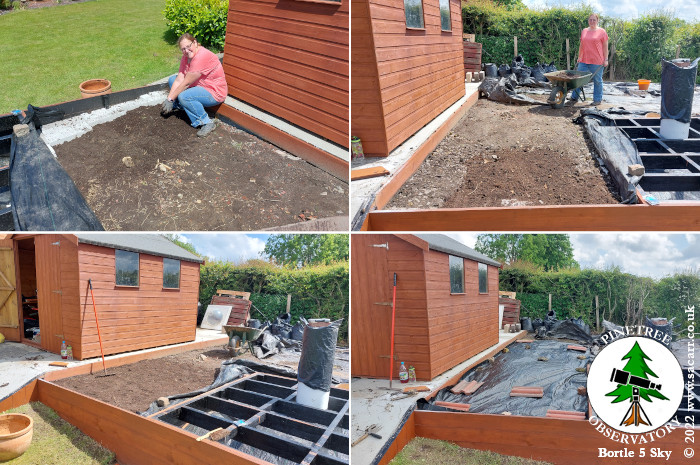
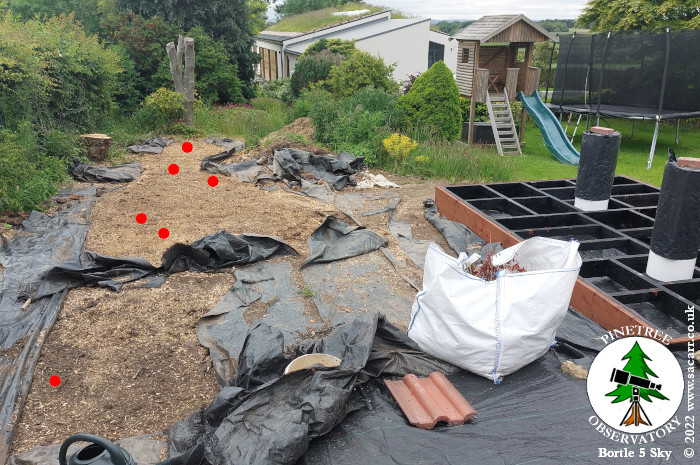
the level of the earth in the vegetable patch and later in the day, had
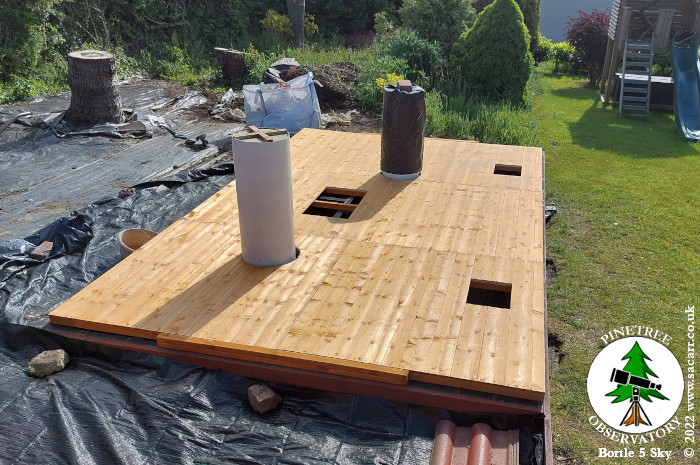
a final test fit of the observatory floor to check the floor clearance
around the piers. |
|||
 |
 |
 |
 |
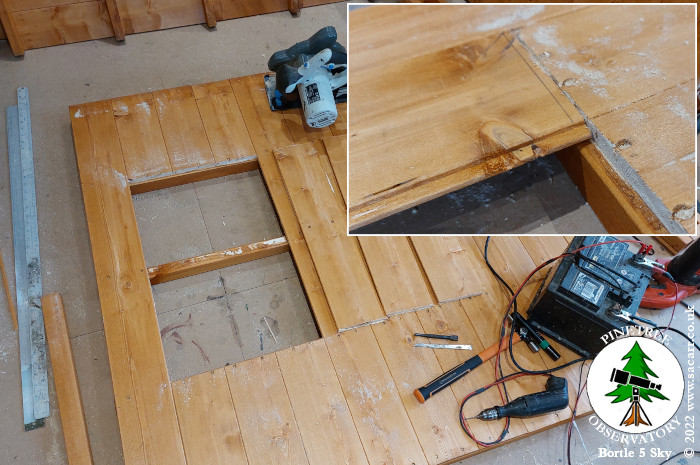
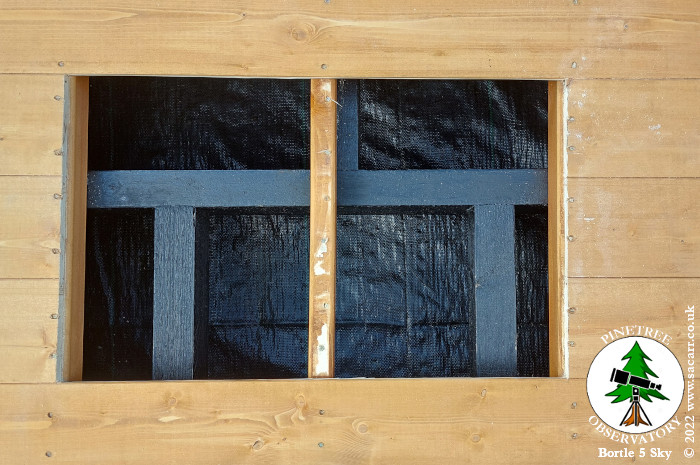
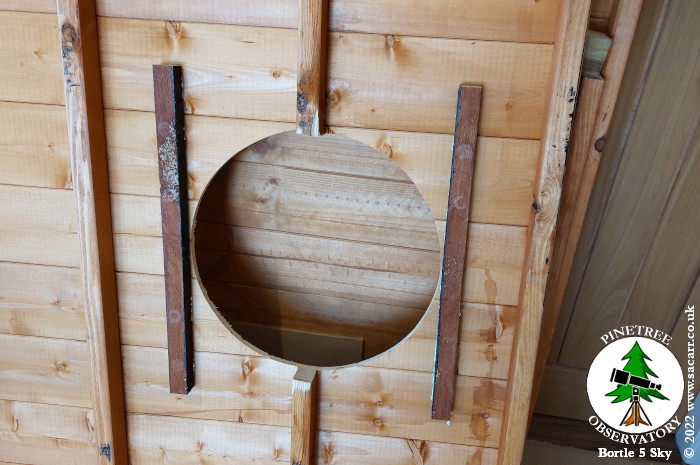
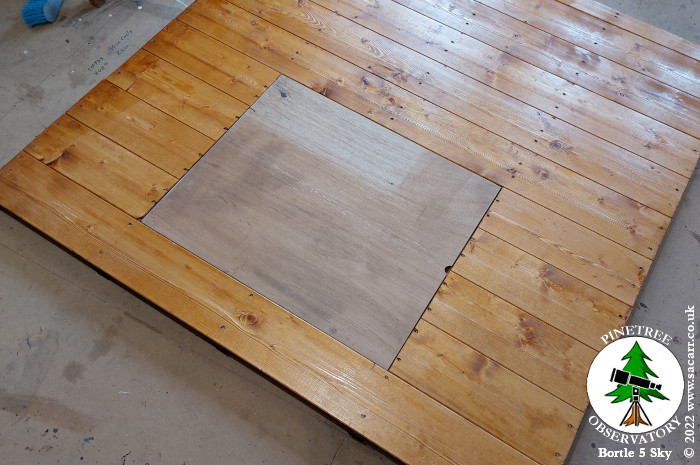
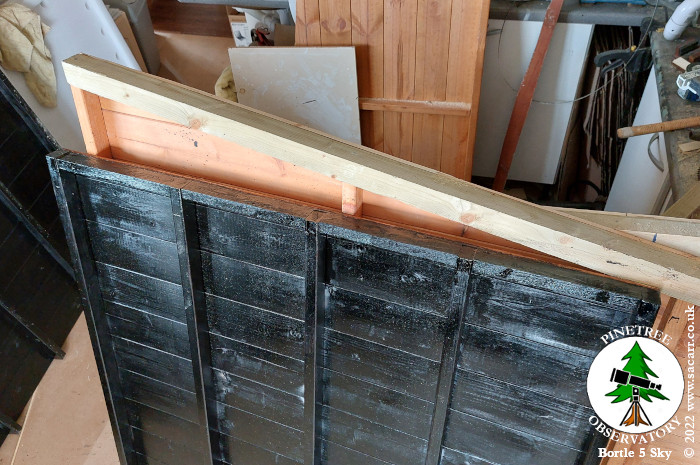
| The centre hole was a bit obstructed by the floor joists below, so that was later enlarged by one plank. Two pieces of wood were glued and screwed to one of the pier holes to strengthen the floor planks where they were unsupported. The last picture shows the enlarged rear access panel opening. |
|||
 |
 |
 |
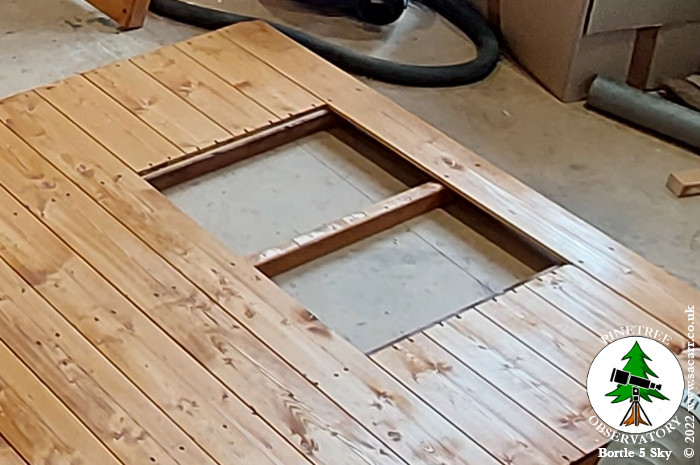 |
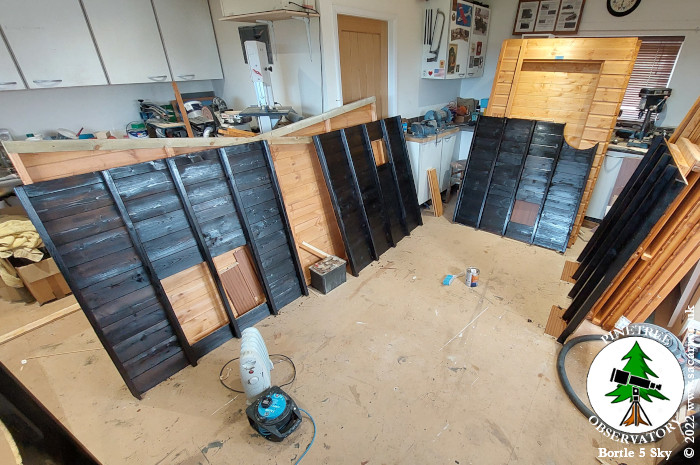
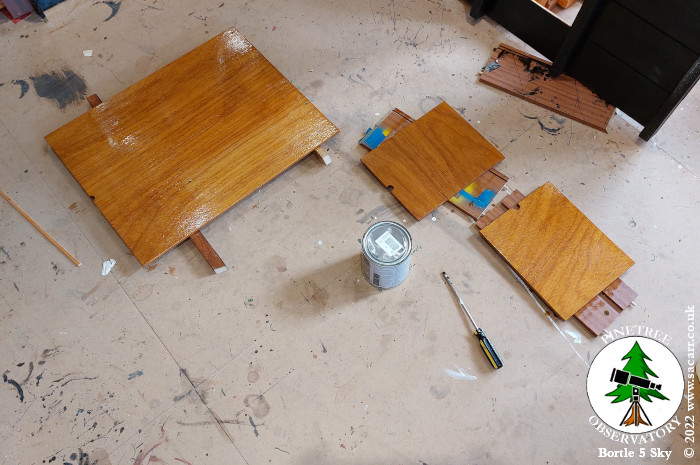
| June 2nd - The floor top side was given a coat of varnish in the morning and later in the day, the underside was painted a first coat of bitumen. On the 3rd, I spent most of the day gardening but gave the bitumen a second coat. On the 6th, the access hatches were made from 3/8 inch plywood, rather than from the planks that were cut out. |
|||
 |
 |
 |
 |
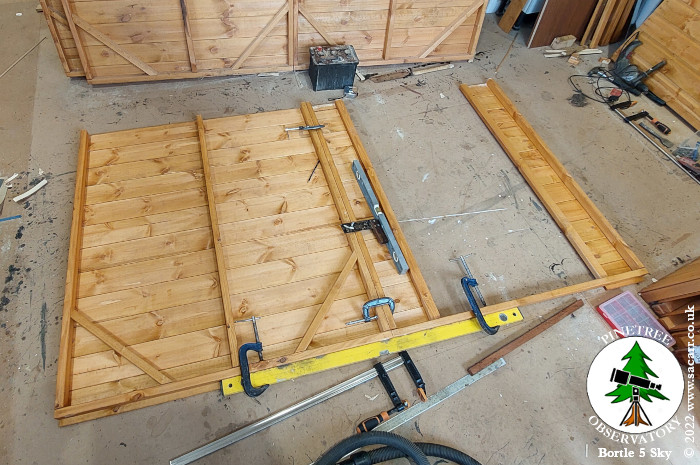
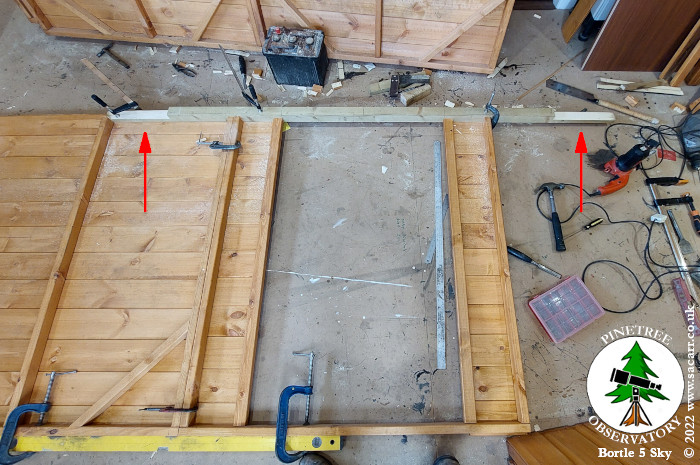
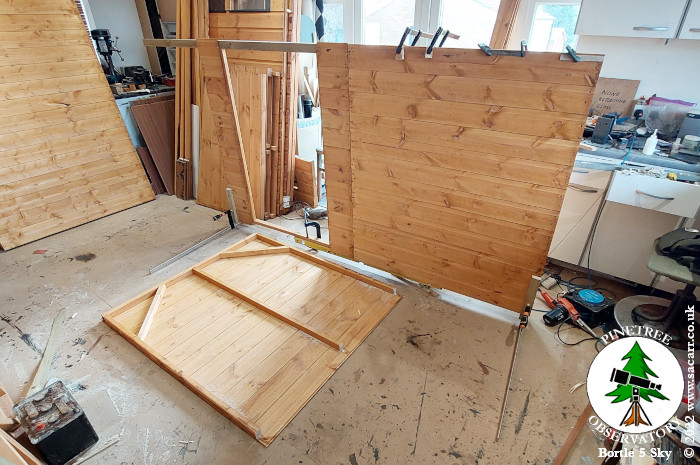
| While the hatches were drying from their first coats, I also painted the floor joiners in bitumen. These six pieces are used to help tie the six individual floor panels together. One end will be screwed to the panels before laying, giving a lip to rest the next panel on to. To finish the day, I infilled all the end gaps in the shed floor structure. June 7th - I started working on the front wall of the observatory. One plain panel and the door panel were cut down in height to match the end walls. They were then clamped together in order to attach a new top rail to stiffen the structure. Each panel is four feet wide, making the front wall twelve feet long with two joints and a big opening. |
|||
 |
 |
 |
 |
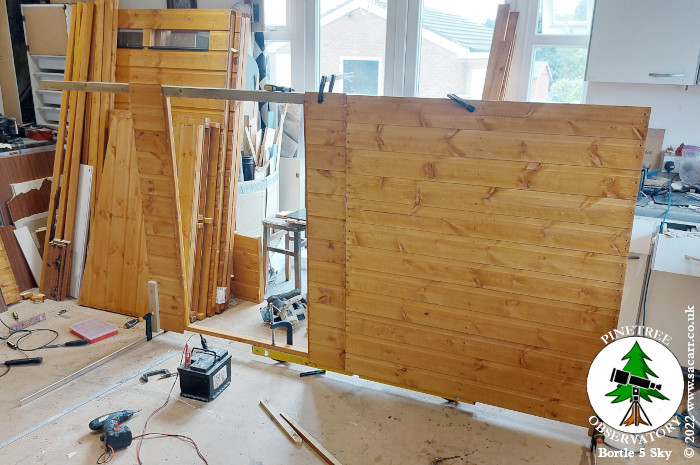
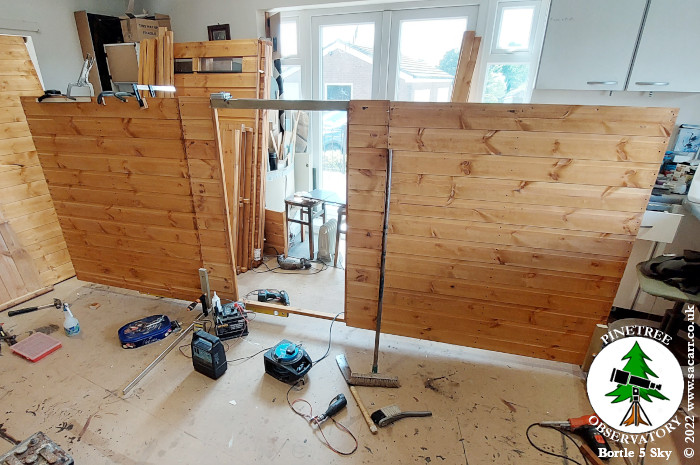
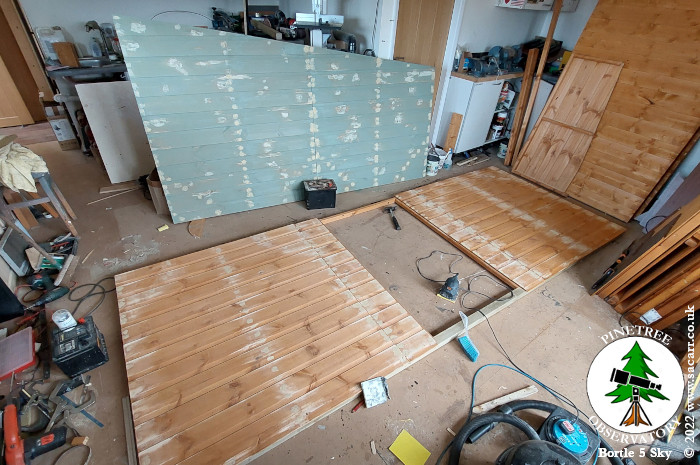
| The first two wall panels were supported upright so that the top rail could be glued, clamped and screwed in place. Around mid afternoon, the third of the front panels was lifted from the pile, laid on the floor and cut down in height to match the other panels. The uprights were cut two inches shorter, ready for the top rail, but that's as far as I got. I needed the clamps that were still holding the right side together while the glue dried, so left it there for the day. June 8th - I didn't get started until after lunch today. The third panel that makes up the front wall, was attached today along with the rest of the top rail. I got some paint yesterday and this afternoon, started painting a first coat on one end panel. The other end was moved out into the corridor as I was running out of work space. |
|||
 |
 |
 |
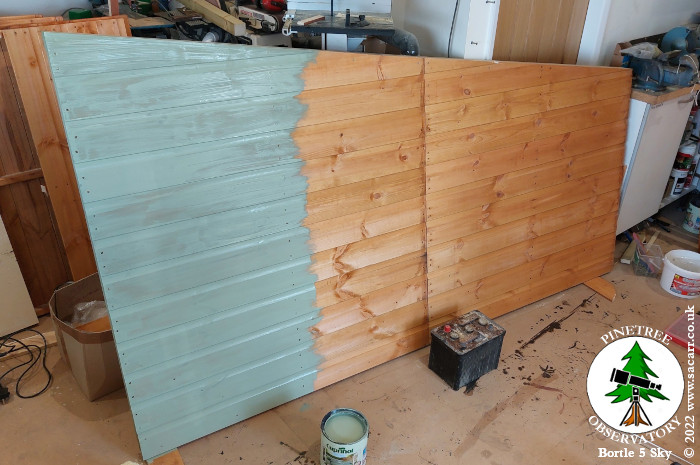 |
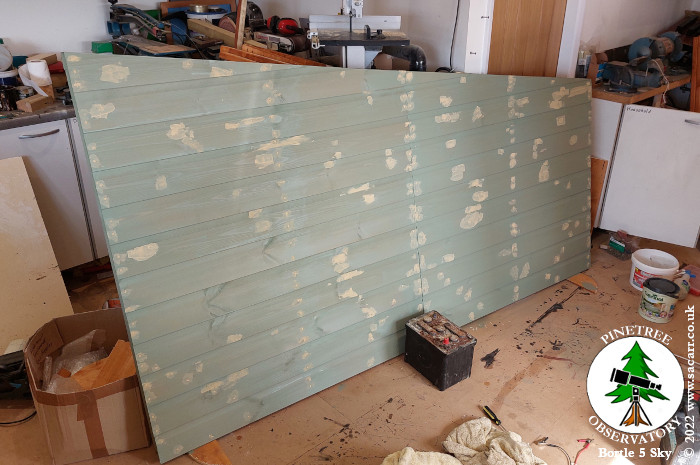
| The paint was a light colour to try to reduce heat absorbtion in the building. However, the light colour made the shed nailgun holes really stand out like it was a dartboard. As a result, I mixed up some filler from wood filler, waterproof PVA glue and fine wood dust, then filled every nail hole in both ends and the front wall. June 9th - The tree stump removal guy came this morning and ground out six stumps, including the remains of the big tree just behind the observatory. While he was busy, a friend turned up in his World War 2 truck. He's been having trouble with the carb mixture for the last year and this morning was its first run out, seemingly sorted. We chatted for quite a while so I didn't really get anything done until after lunch. |
|||
 |
 |
 |
 |