|
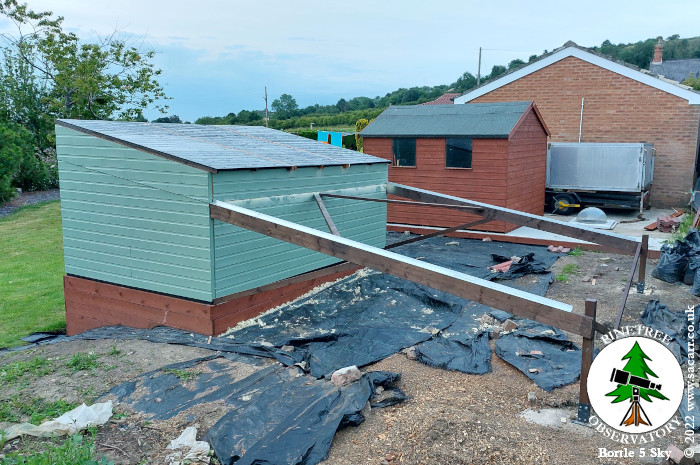
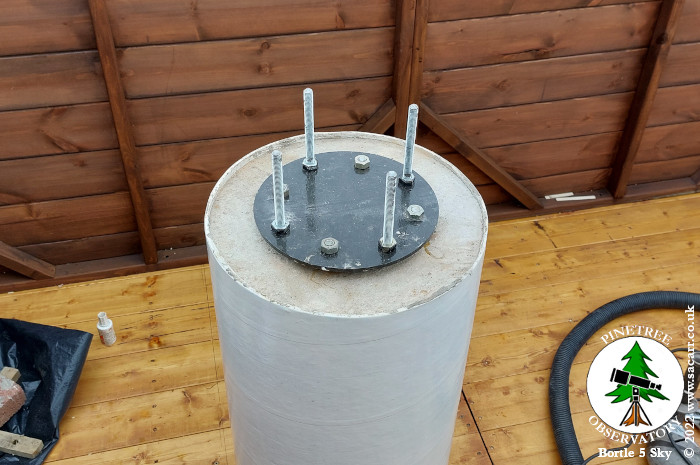
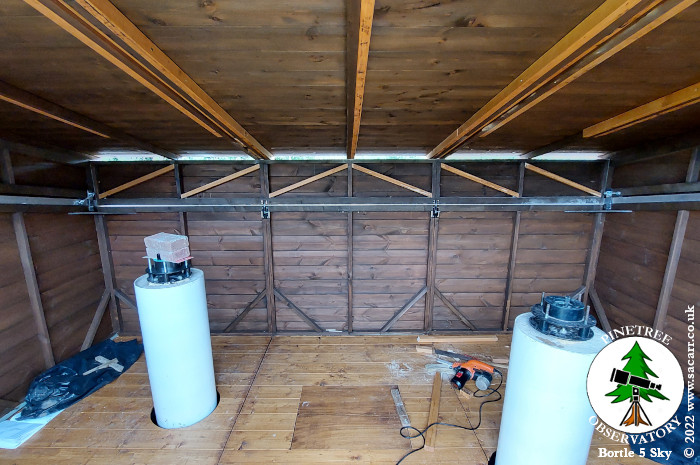
It turned out to be a 12 hour day to get the roof walls and roof panels assembled. July 28th - The first job of
the day was to drill the pier and fit the bottom of the pier adapter. |
|||
 |
 |
 |
 |
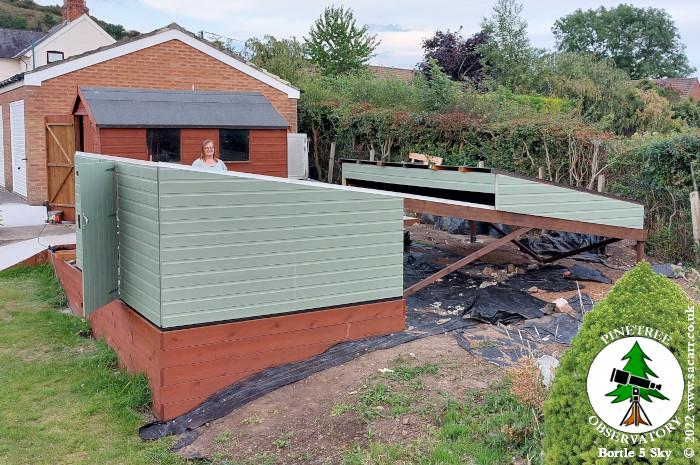
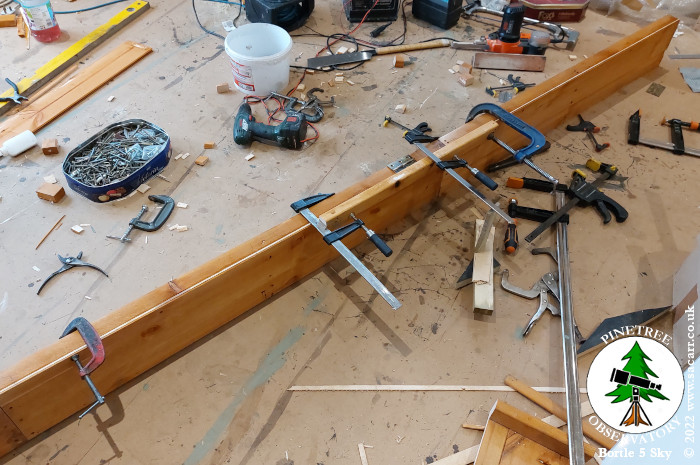
| Both the front and rear roof walls had timber diagonals added to help resist sagging under their own weight. By the time they were all done, the glue anchoring the pier adapter was set so both scopes were mounted for the first time to check the roof clearance prior to making the opening front flap. |
|||
 |
 |
 |
 |
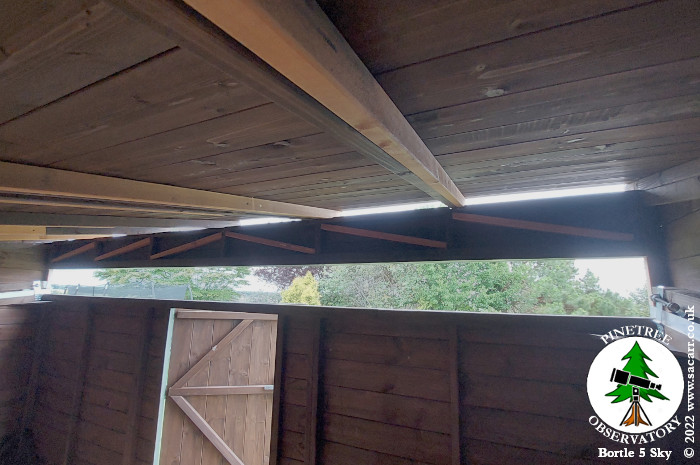
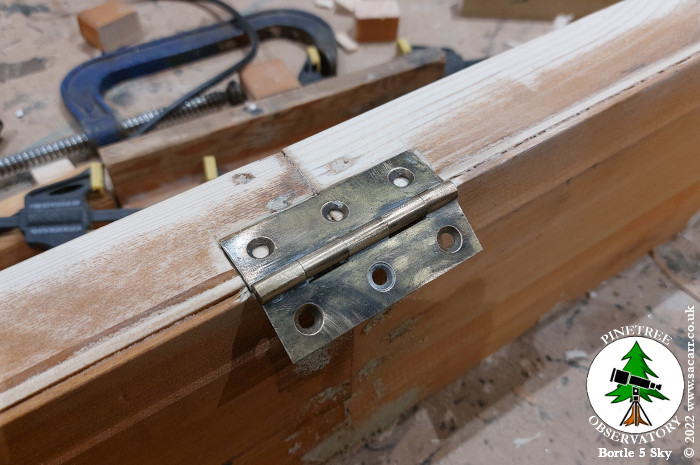
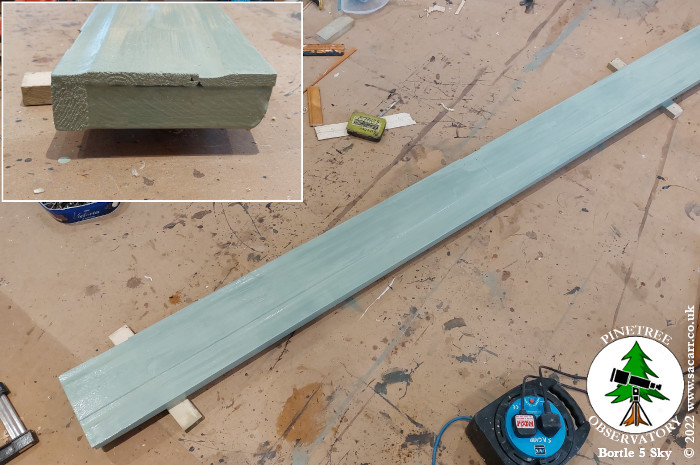
July 30th - The front flap was made from the left over sections of shed. There wasn't much left unused, despite my shed being a bit shorter in height than the flat pack design. July 30th - The hinges were
recessed into the top edge of the flap and the remaining edging of the
roof was painted in bitumen and fitted. |
|||
 |
 |
 |
 |
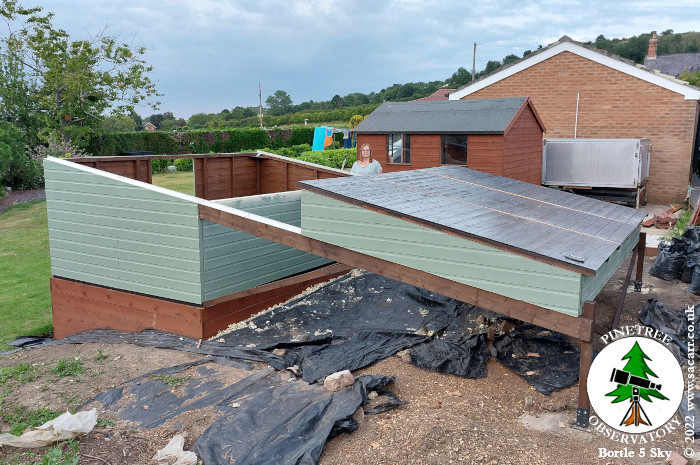
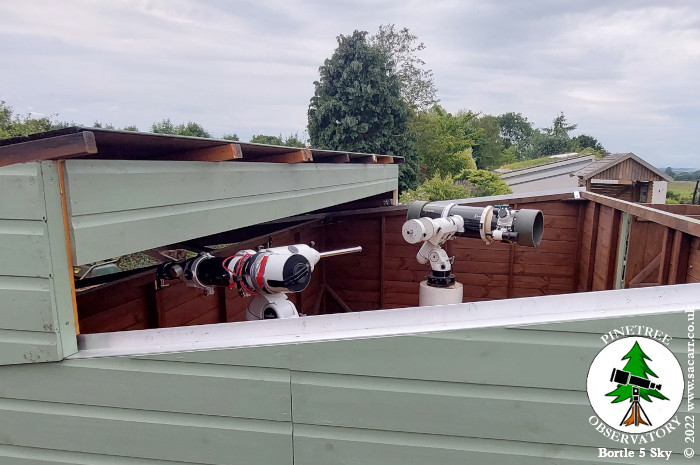
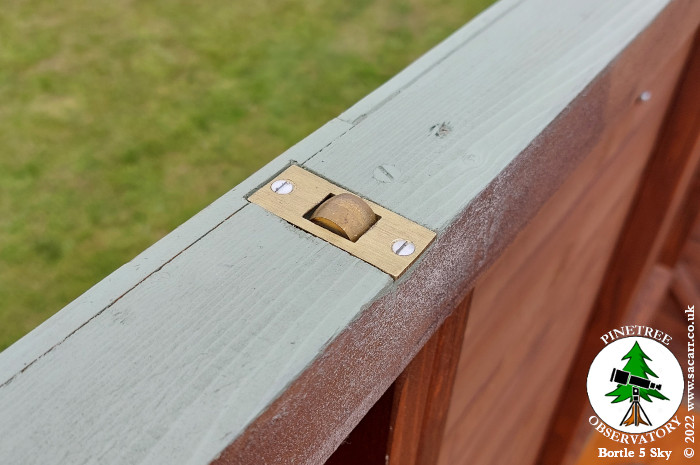
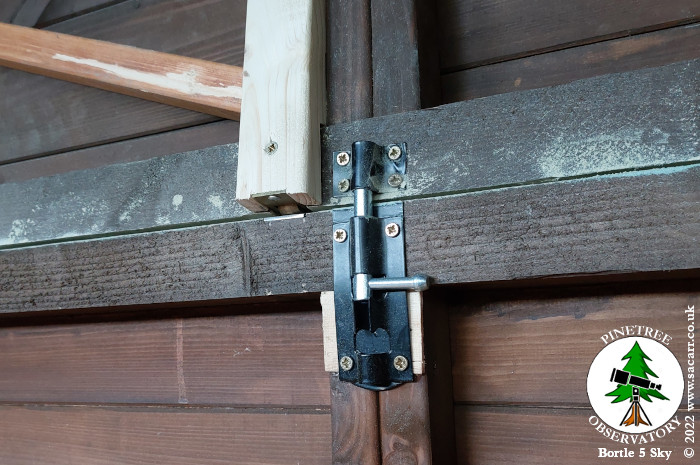
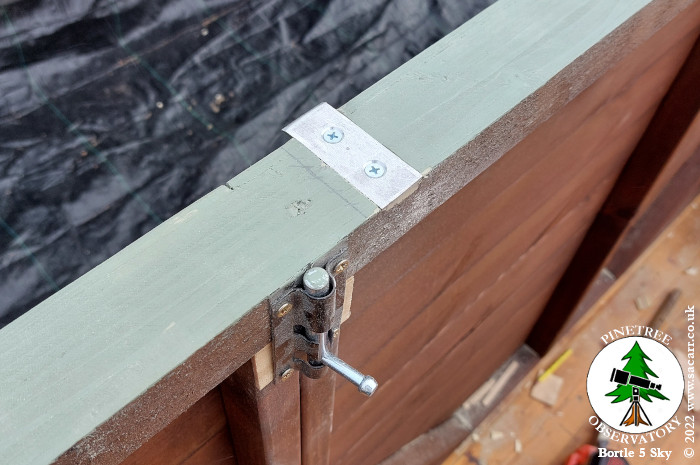
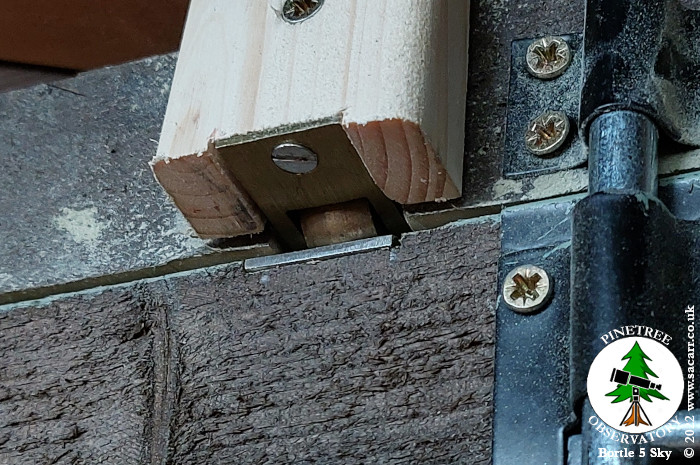
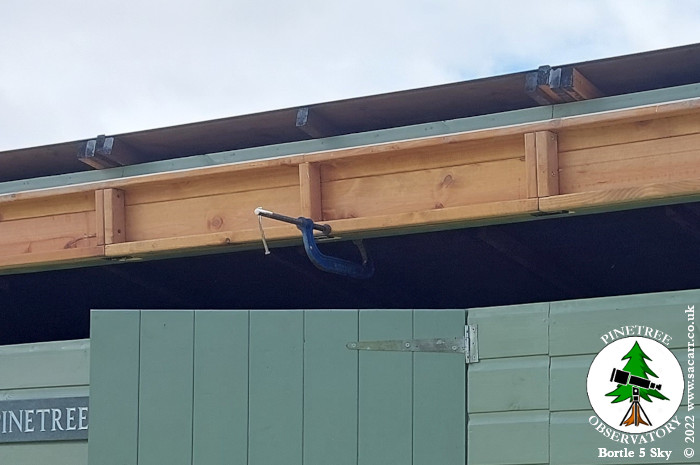
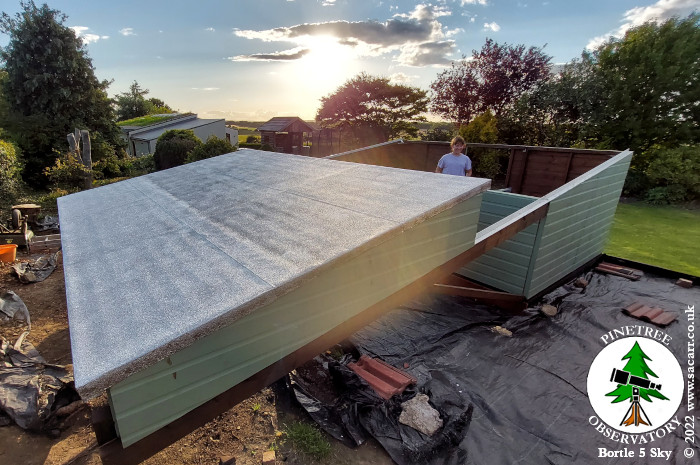
August 1st - Two small rollers were embedded into the front wall to support the front roof wall and flap. Two more were added to the rear roof wall and small aluminium runners added to the wall below them. |
|||
 |
 |
 |
 |
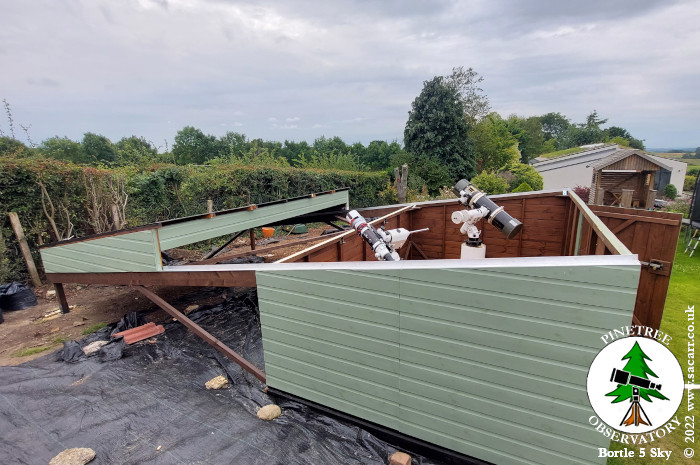
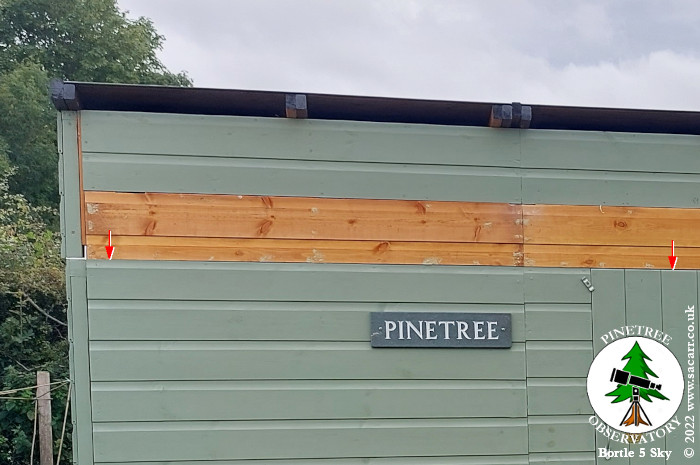
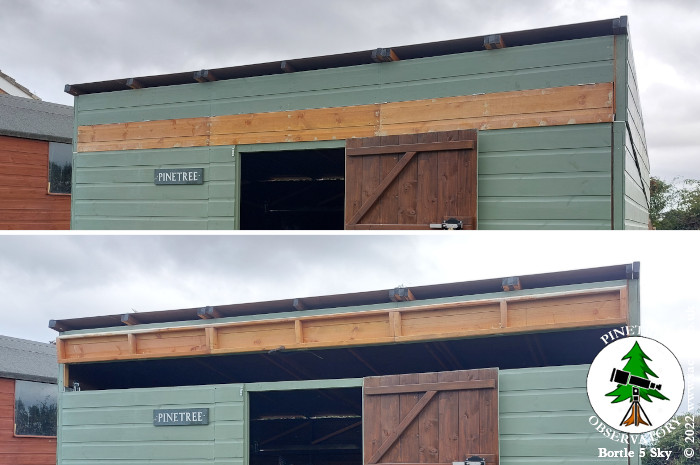
August 2nd - On the second, the roof flap was brought to the observatory and test fitted. There were a few tight spots that would need trimming. While in place, the hinge positions were marked on the roof so that the bottom edge could be recessed for the hinges. It was removed, the recesses chiselled out and refitted. This allowed me to open and close it while trimming the bottom edge until it closed properly. Once I knew it fitted, it was removed and the outside was given two coats of green. |
|||
 |
 |
 |
 |
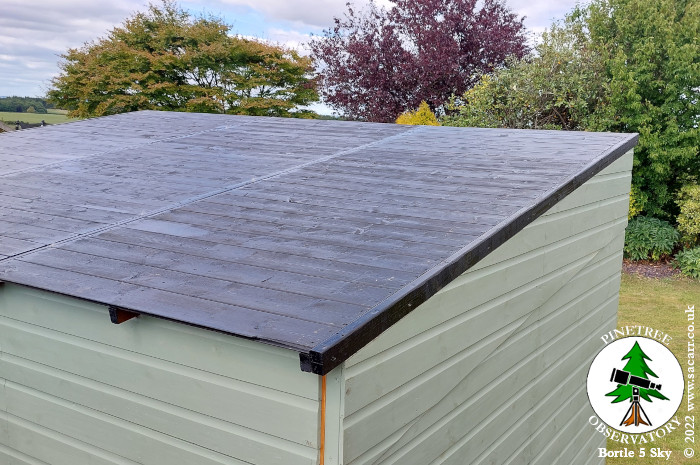
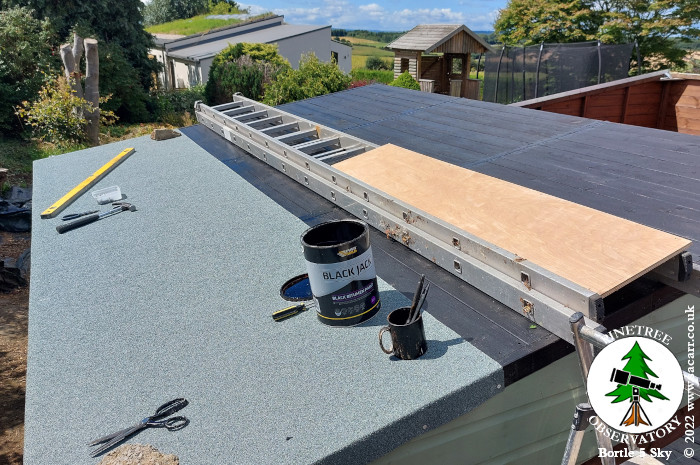
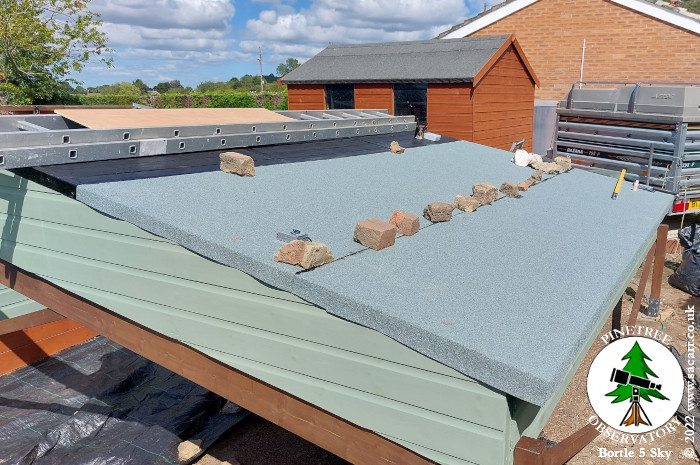
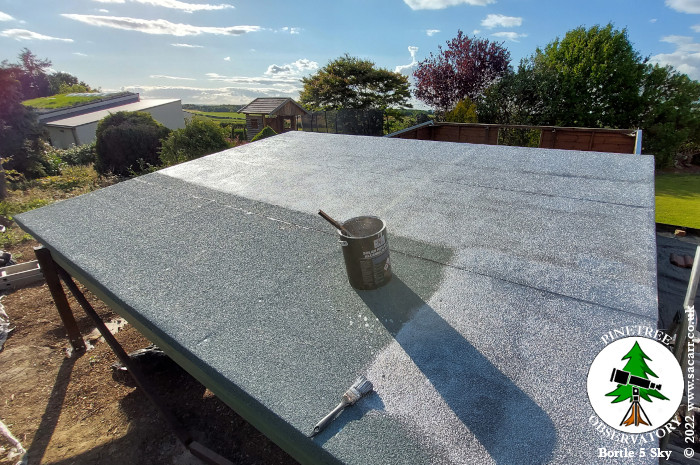
August 4th - After fitting the soffits, I was ready for the felt roof. It took one and a half rolls of felt. The edges were glued down with bitumen paint and after nailing it all in place, the whole roof was painted in a silver, heat reflective bitumen paint, which took about four hours! |
|||
 |
 |
 |
 |