| Stiles
Skystreak Airfix 1/72 Scale Modified Chipmunk August 2021~ |
||
|
This
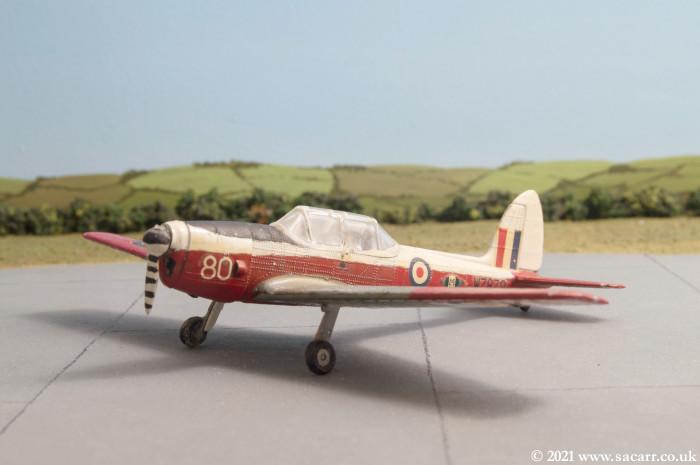
model started out as a Chipmunk, built by me around 1983, following a
flight in a real Chipmunk from RAF Leeming with the Air Cadets. It sat
in a box in the loft for many years and was discovered recently when
moving house.
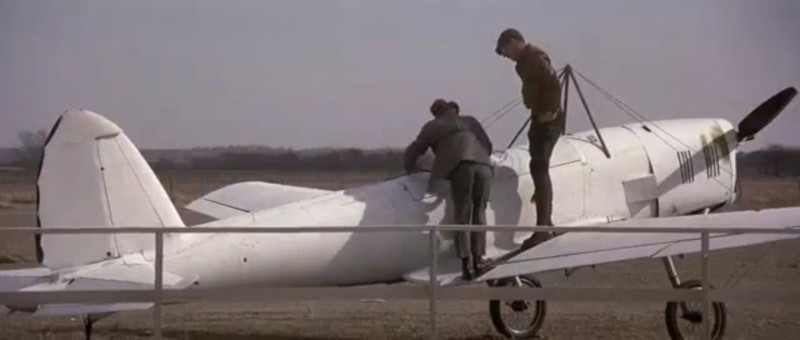
Looking back, the build was quite crude, but I couldn't throw it out. I then remembered the film " The Great Waldo Pepper", which featured a modified Chipmunk starring as one of the planes in the film ( see left ). The idea of converting the model to the film aircraft was born! |
|
|
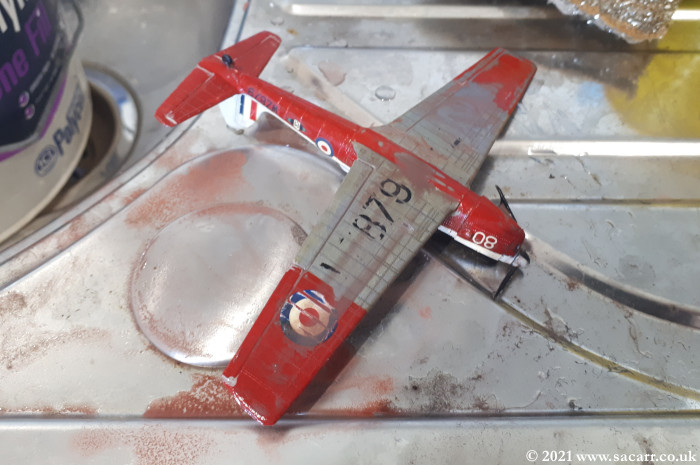
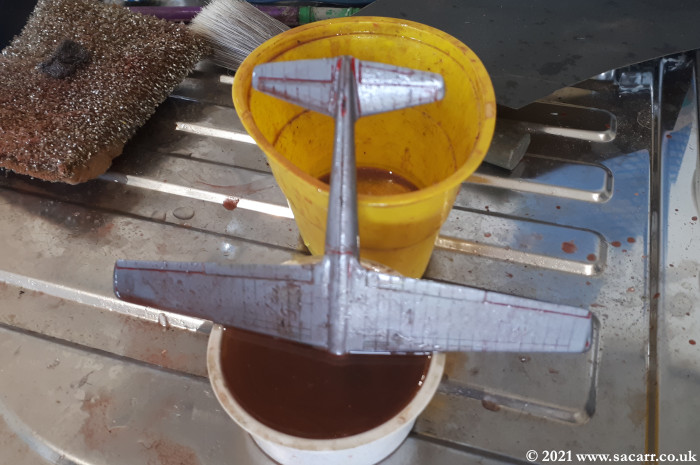
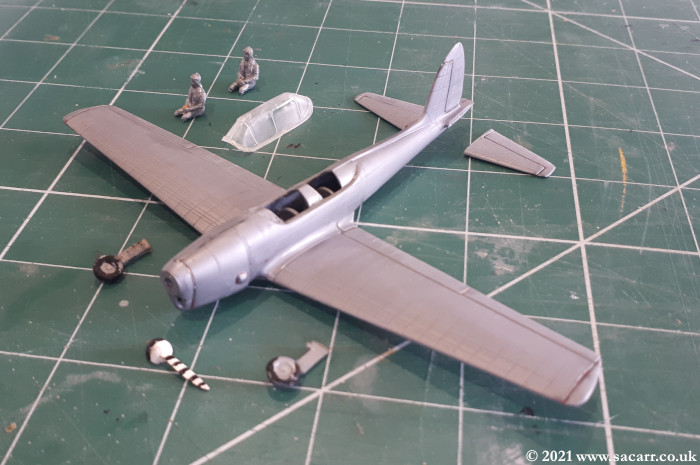
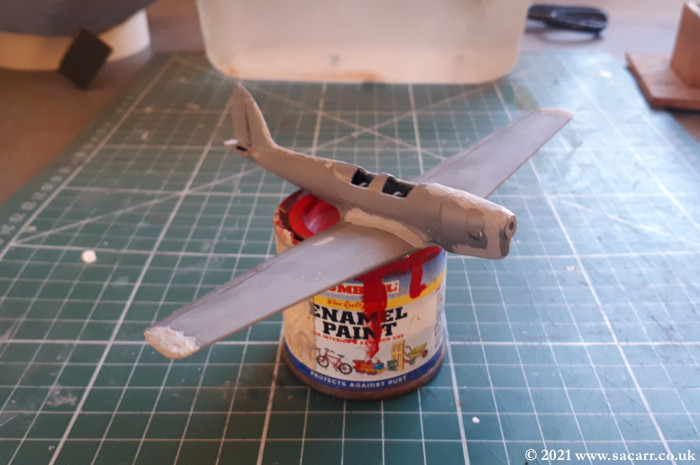
It had been painted in gloss Airfix or Humbrol enamels, which after almost 40 years, was as hard as diamond! My normal use of brake fluid to remove the paint didn't touch it, so I ended up wet sanding it with 400grit wet & dry paper first, then scrubbing it with wire wool and brake fluid. Eventually, all the paint was removed, along with the canopy, wheels, and prop which weren't needed. One pilot would be retained and refitted. All the heavy 1970's Airfix rivet detail was sanded off. |
|
|
|
|
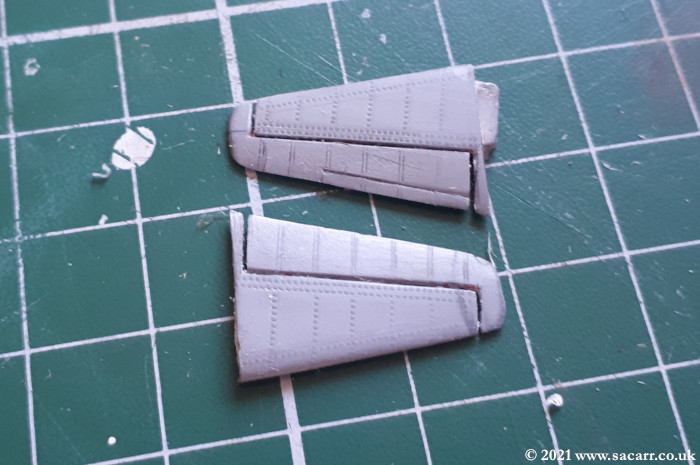
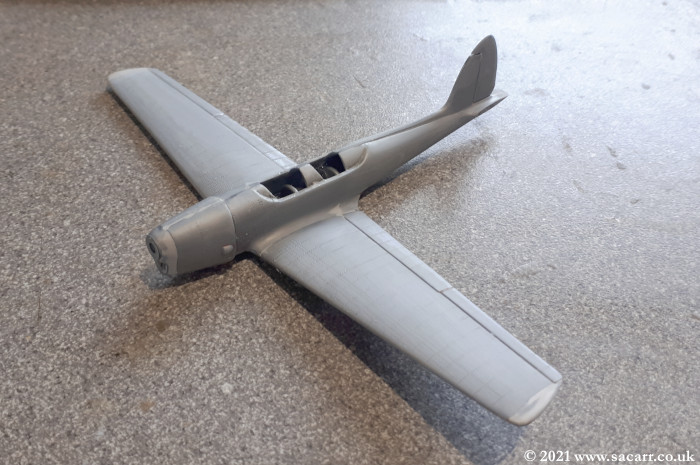
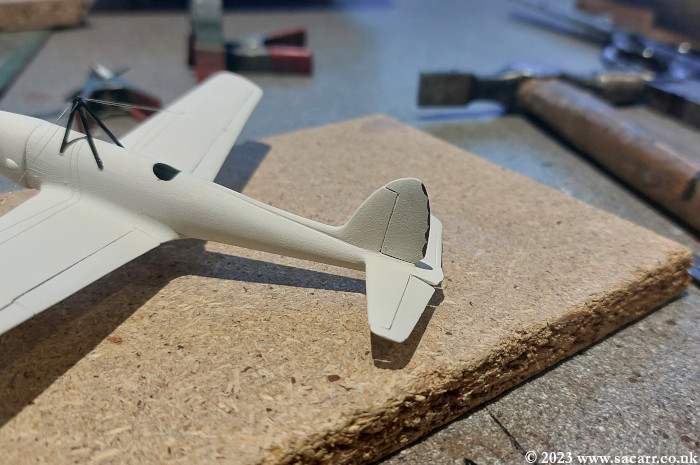
| The elevators were cut to allow them to be displayed drooped, in the parked position. There was quite a bit of filling to do on poorly fitting joints and where parts were removed. There would be some scratch building needed to replicate the changes made to the aircraft for the film. | ||
|
|
|
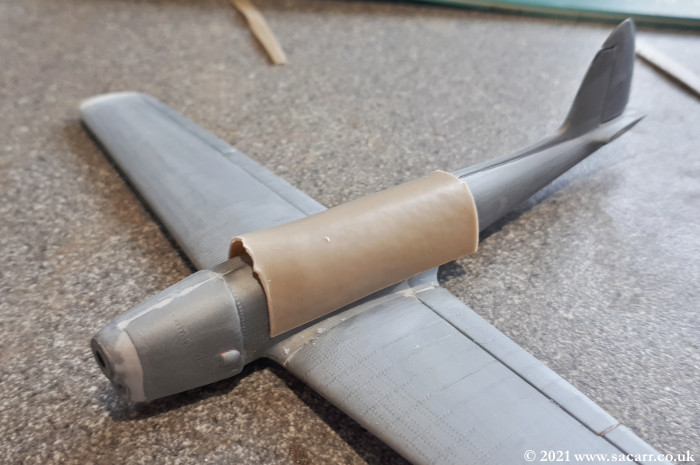
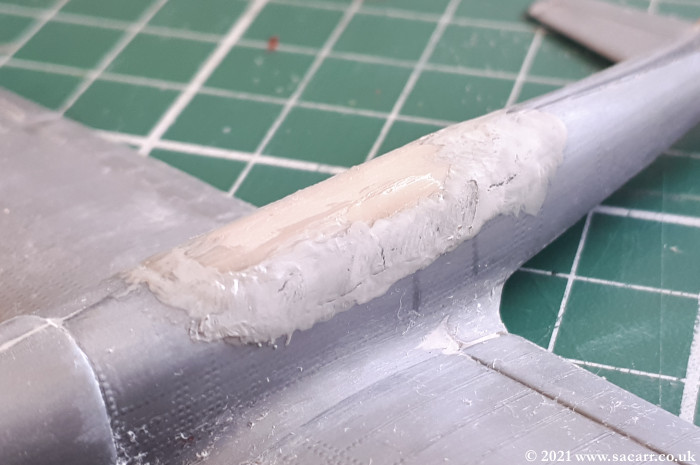
| The filler was all sanded smooth before moving on to the new cockpit fairing. A piece of styrene was heated and folded around some dowel to form a curved piece. It was then slowly trimmed to fit the recess where the canopy formerly fitted. | ||
|
|

|
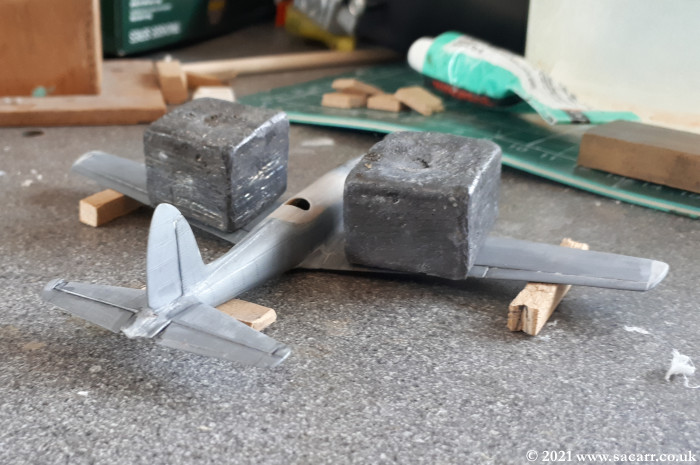
| Once the fairing was a good fit, it was clamped front and rear and then a combination of liquid solvent and tube cement were used to attach it. This glue was left to set for a while before sanding and then further glue and filler were applied over the joints and then left to dry. This fairing needs to blend smoothly before opening up one cockpit for the pilot. | ||
|
|
|
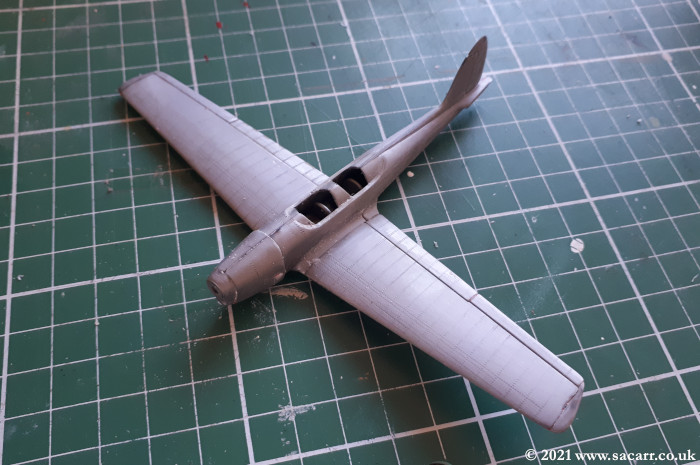
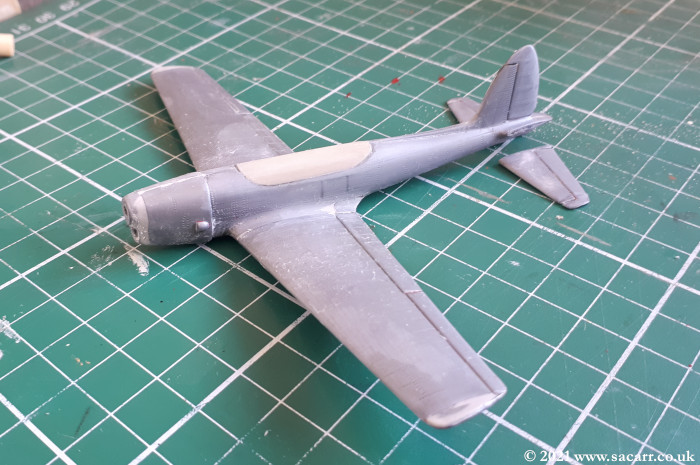
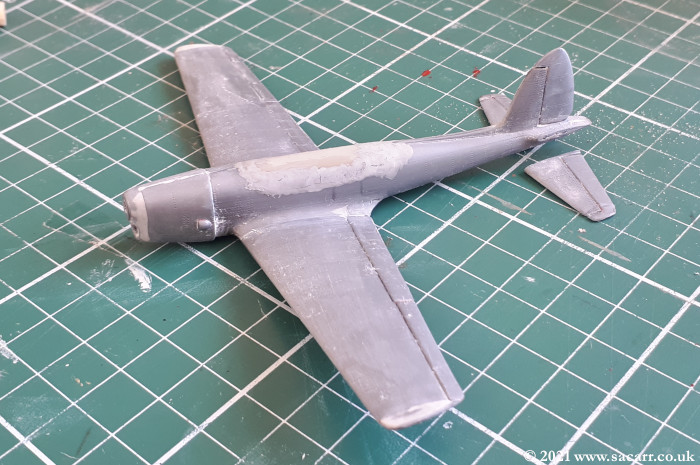
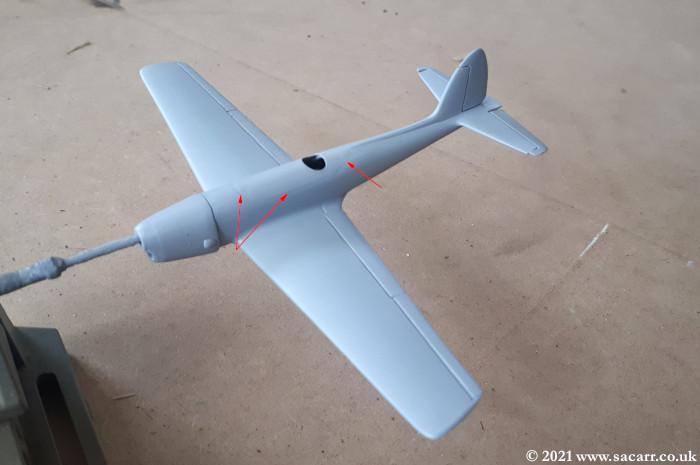
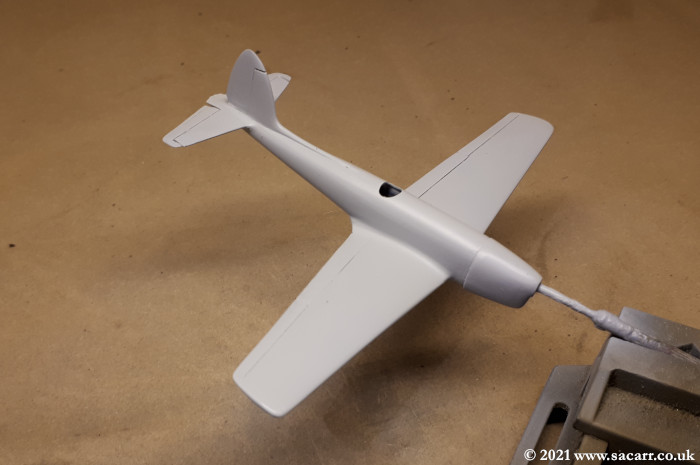
| The fairing was sanded slowly and carefully to blend the new plastic into the old fuselage. Pencil guidelines on the fuselage showed where the original cockpit was located. After the fairing was fully blended, a small hole was cut for the cockpit using the tip of a scalpel. The hole was slowly carved out using further pencil lines as guides to the shape and how far down the fuselage the opening should be. The opening is smaller than the original cockpit opening, so the pilot's arms also needed slimming down to allow him to be slotted in later. The tailplane halves were glued next, then left to harden overnight. | ||
|

|
|
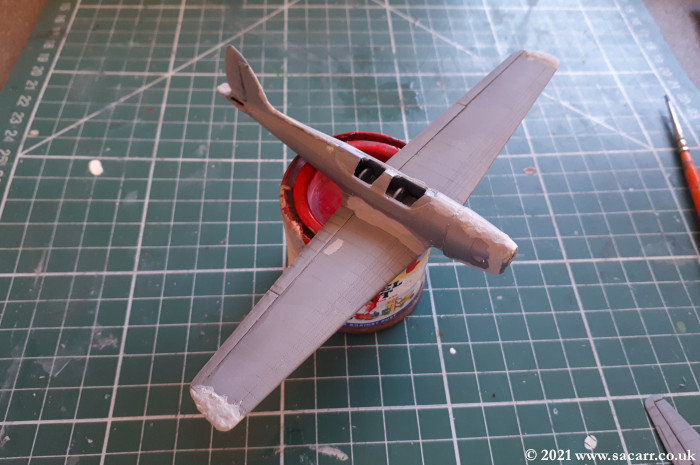
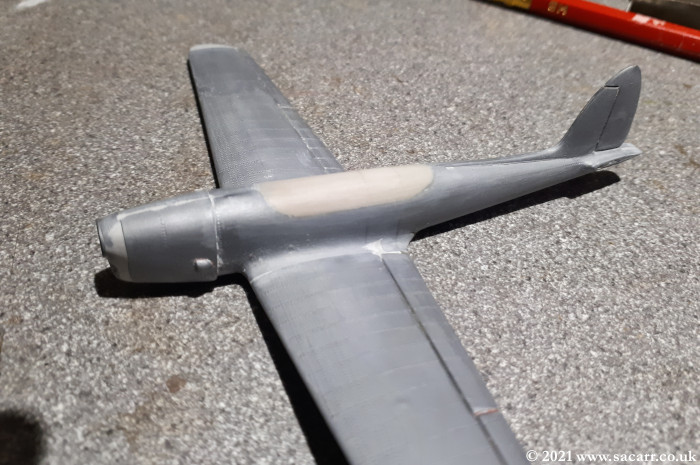
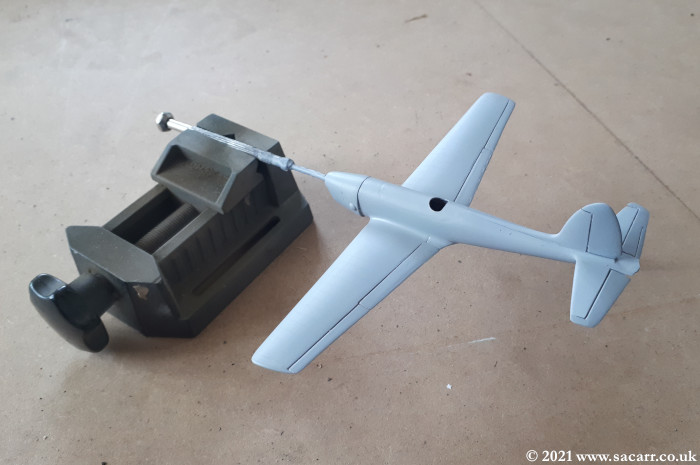
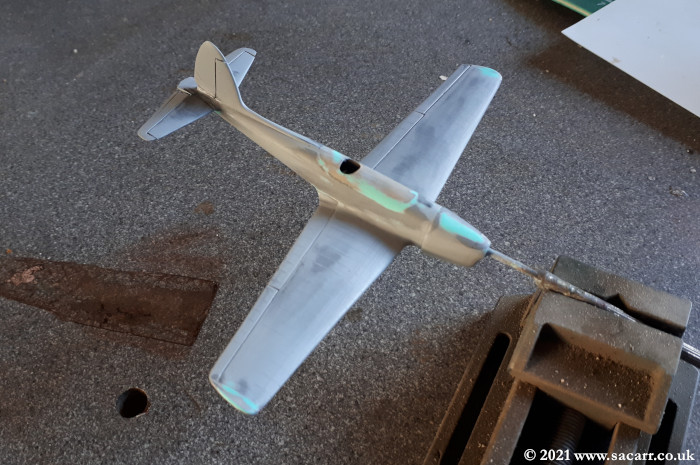
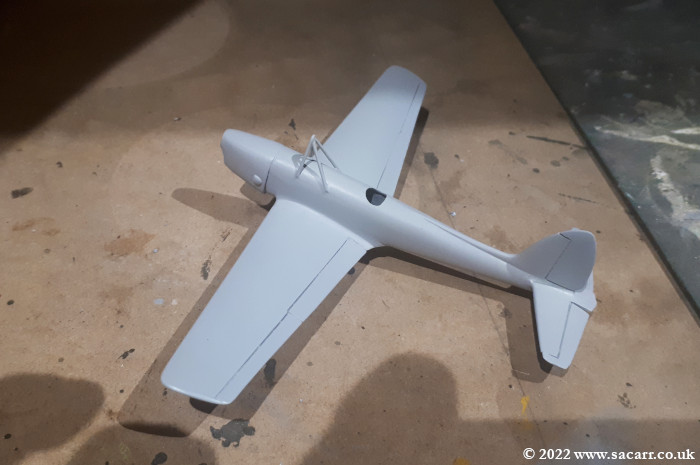
| The tailplane joints were filled, left to dry and sanded, followed by drooping the elevators that had already been pre-scored while the tailplanes were separated from the model. Next came a coat of primer, revealing joint marks where the cockpit was faired over. It was filled and sanded again, but a few seams could still be seen, so more filler was applied. The build then went on hold for a while while I worked on my new house and 1/1 scale Dodge Weapon Carrier. | ||
|
|
|
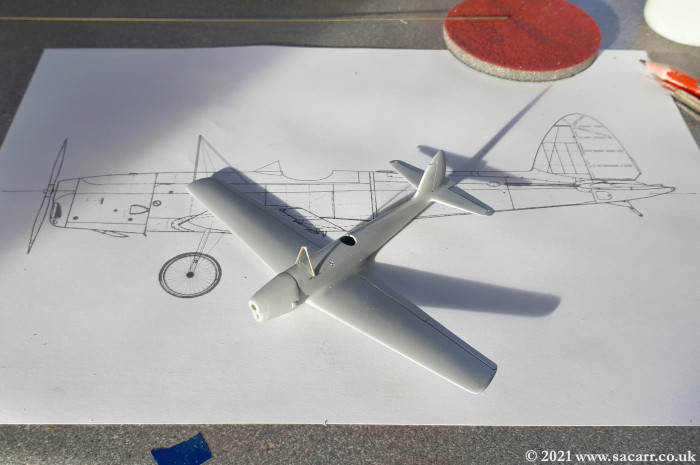
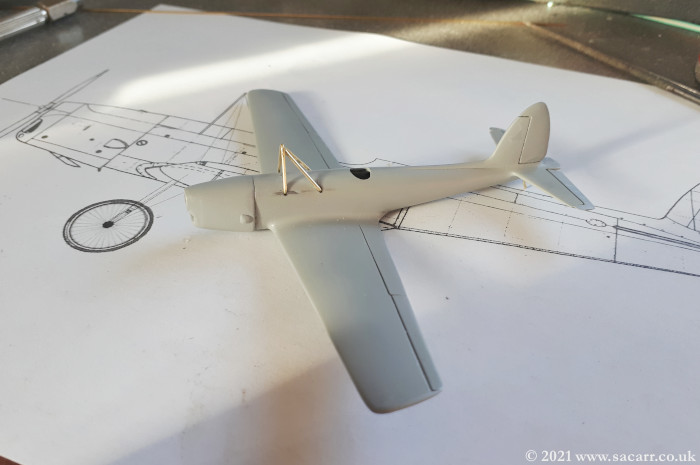
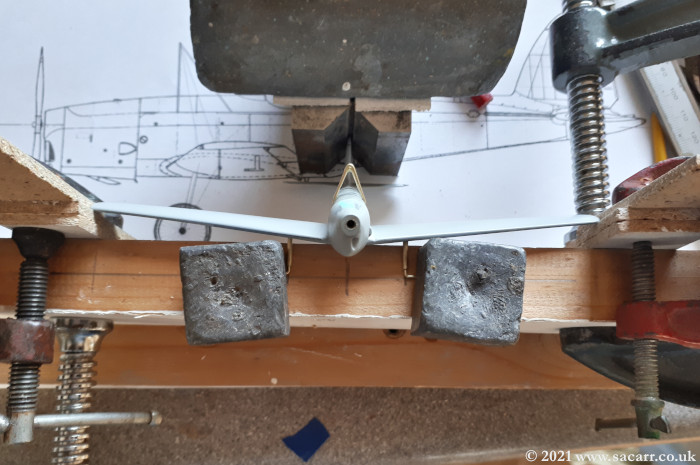
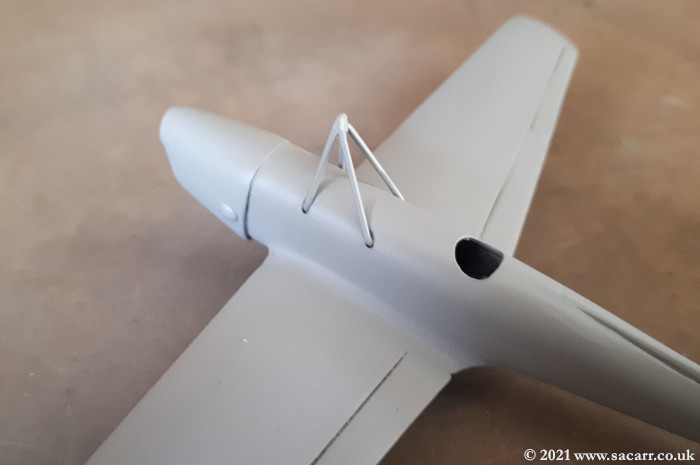
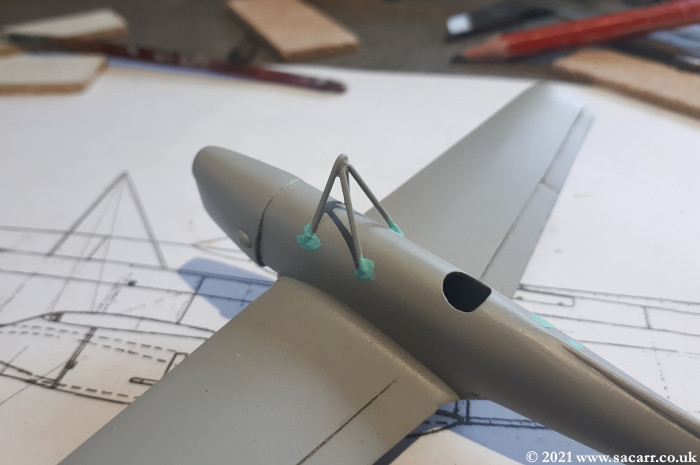
| Late November 2021, I found a few minutes to sand the filler again and give it another prime. The next day, I began working on the centre pylon where the scale, non-functional bracing wires would be attached. | ||
|
|
|
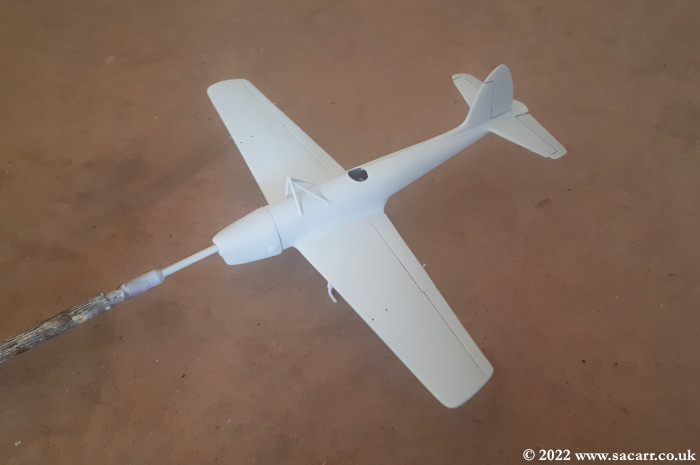
| After the two struts of the centre pylon were done, I moved on to the landing gear, made from brass tube and wire. They were then glued in place. For the first time since August 2021, the aircraft was standing on its own two legs again. | ||
|
|
|
|
|
|
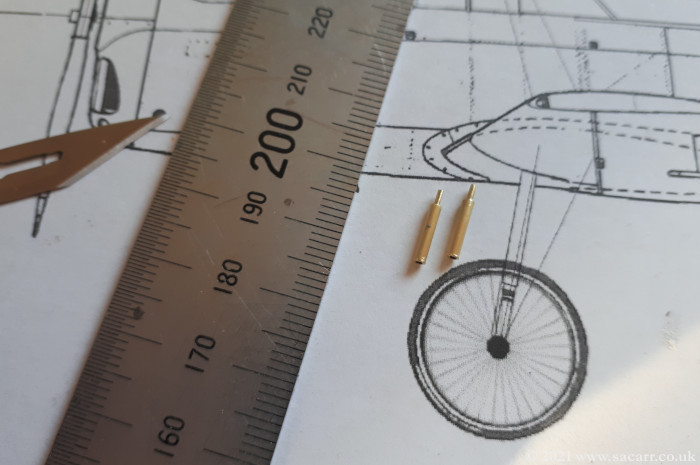
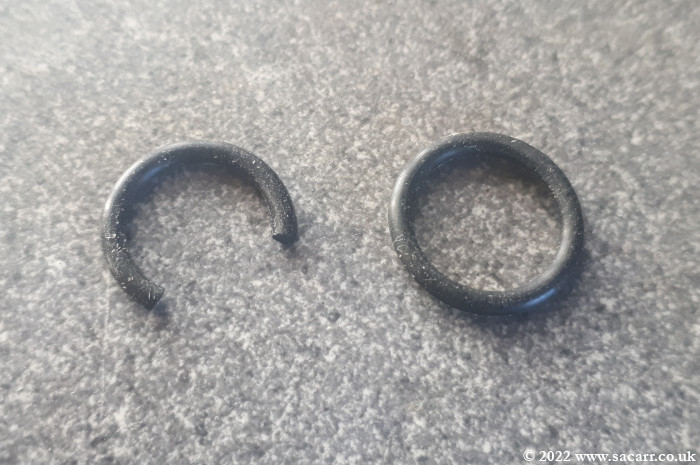
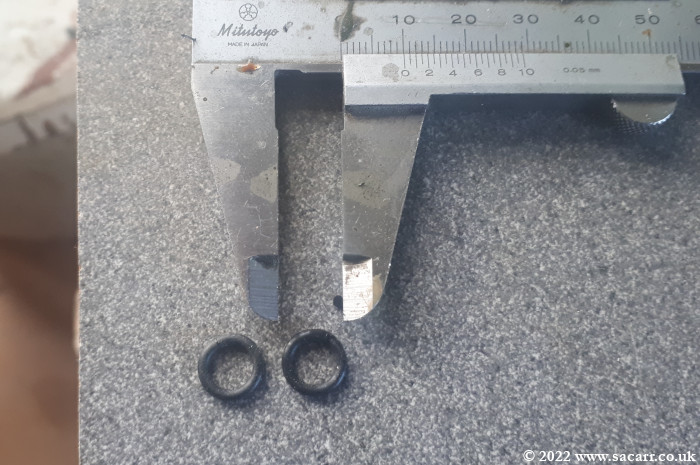
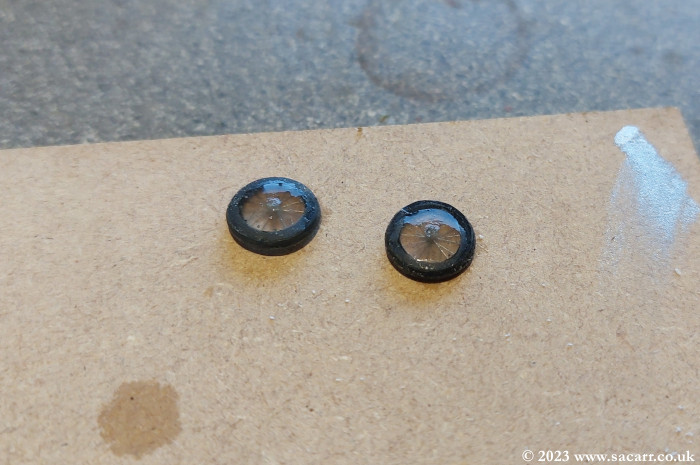
| Thee pylon needed more filling, then I moved on to the wheels. I found some rubber 'O' rings, but they were all too big, so a section was cut out and the diameter reduced. The ends were joined with cyano. | ||
|
|
|
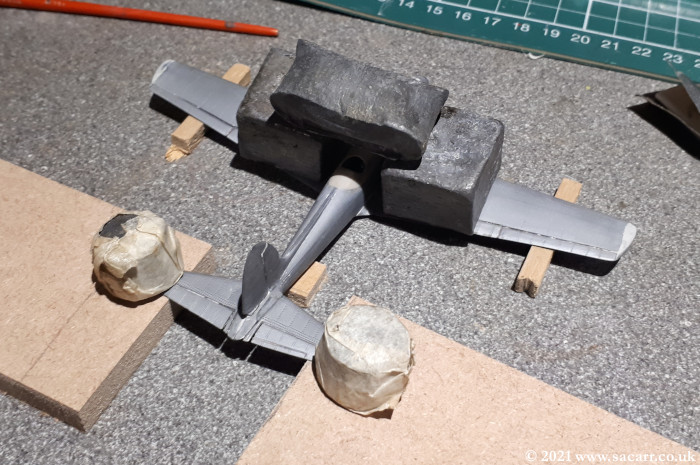
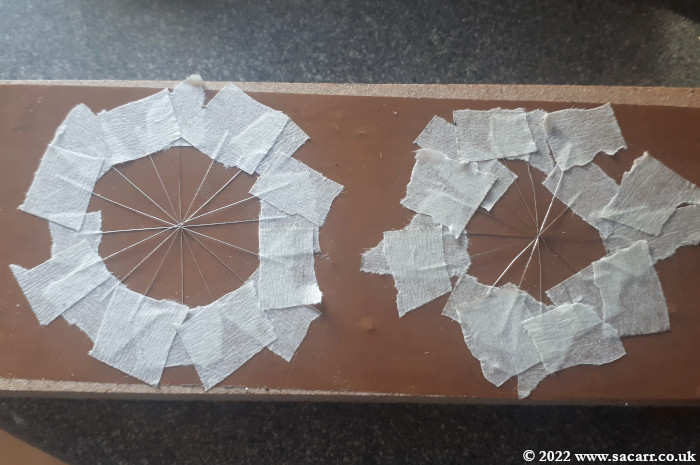
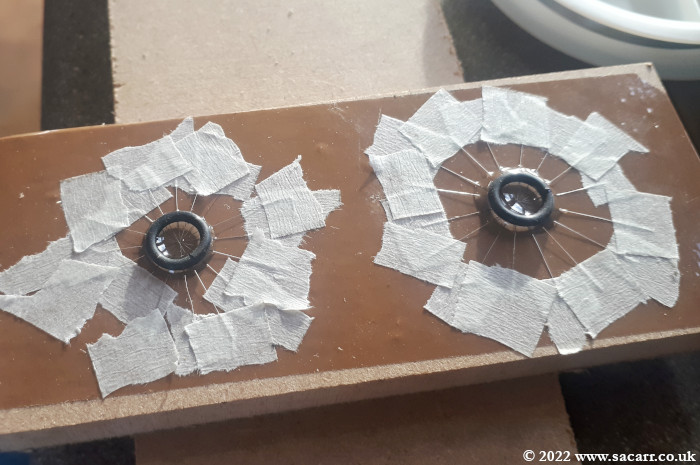
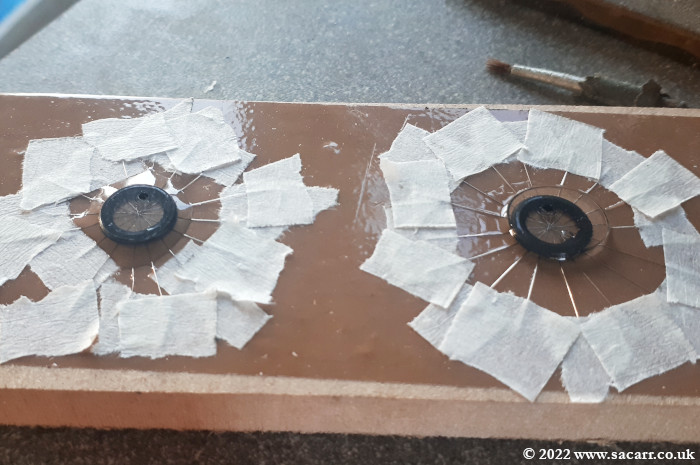
| Next, 0.1mm wire, representing the spokes, was taped down to a board, covered in parcel tape. The rubber tyres were placed over the spokes and filled with clear resin. It leaked out from under the tyre ( which was planned ), topped up and another flat piece of wood covered in tape, placed on top and weighted down until the resin cured. | ||
|
|
|
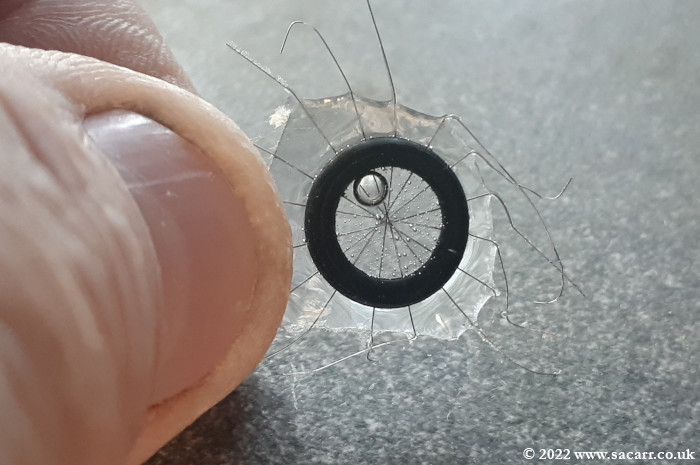
| There were a couple of big air bubbles that needed filling, but the tiny ones I could live with. More resin was mixed and the air bubbles filled and left to cure. The wheels were slightly over filled so any air bubbles would rise into the area which would later be sanded and polished. | ||

|
|
|
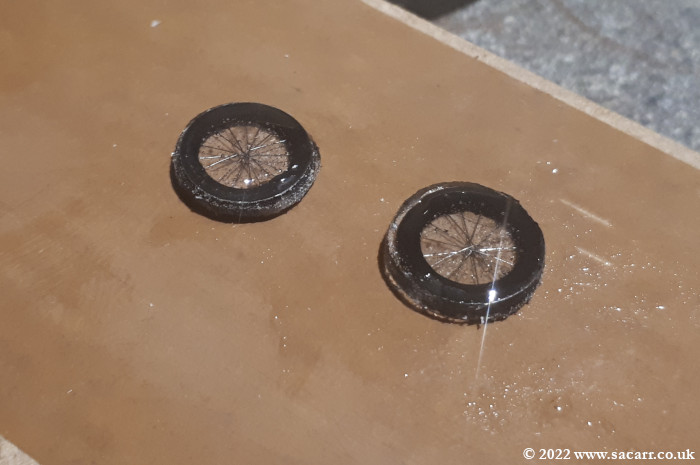
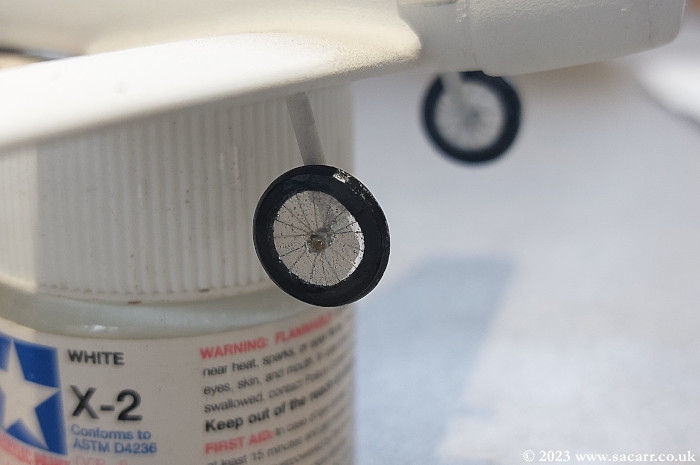
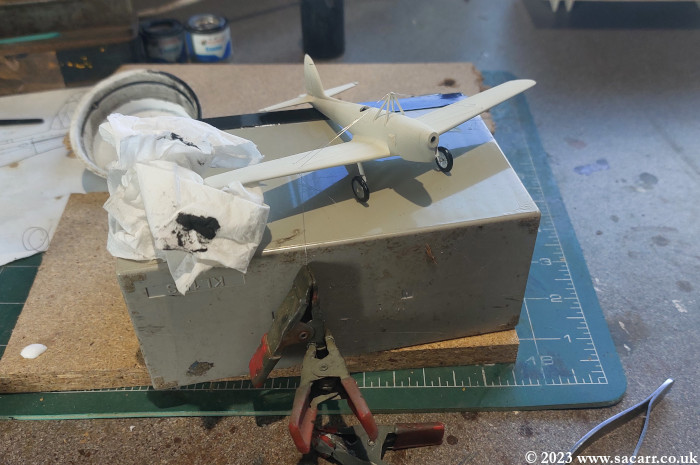
| The filler around the pylons was sanded and primed once more and then the aircraft was sprayed white. The wheels had the excess resin sanded off and then had the hole for the axle drilled. | ||
|
|

|
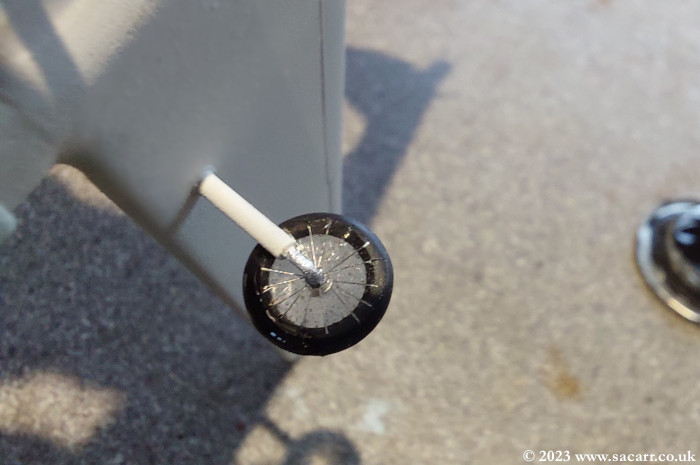
| After a further wet sand and polish, the resin was given two coats of clear to increase the gloss finish. The wheels were then glued on and after they were dry, the tyres were painted black to cover the excess spoke length crossing over the tyre. | ||
|
|
|
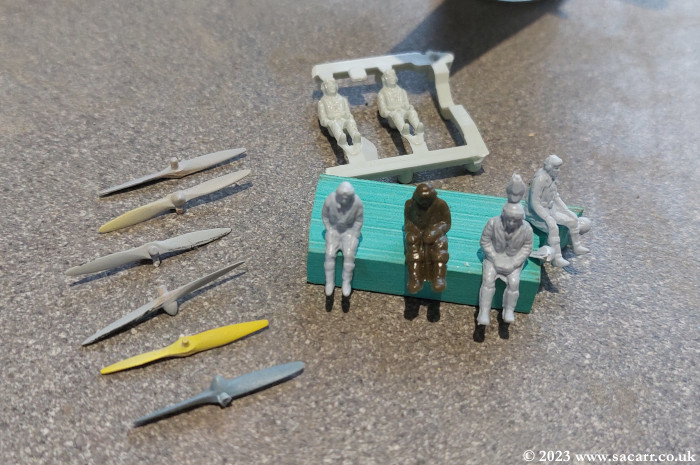
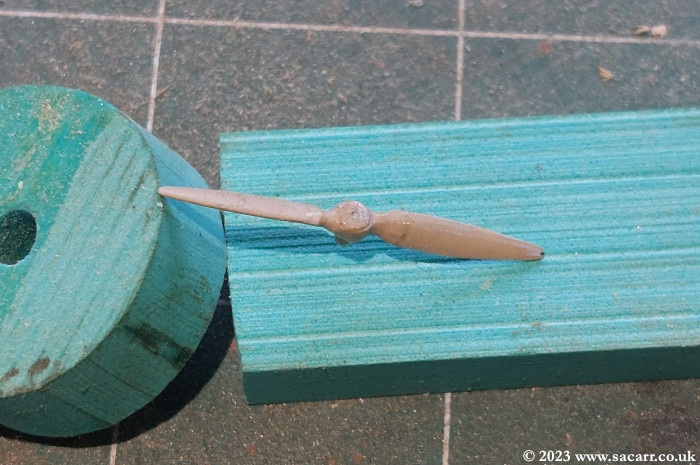
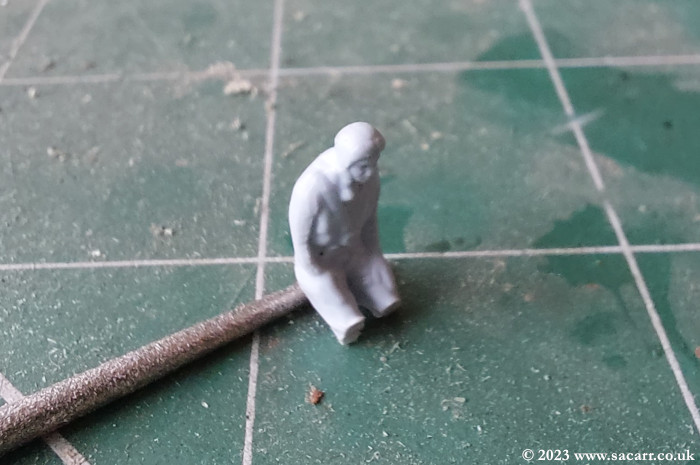
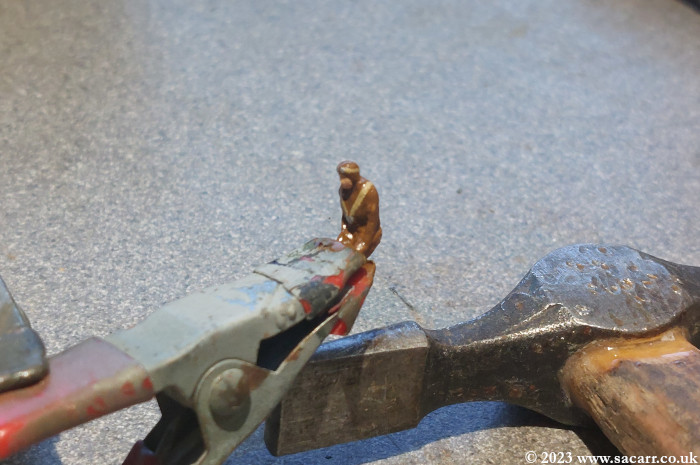
| The spares box was searches for props and pilots. I lost the original pilot, put somewhere in a safe place! Looking over the replacements, only one was thin enough to fit the cockpit. Only one prop was suitable, the others being too small or having the pitch the wrong direction. The one suitable prop then had its blade roots modified to more closely match the screen capture from the film. Ezra Stiles had his shoulders thinned a little to help him fit the cockpit. | ||
|
|
|
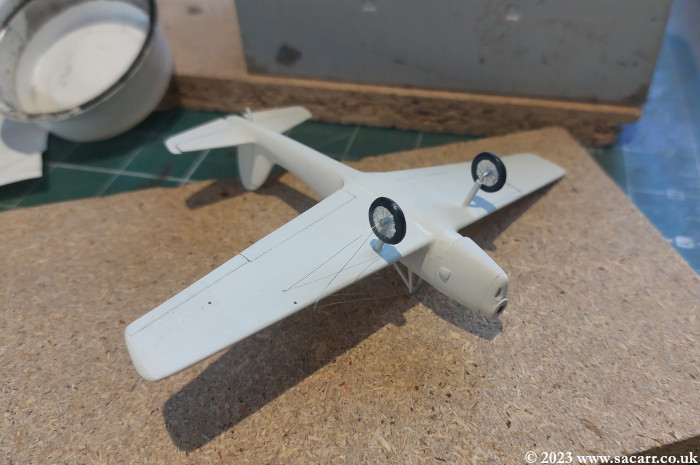
| The wire wheels attached finally! I'm quite pleased with the way they turned out, considering they were an experiment. | ||
|
|
|
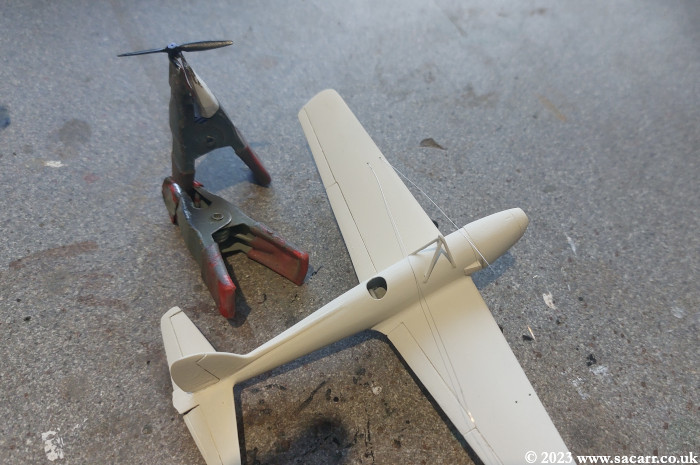
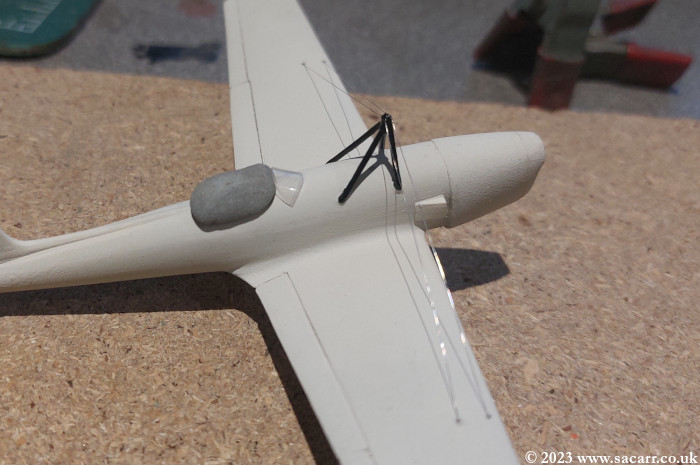
| Progress halted for 11 months until December 2023, when I got around to fitting the rigging wires. | ||
|
|
|
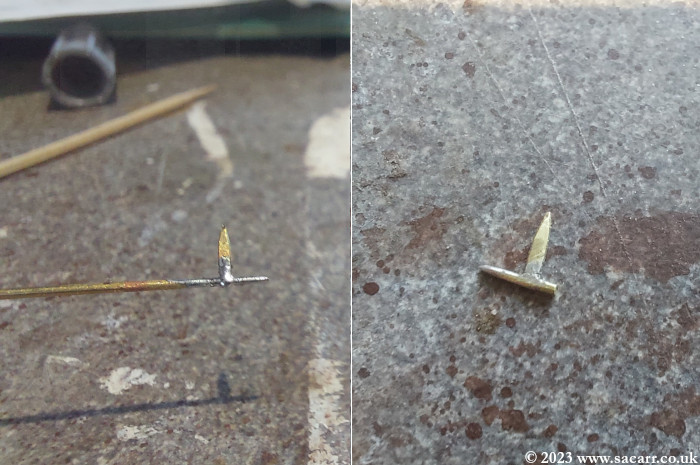
| The pitot tube was soldered up from brass rod and attached with cyano. The rigging pylon was painted next. | ||
|
|

|
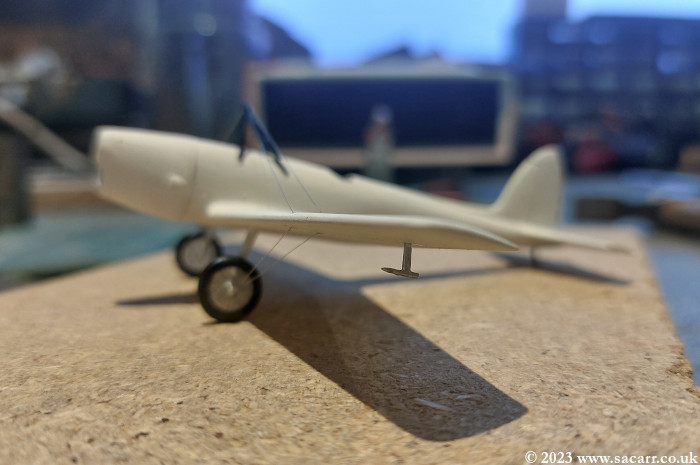
| The rudder also had someblack painting, replicating the markings on the original, which I presume was to give the impression of a scalloped trailing edge. Ezra Stiles had his jacket, goggles and harness painted. An acetate windscreen was formed and glued in place with PVA glue, held in place with Blu-Tac until dry. | ||
|
|
|
| Almost complete, just waiting for the paint on Ezra Stiles to dry and then he canbe fitted. | ||
|
|
|
|
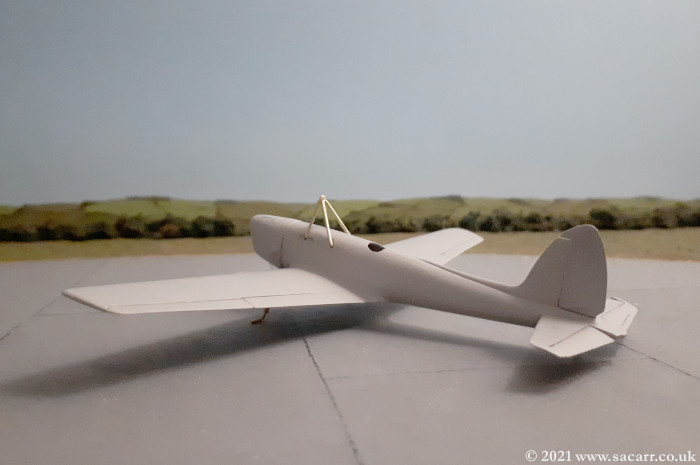
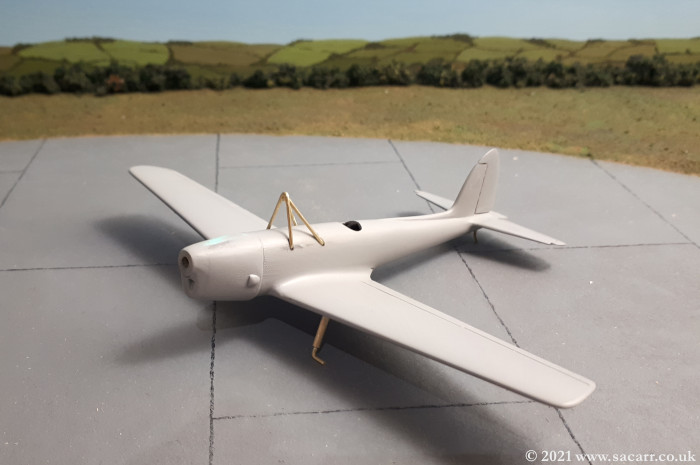
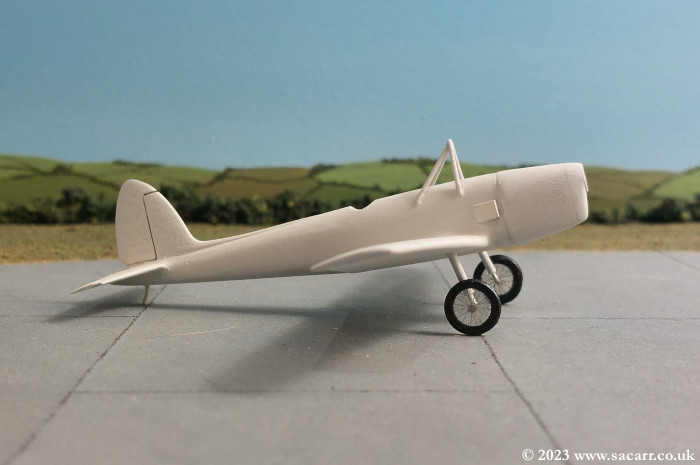
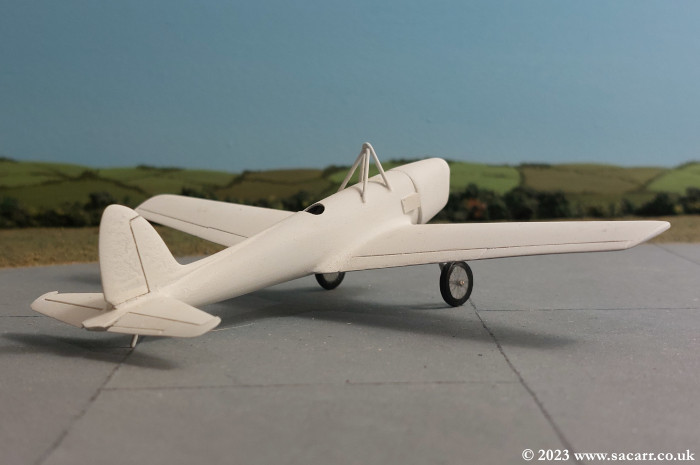
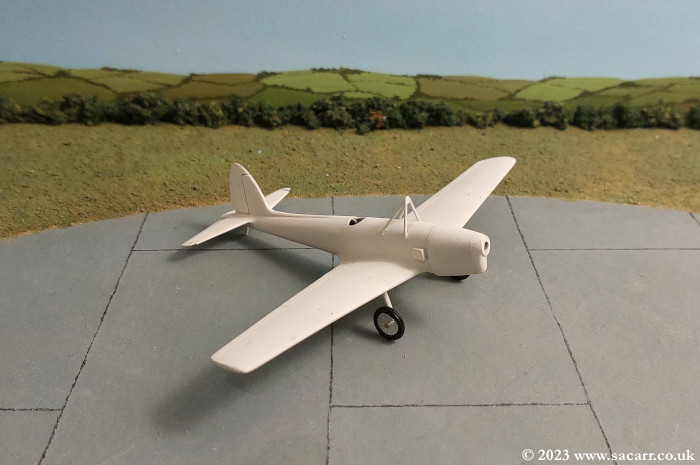
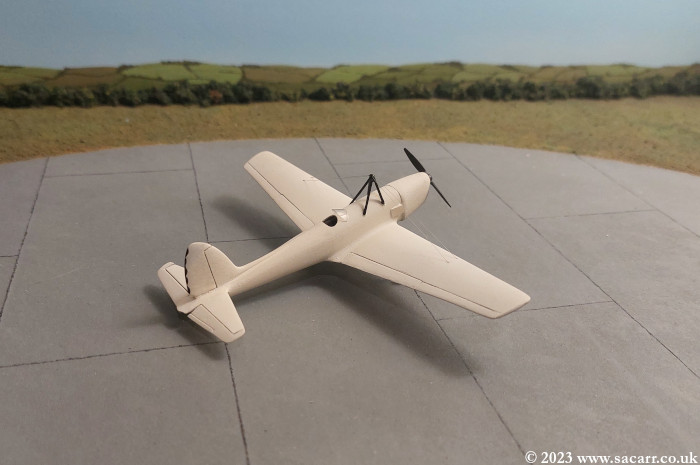
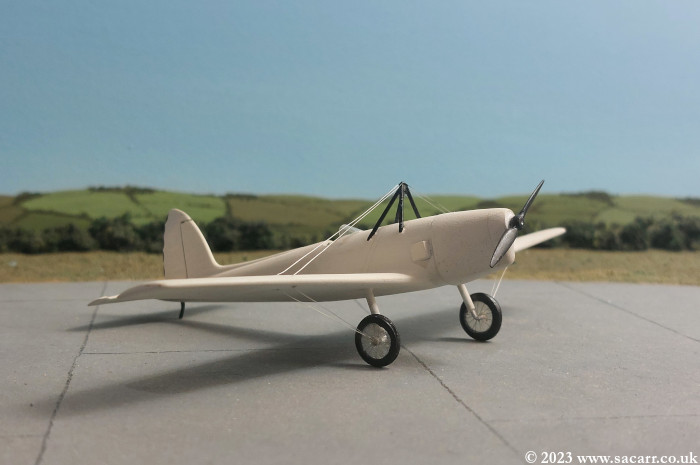
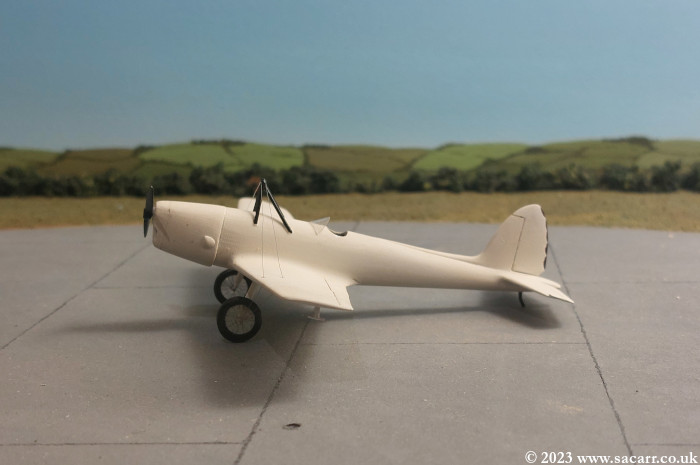
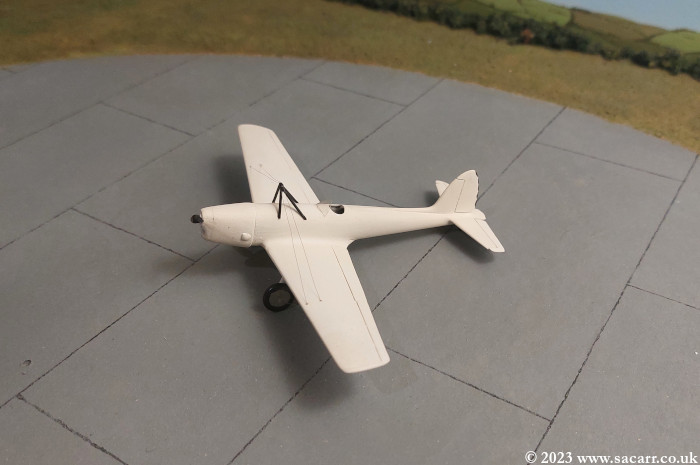
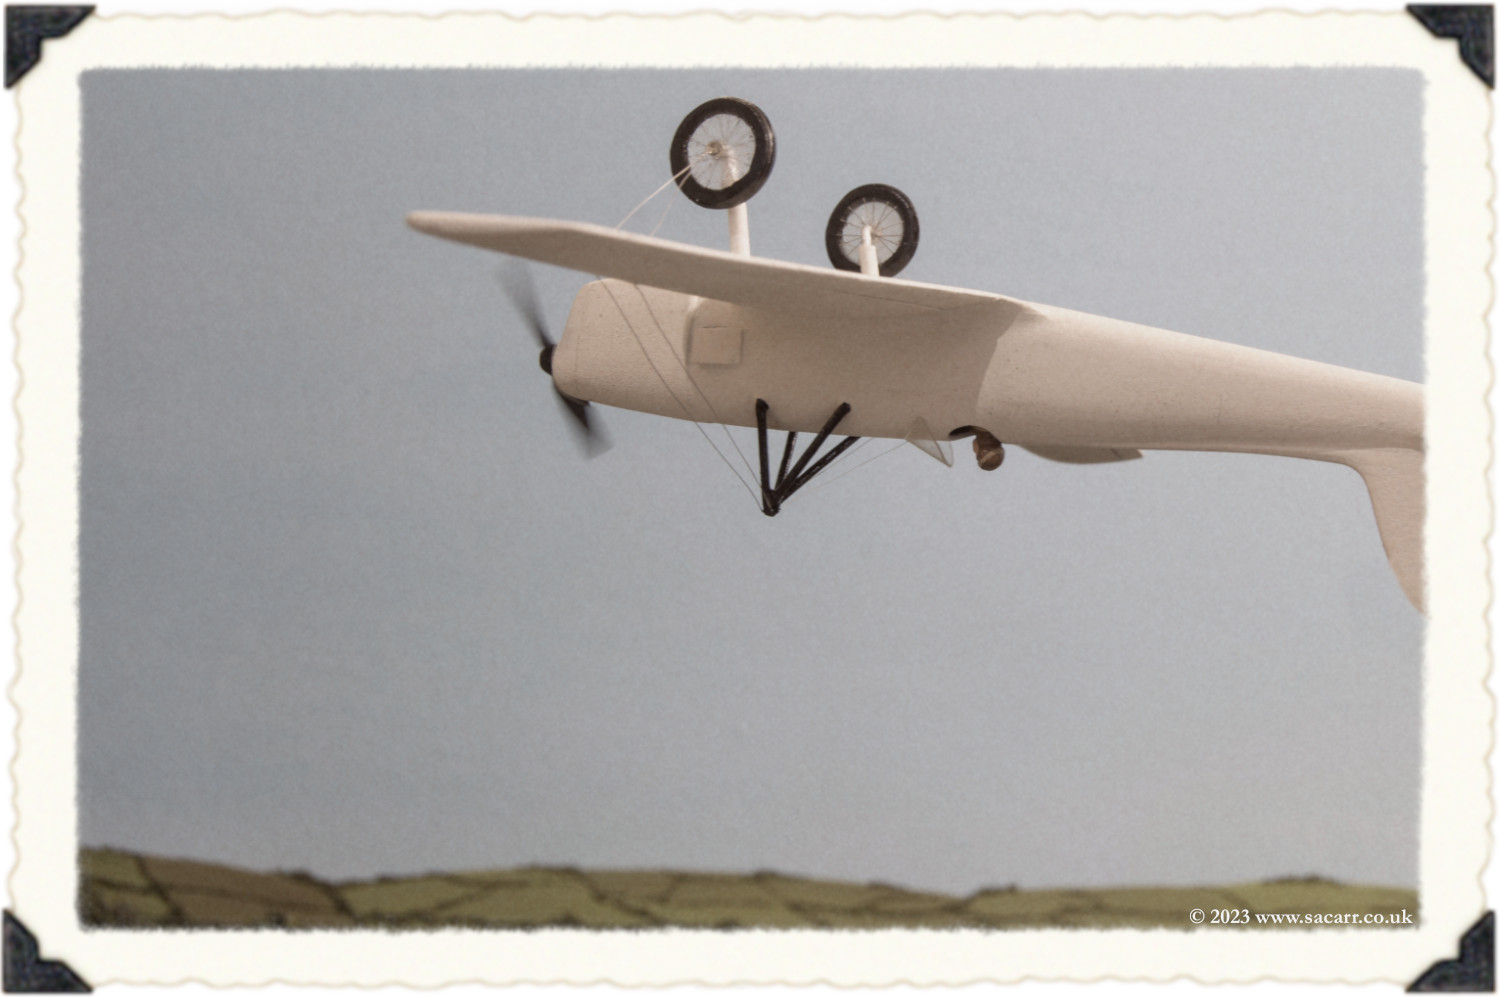
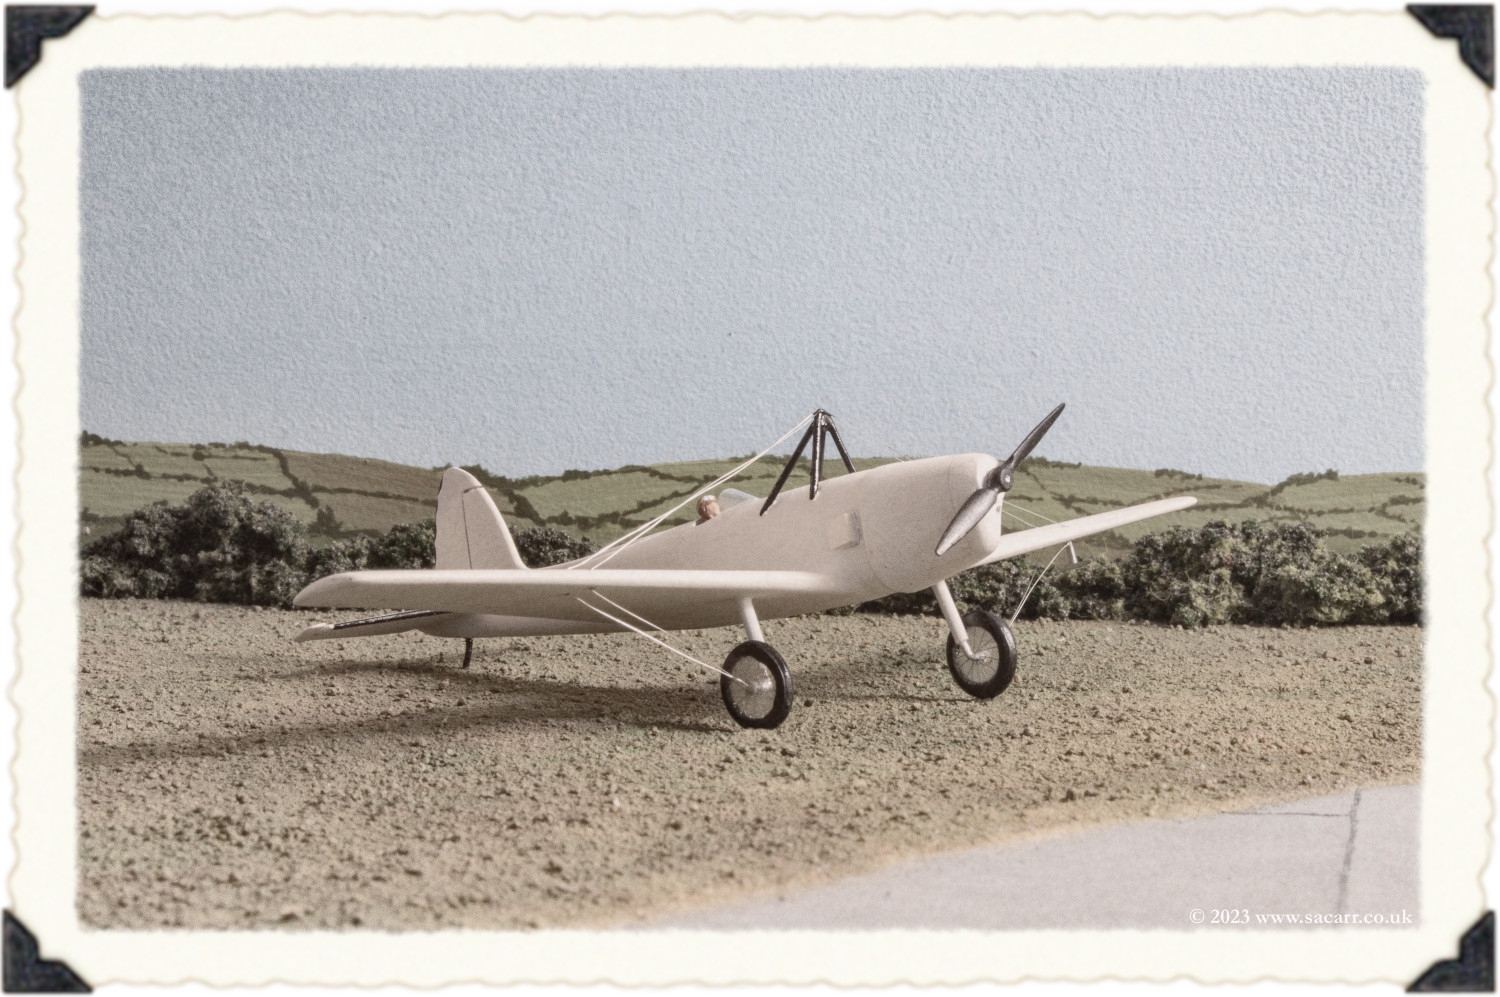
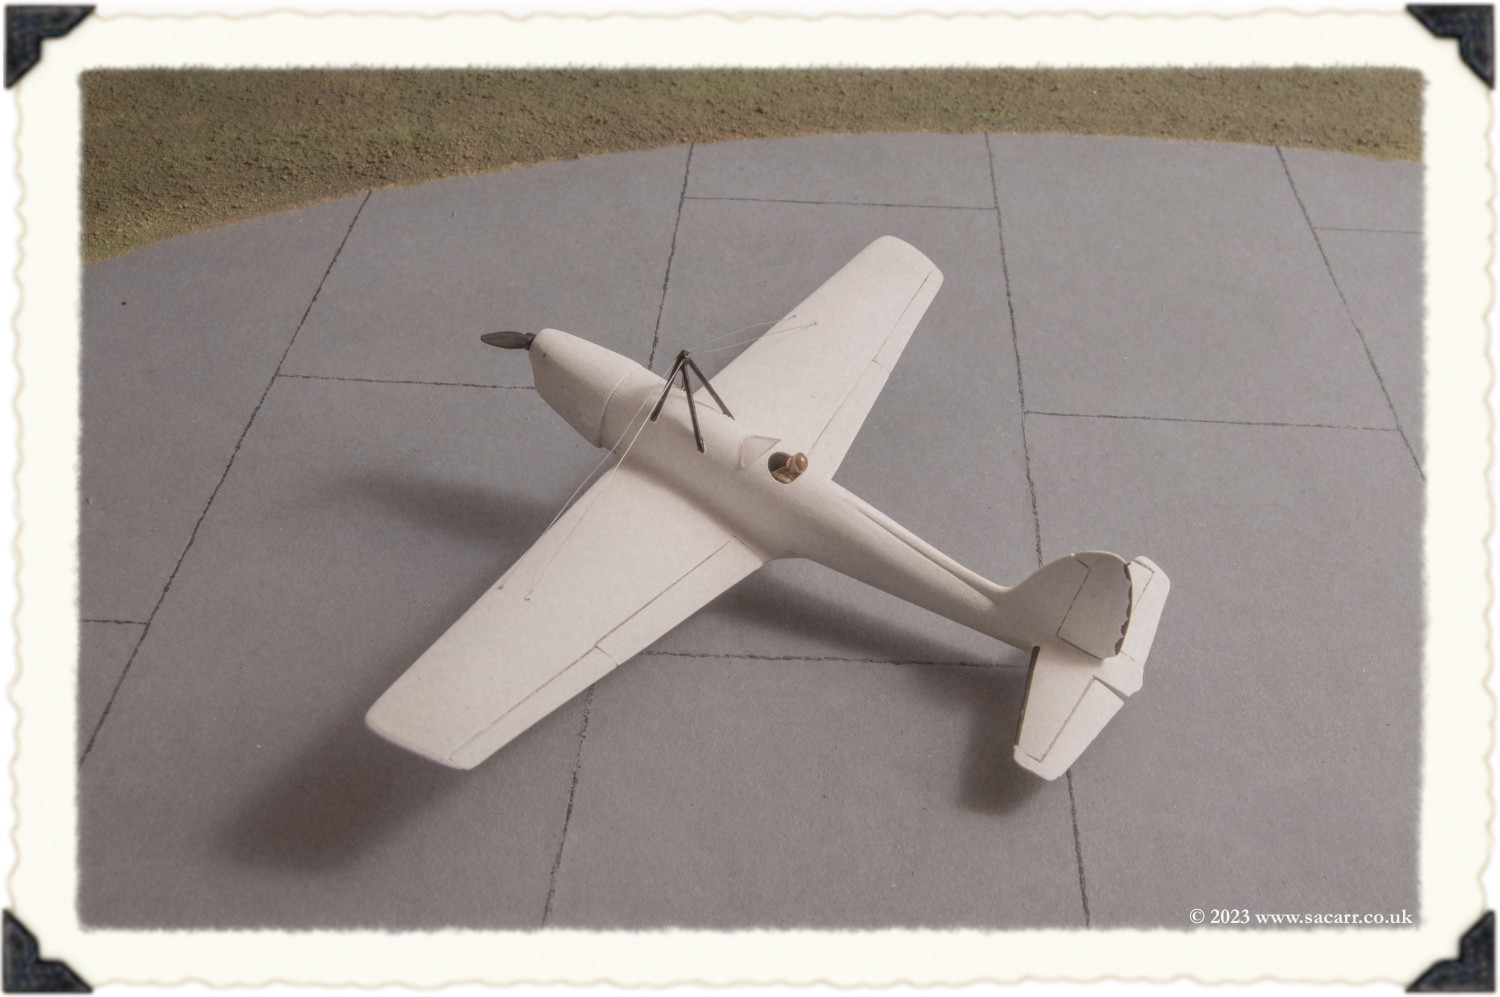
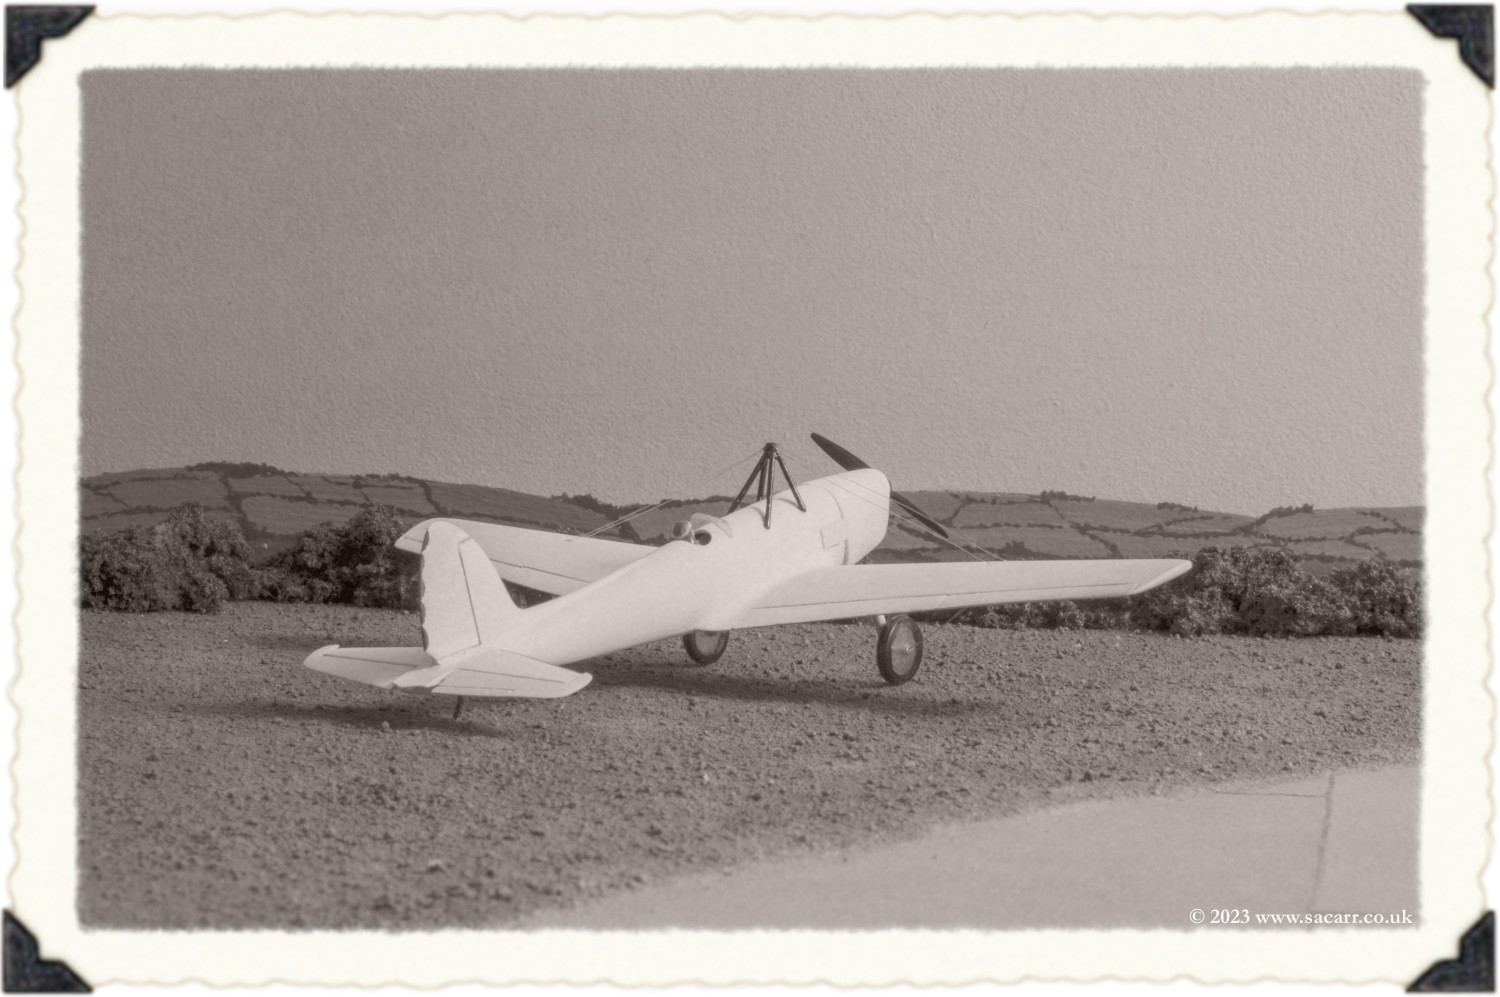
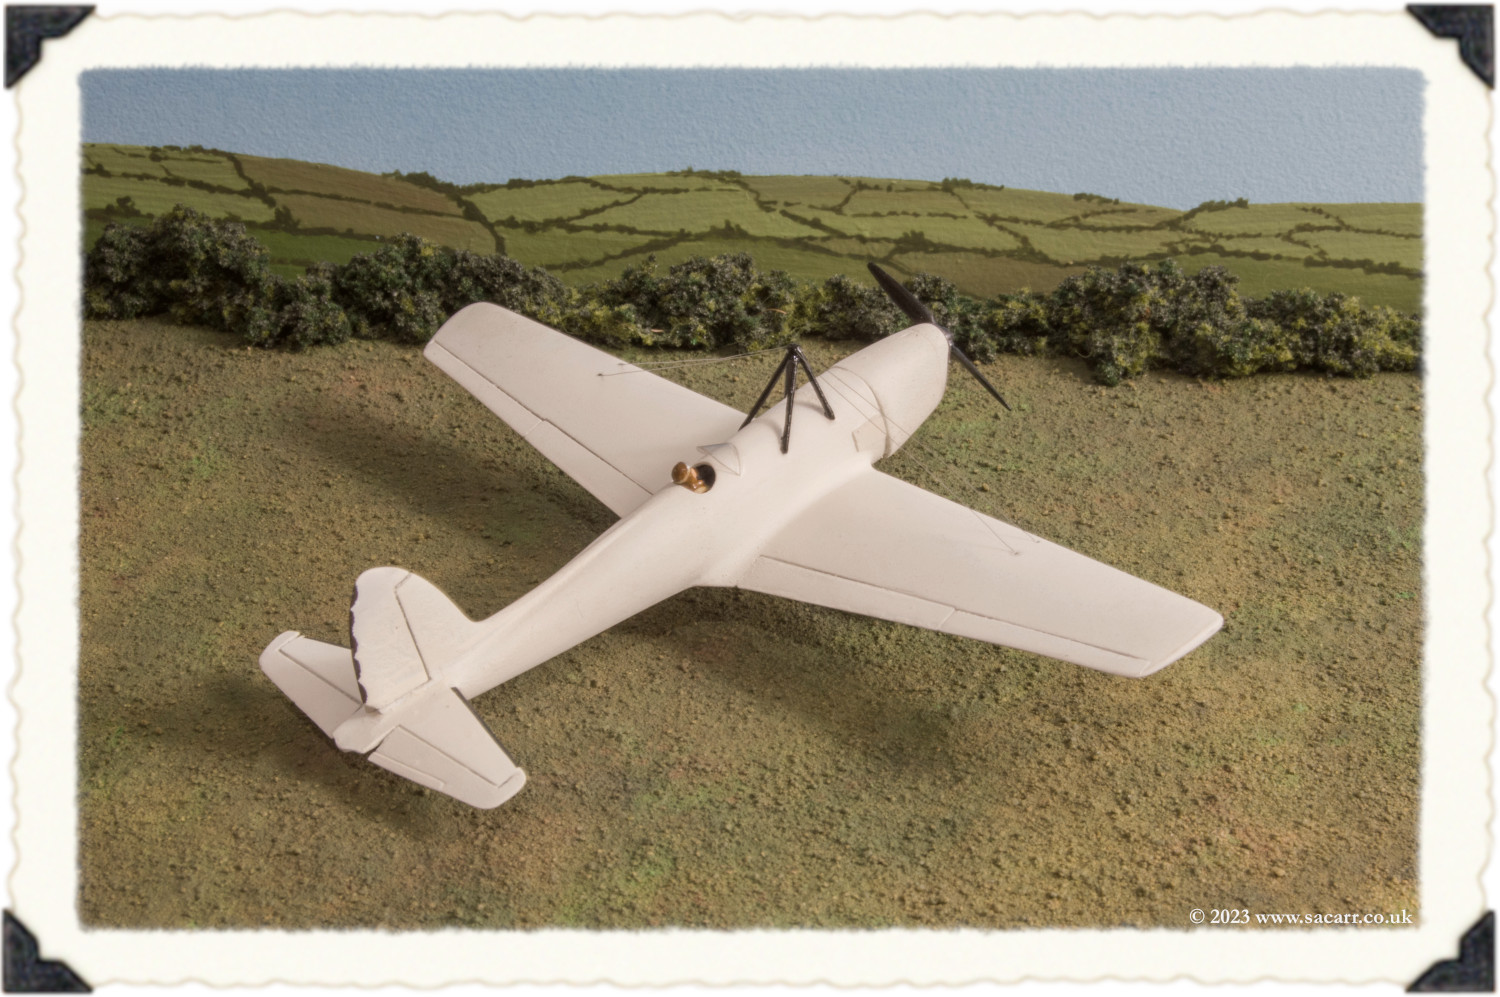
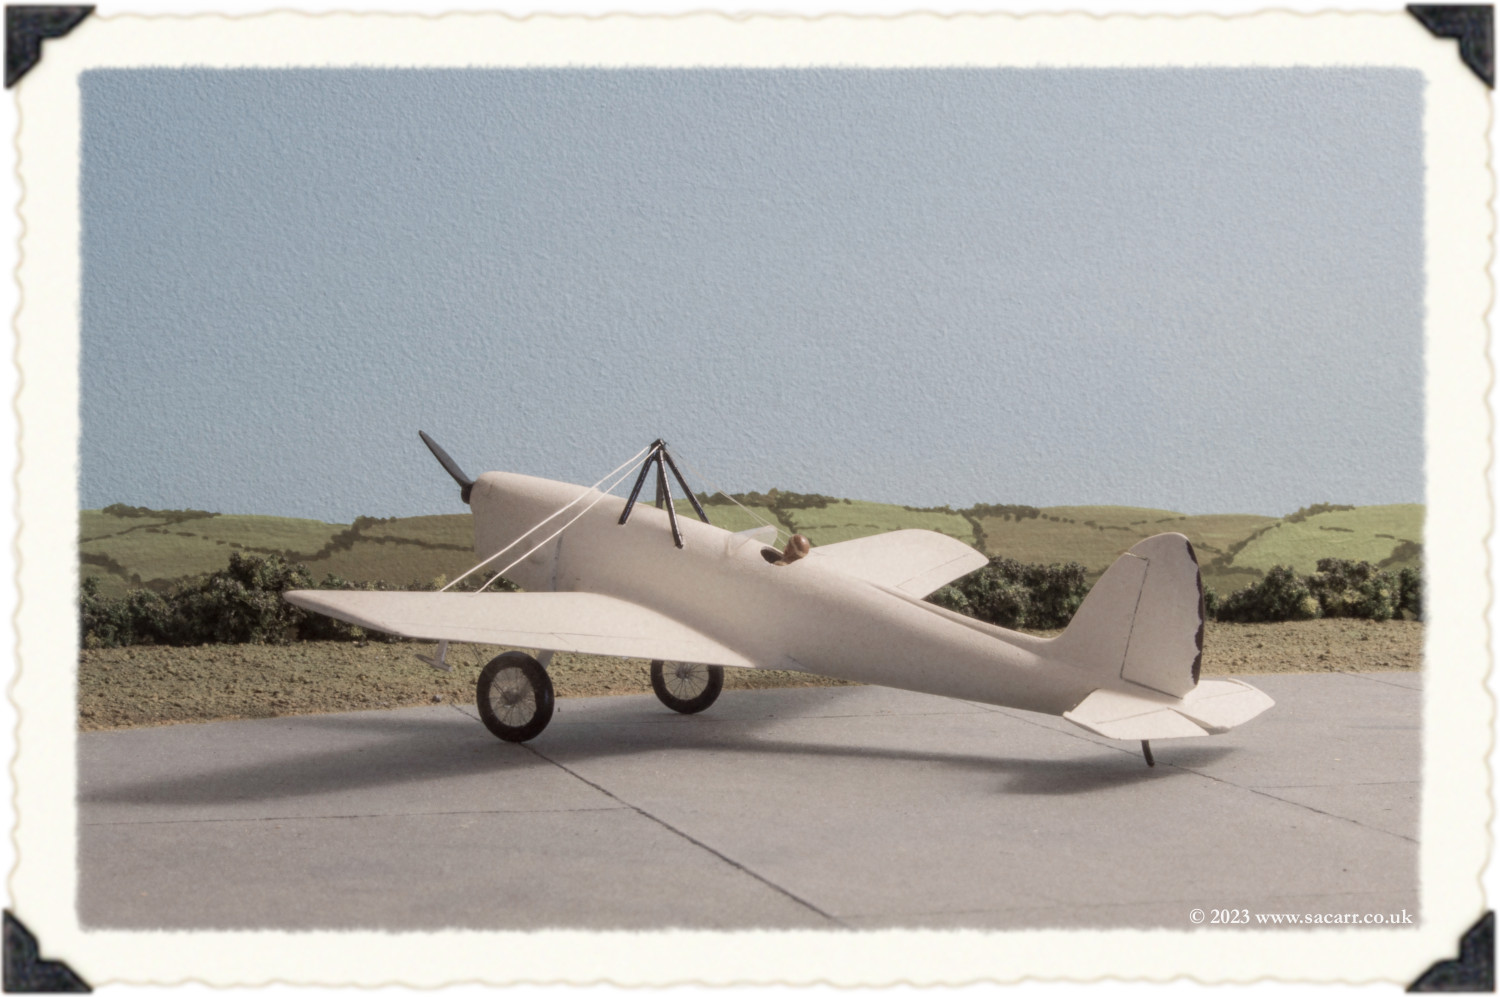
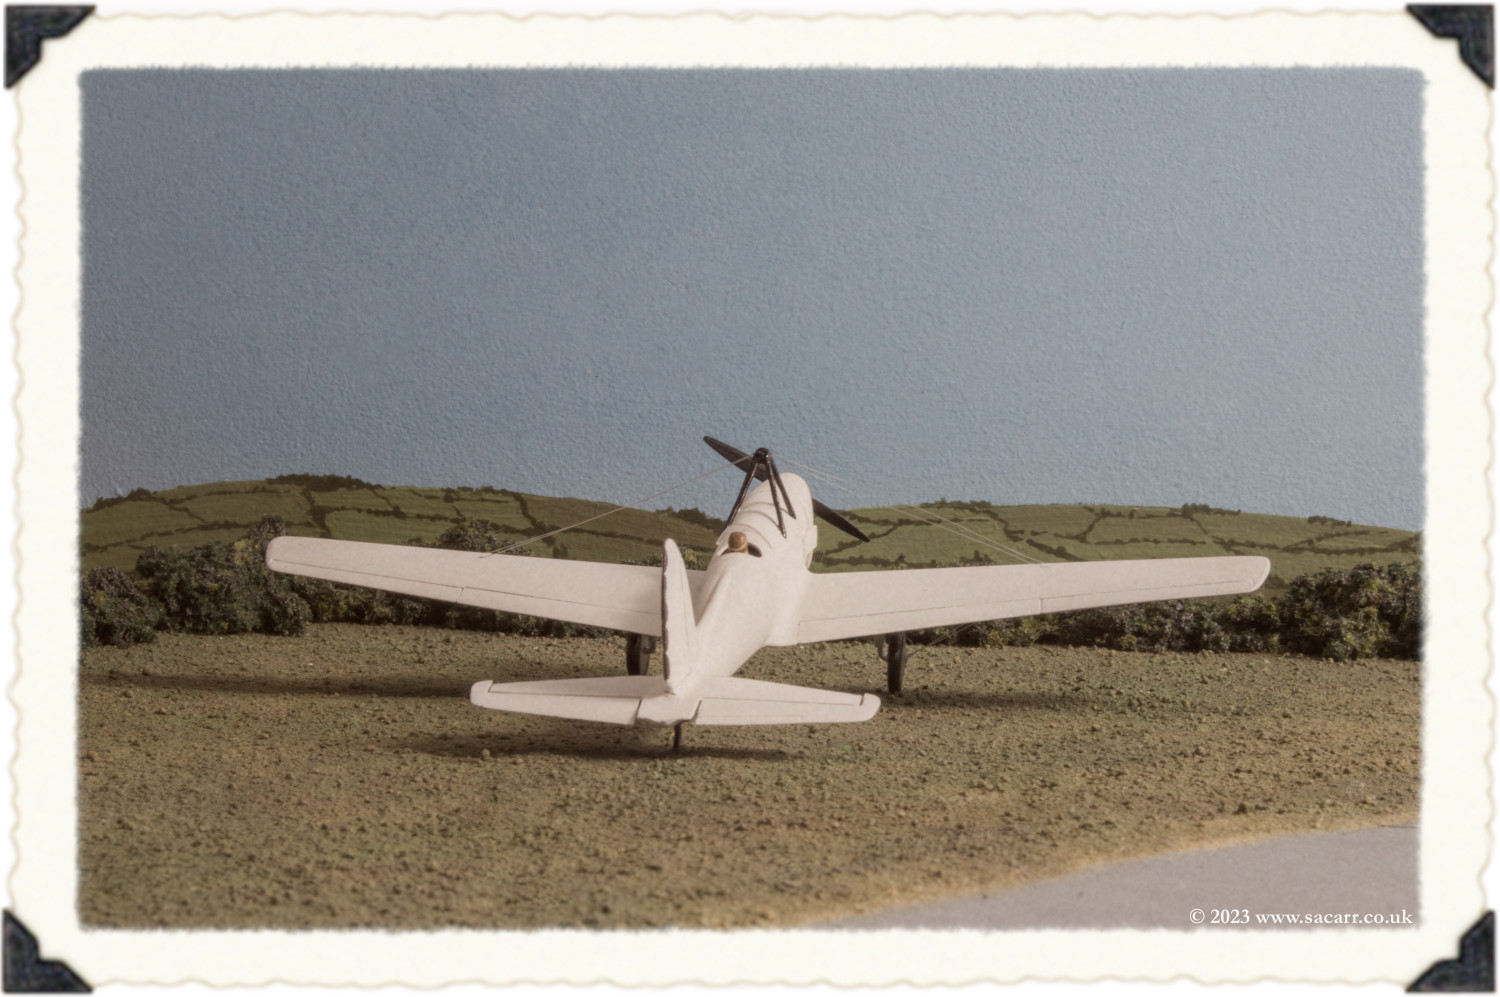
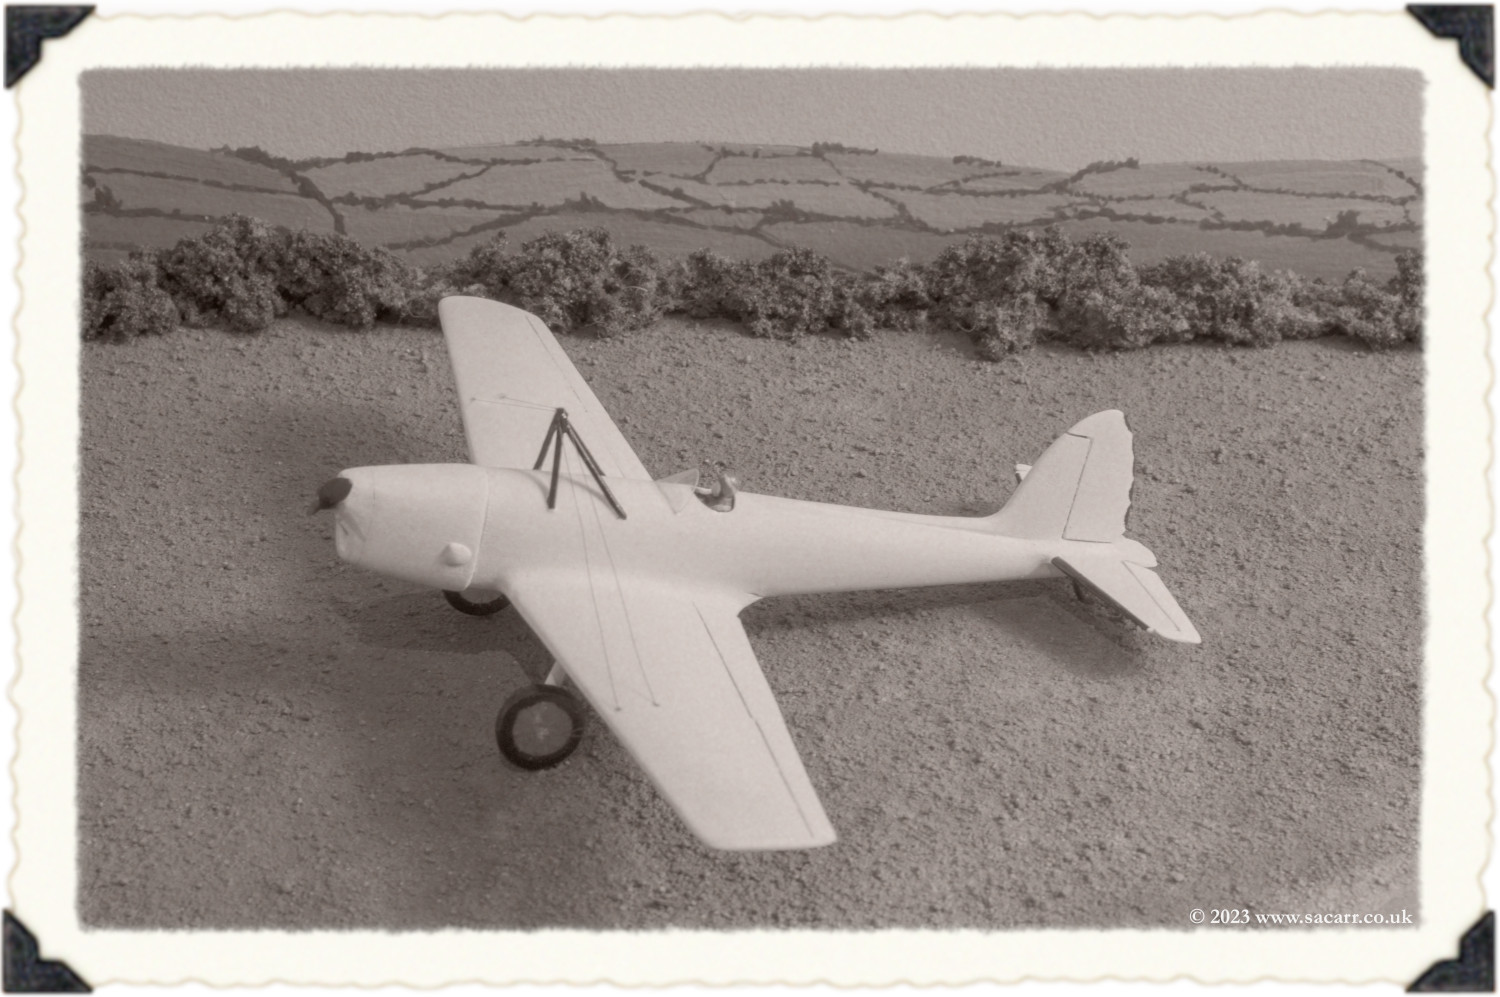
The finishing details were added on the 3rd of December 2023. They were the black lines on the leading edges of the tailplanes and adding the pilot. I then set up the model in my photo booth and took a selection of pictures from various angles, shown below. | 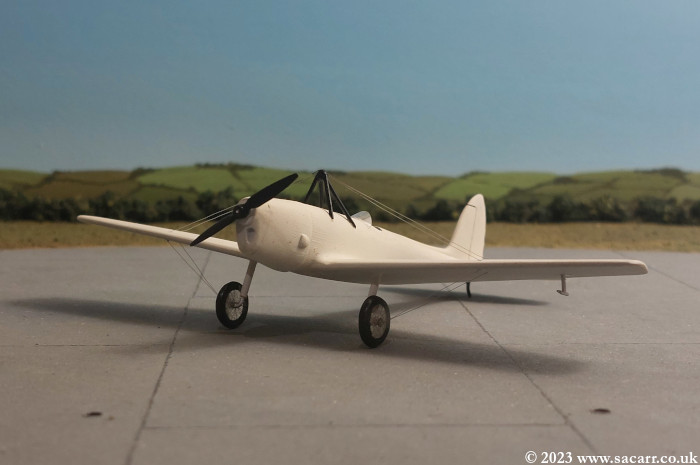
|

|
||
|
|

|
|
|
|
|
|
|
| Back | ||