|
|
|||||||||||||||||||
|
|
|||||||||||||||||||
|
|
|||||||||||||||||||
Sun - Moon - Planets - Comets & Small Solar System Bodies - Messier Objects - NGC & IC Objects - Events, Widefield & Montages - Stars - Telescope
Telescopes, Equipment & Observatories
|
|
|||||||||||||||||||
|
|
|||||||||||||||||||
|
|
|||||||||||||||||||
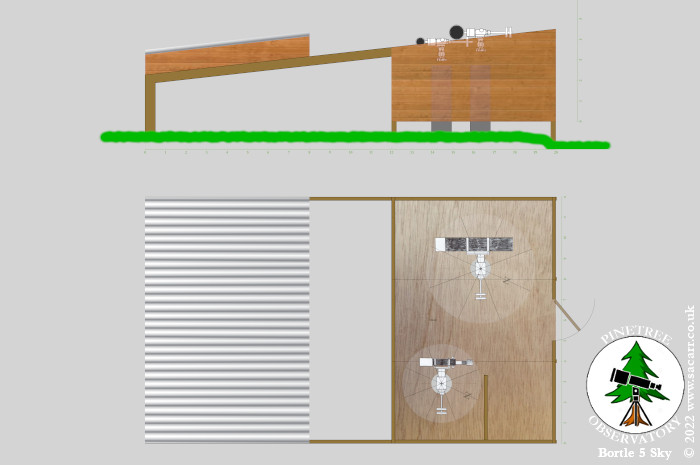
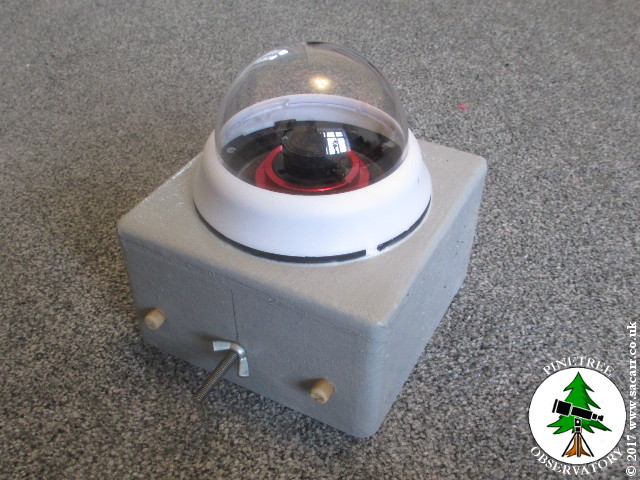
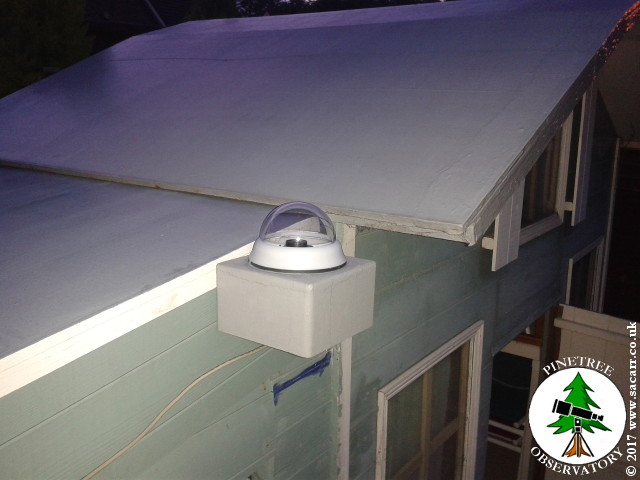
All Sky Camera Housing
|
After spotting a security
camera dome on Ebay for a couple of pounds, I got around to building a
housing for an all sky camera. The camera mounts from below and the
whole housing is removable to protect the dome from extreme weather and
UV.
More details of the build can be found here.
|
Imaging Equipment
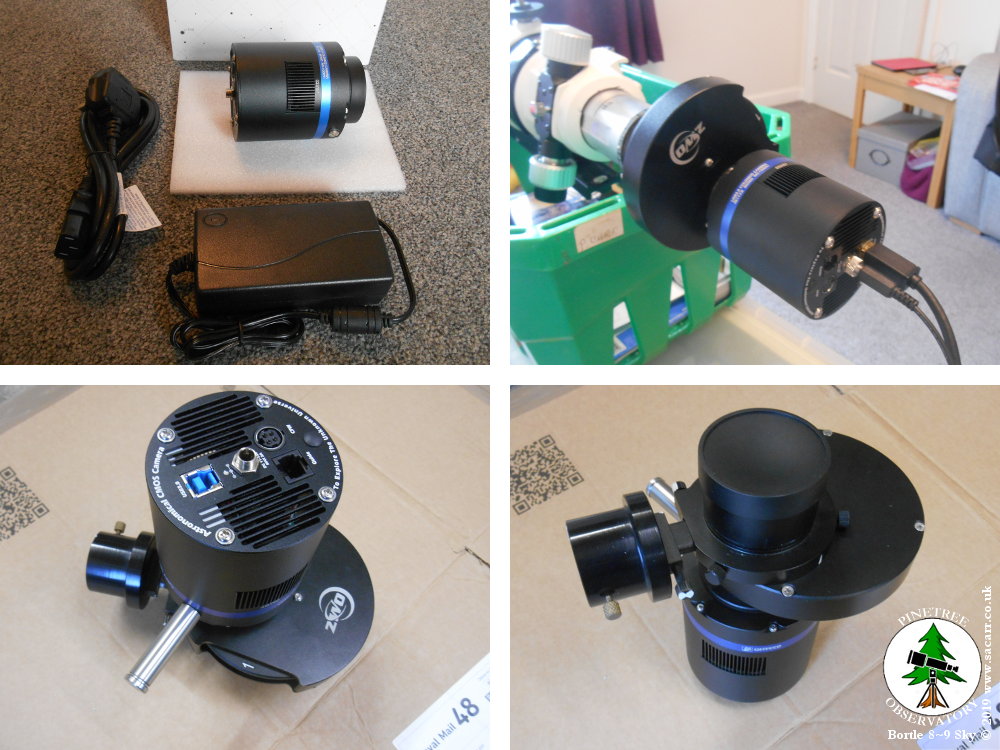
| QHY163M
Deep Sky Camera
The QHY163 mono is my new deep sky cooled camera. It has been mated with my ZWO filter wheel and Off-Axis guider. The filter wheel has Luminance, Red, Green, Blue and 7nm Hydrogen Alpha filters. |
ZWO
ASI 120MM-S - Lunar
This is the fast mono version of the ZWO camera. Along with the Astronomik 742nm IR Pass filter, it is my main Lunar imaging camera. The IR Pass filter cuts through poorer seeing, allowing more opportunities to image. |
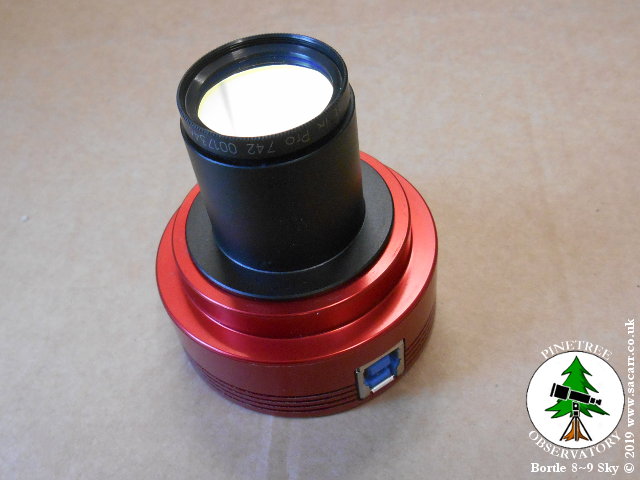
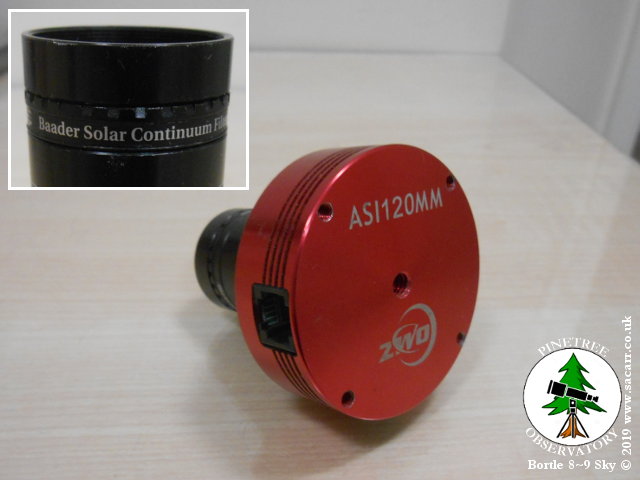
ZWO
ASI 120MM - W/L Solar
This is the older USB2 mono ZWO camera. It is good for Planetery, Combined with the green Baader Solar Continuum filter, it is my white light solar imaging camera for Sun spots, faculae and surface granulation. |
ZWO
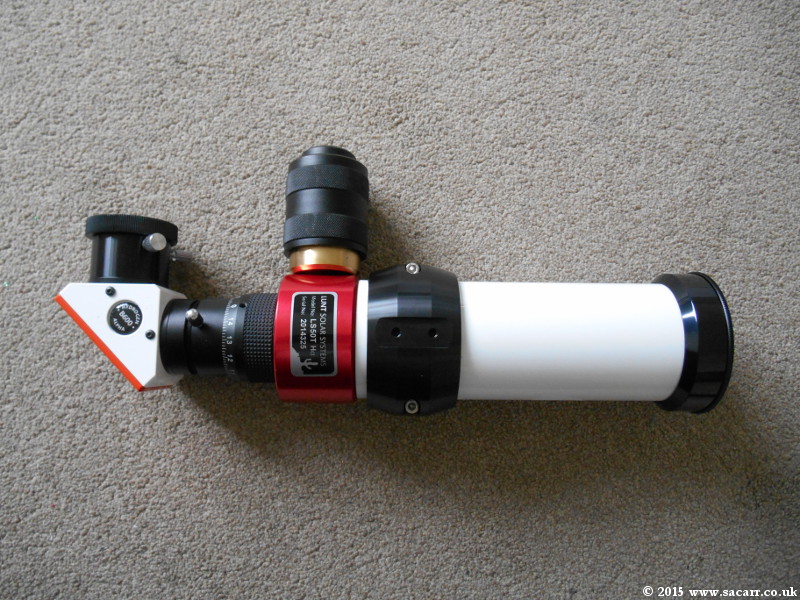
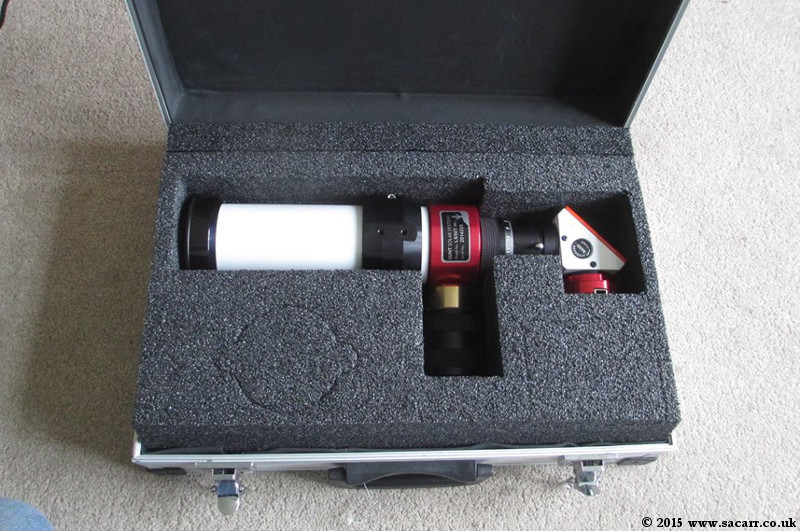
ASI 120MM - Ha Solar
This is another older USB2 mono ZWO camera. This one is permanently attached to my Lunt LS50THa solar scope for imaging the Sun in Hydrogen Alpha light. |
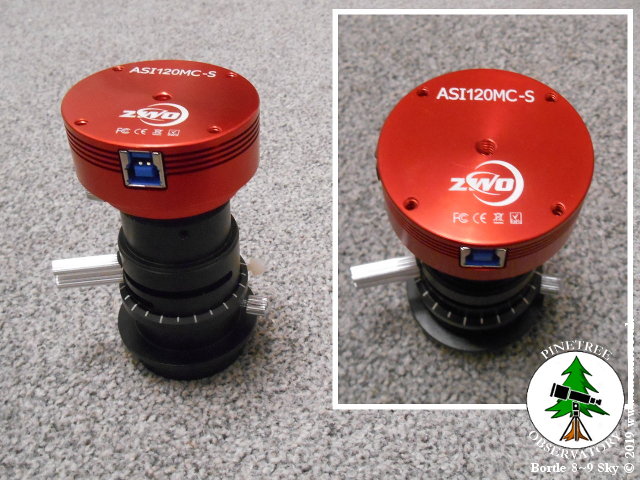
ZWO
ASI 120MC-S The newest of my ASI120 cameras is the MC version. I got this for use on planets, along with the Atmospheric Dispersion Corrector, for daytime "Blue Moons" and general all sky captures. |
 |
 |
 |
 |
 |
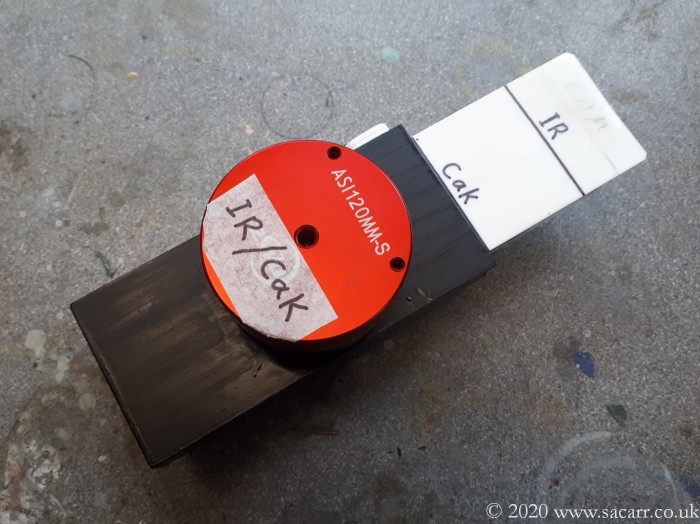
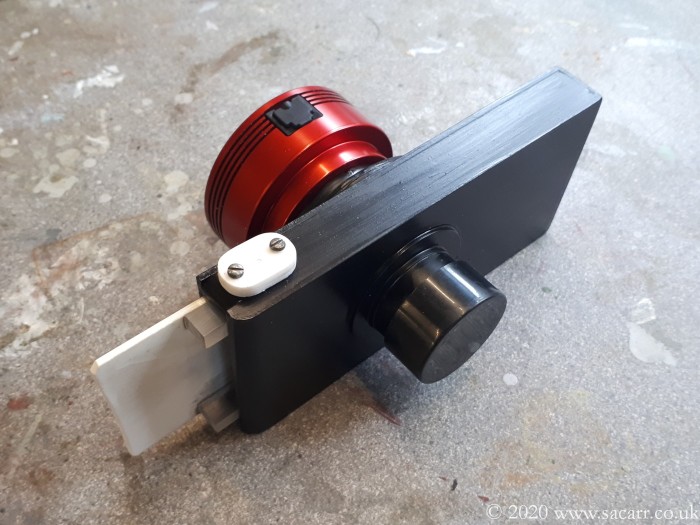
| Two Position Filter Tray | ||||
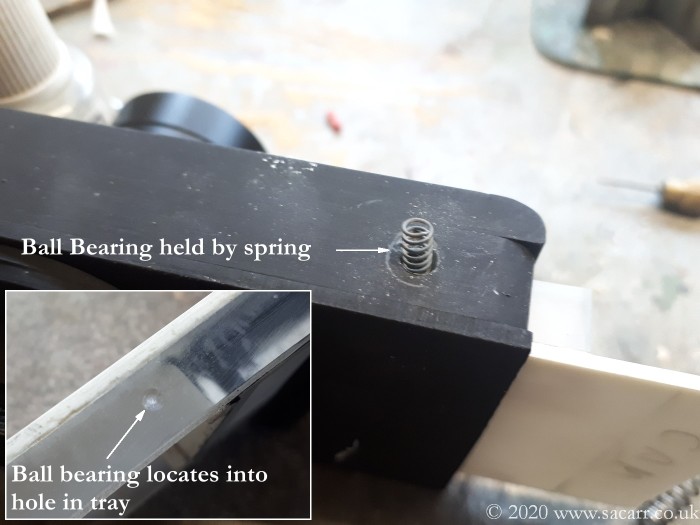
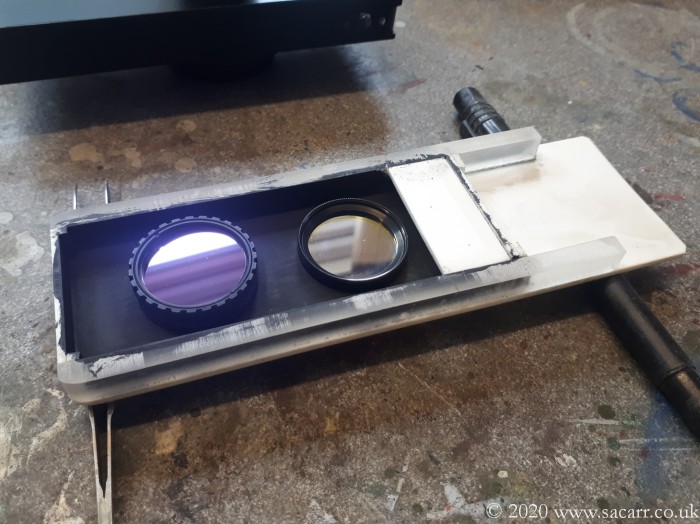
| My manual filter wheel has moved to my deep sky camera, with the Luminance, RGB and Ha filters. That left my ASI120MM-S camera with the 742nm IR Pass filter for lunar images. Now that I have the CaK filter, I didn't want to have to keep swapping them over. Also, if I'm shooting Venus, I'll want to switch between the IR and CaK filter for a clean planet image and cloud detail. So I decided to make a two position tray for the IR and CaK filters. I had a spare camera nose piece and another camera adapter that I could use and the rest was made from acrylic sheet and styrene. A small hole in the side of the tray contains a compression spring and ball bearing. The bearing locates in a small hole, allowing the tray to click into position for each filter, ensuring they line up under the camera. A small cover plate holds the spring in place. | 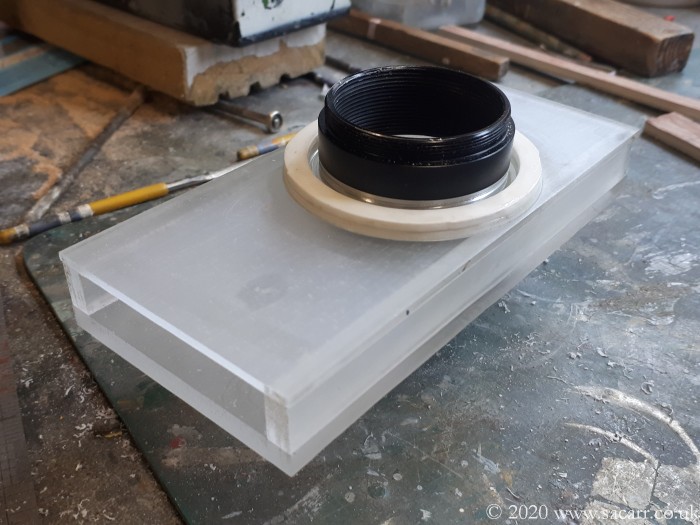 |
|||
 |
 |
 |
 |
 |
Imaging Equipment
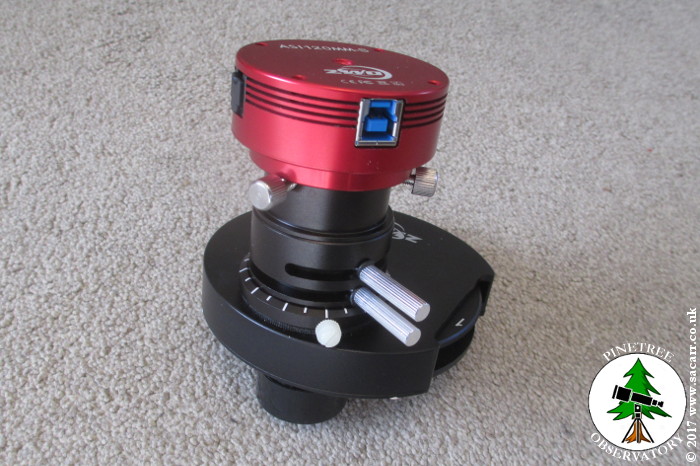
| Atmospheric
Dispersion Corrector
As light passes through the atmosphere, it is refracted into its component colours. The lower in the sky the object is, the greater the refraction is. The Atmospheric Dispersion Corrector uses two adjustable prisms to bend the light by an equal and opposite amount to correct the effect of the atmosphere. The planets are quite low in the sky for observers in Northern England so the ADC should help to compensate for that low altitude and allow sharper images. |
|
 |
|
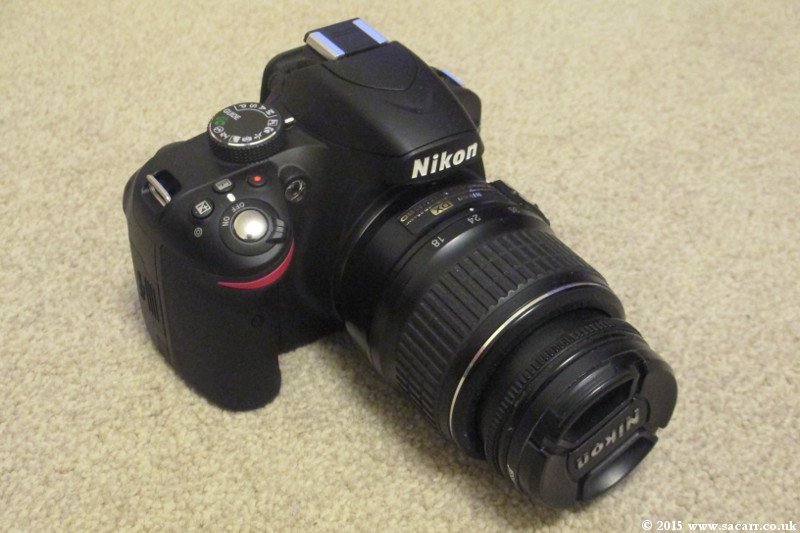
| Nikon
D3200 camera
The D3200 replaced the D50 when it died. While still a base model, its technology is far ahead of the D50. I use it for Whole Moon shots, Noctilucent Clouds, Sunrises and Sunsets and other widefield images. With the purchase of the QHY camera, both the Nikon and Canon 1100D are no longer needed for deep sky imaging. |
 |
Lodestar
Guide Camera
My guide camera is the Starlight Xpress Lodestar Autoguider. Regarded as one of the most sensitive guide cameras on the market, something that is needed with my OAG and in my light polluted area. |
 |
|
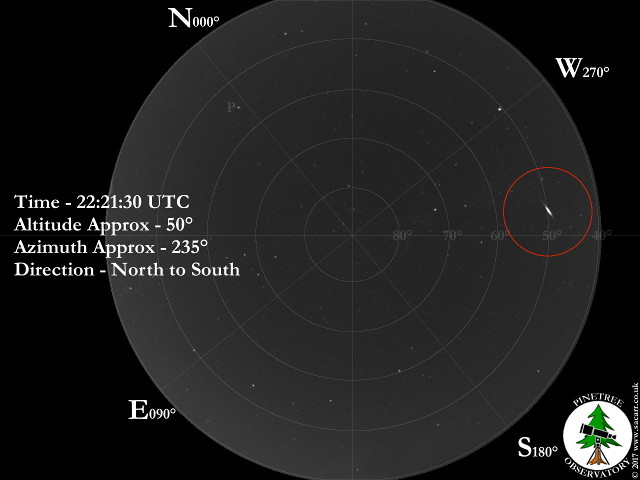
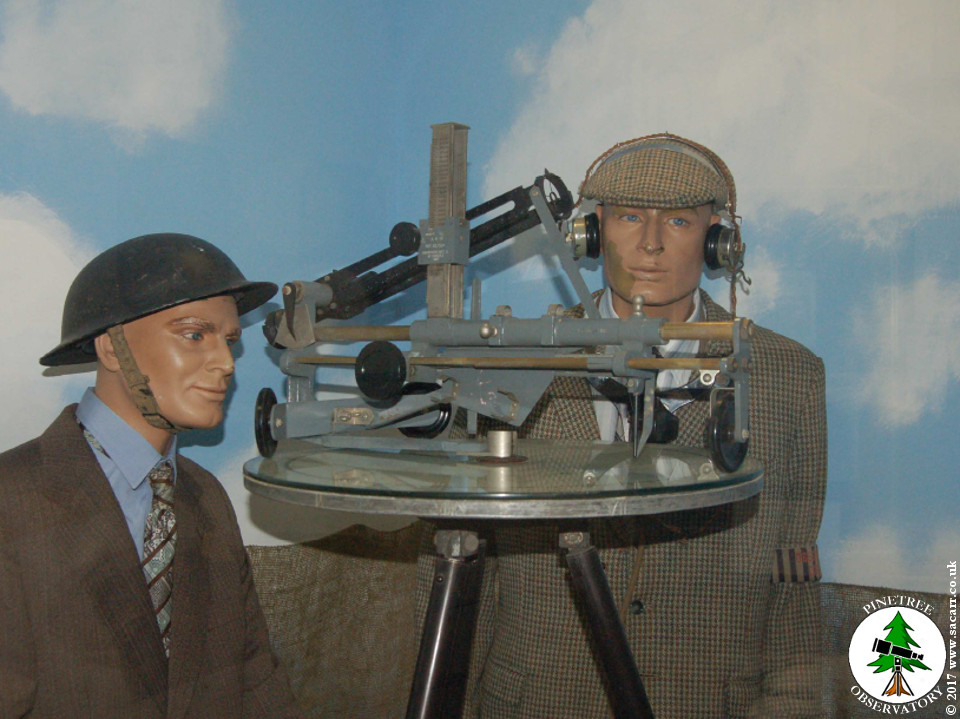
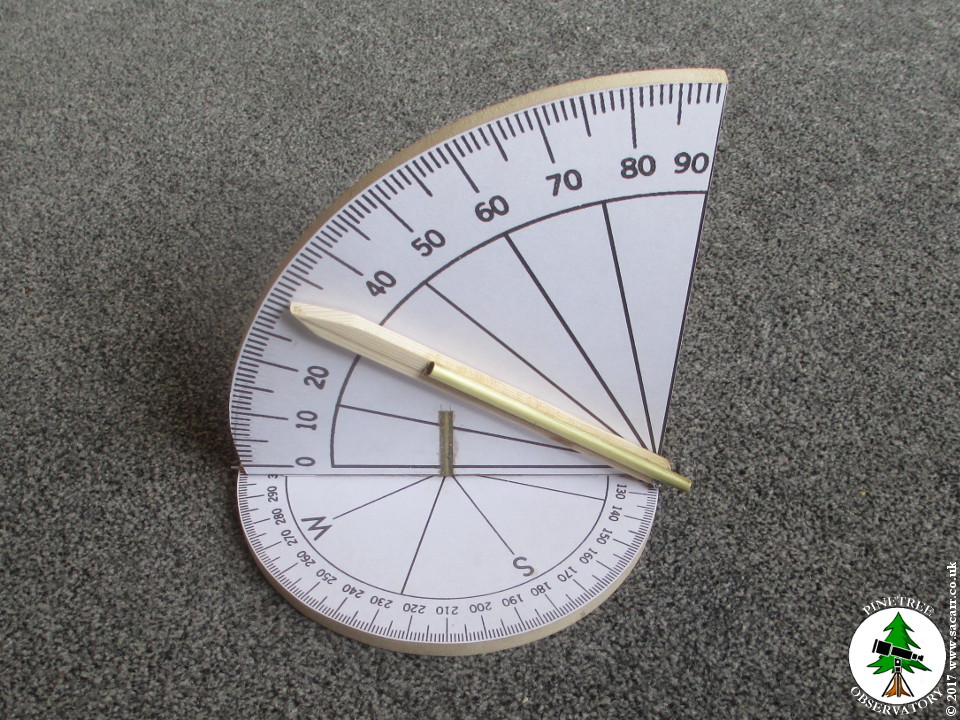
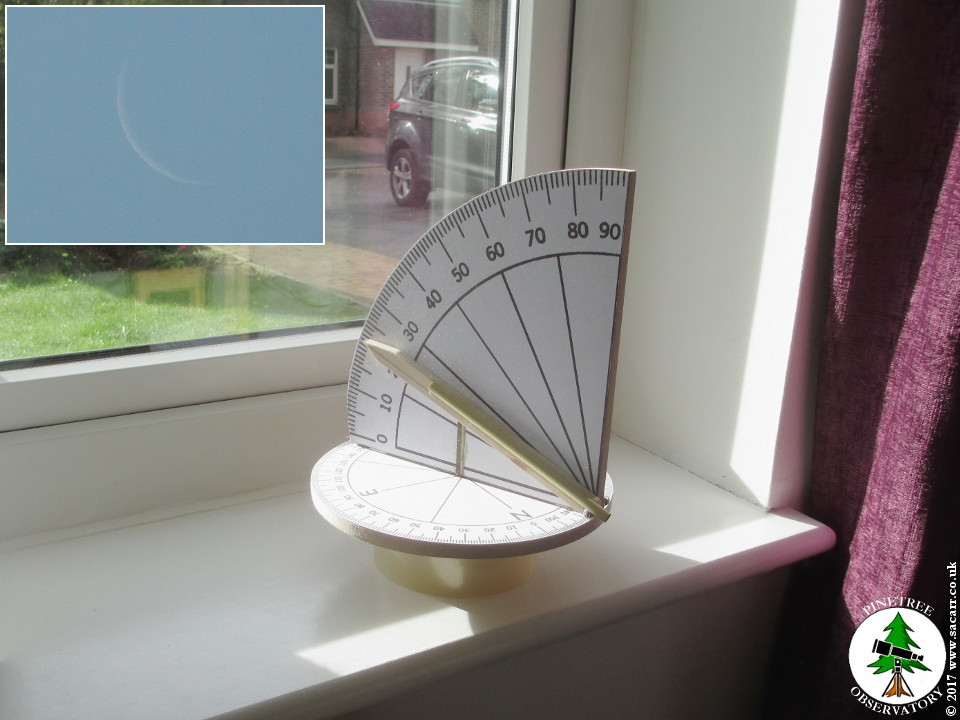
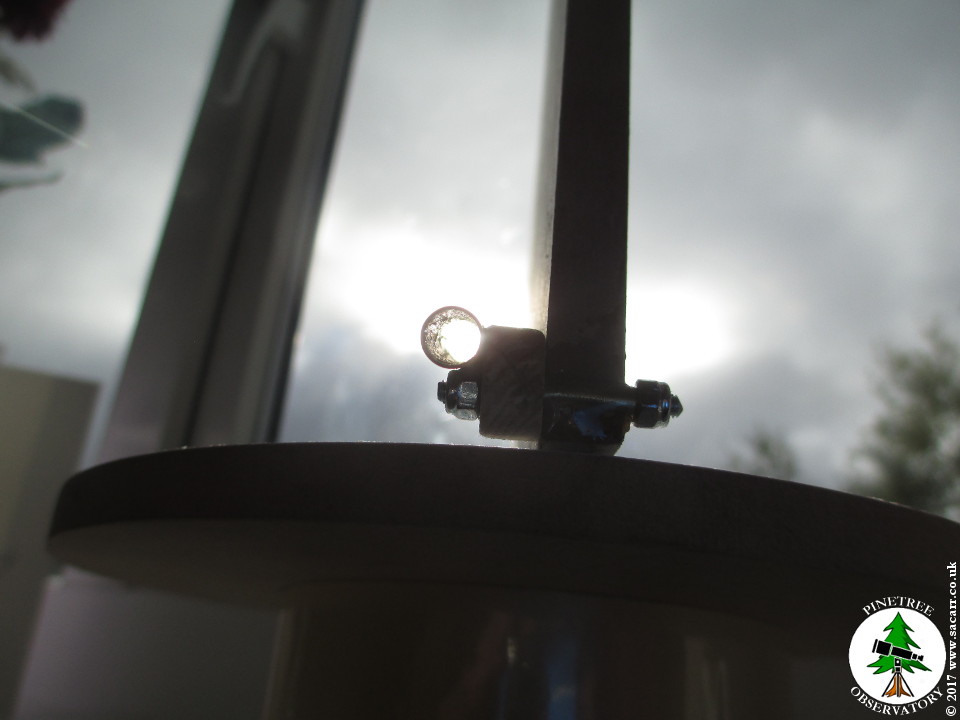
Sky Plotter I quite often like to try and catch the tiny crescent Moon in daylight one or two days before New Moon. Finding it in a bright sky can be hard. The same can be said for daylight planets, or comets like C/2011 L4 Panstarrs in March 2013, visible briefly at dusk before it set. Based on a Royal Observer Corps plotting instrument, I've made my own version with a sighting tube to find objects in the sky when I'm not using a goto or even a dob mounted scope/camera. My house is aligned almost exactly with the compass points, so it is easy to set it up on the window sill and get a fairly accurate alignment. I check on Stellarium for the Alt/Az co-ordinates of my target, set the numbers on my plotting instrument and look through the sighting tube. Once I know where the target is in the sky, it is usually then quite easy to point a camera in the right direction. Up until now, the hard part was finding the object in a bright sky. |
|||
 |
 |
 |
 |
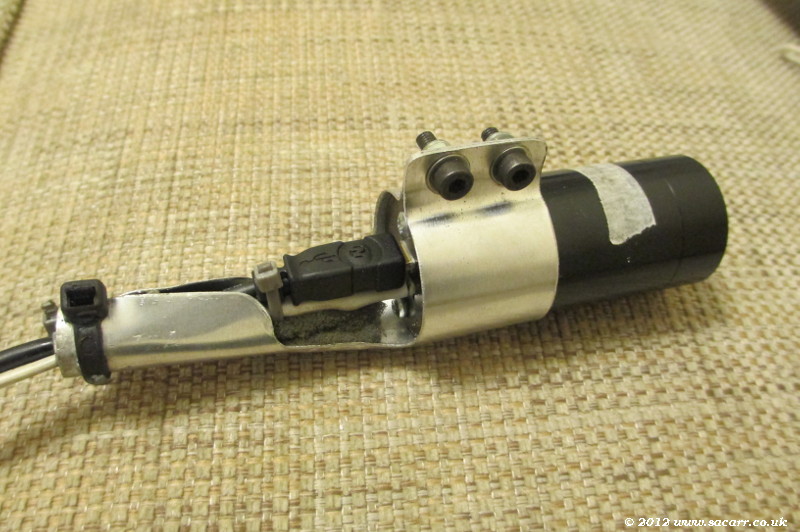
| Motor Focusser and Bahtinov Mask |
|||
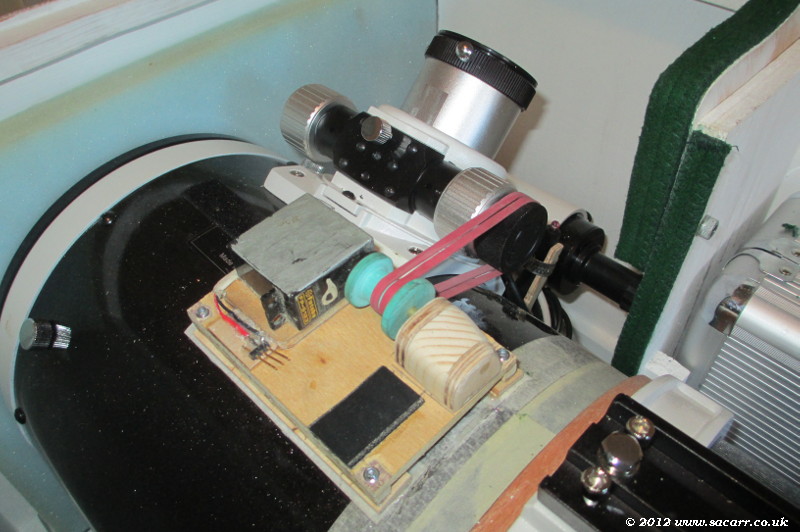 |
This is my motor driven focusser, utilizing an old R/C servo motor and elastic bands onto the fine tuning wheel. The bands can be slipped off for manual control. Power for the focus motor comes from four 1.2volt batteries in this box. A double pole double throw centre off switch controls the motor direction. |  |
|
 |
The Bahtinov Mask, designed by Pavel Bahtinov, is an aid to focussing a telescope. The grid lines take advantage of diffraction spikes caused by objects ahead of the main mirror, and make a pattern which can be seen in the picture to the right. Adjusting the focus moves the central line between the two diagonal lines. When the central line is equidistant, the image is correctly focussed. | 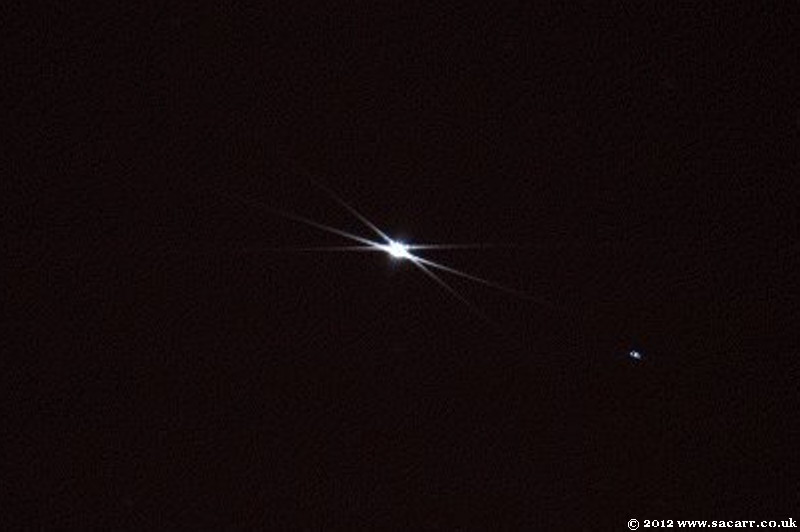 |
|
| Water Cooling for the ASI 120MM |
|||
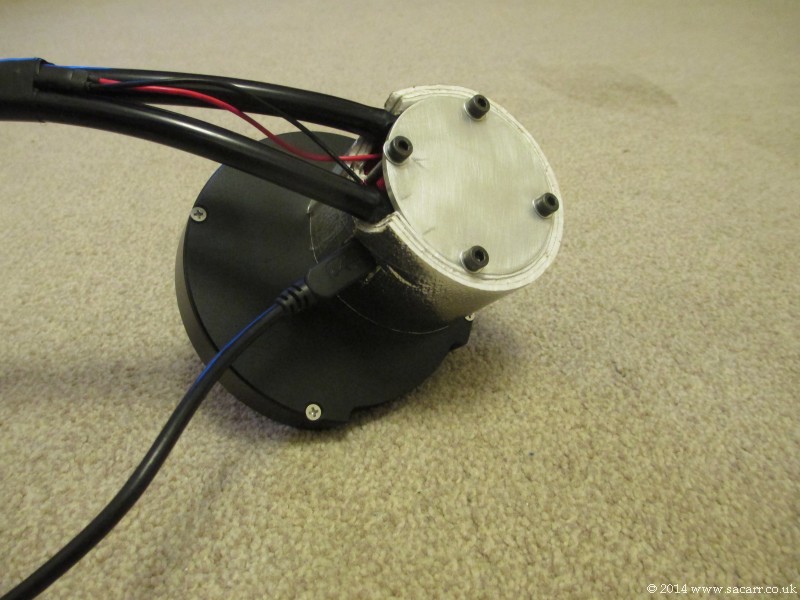 |
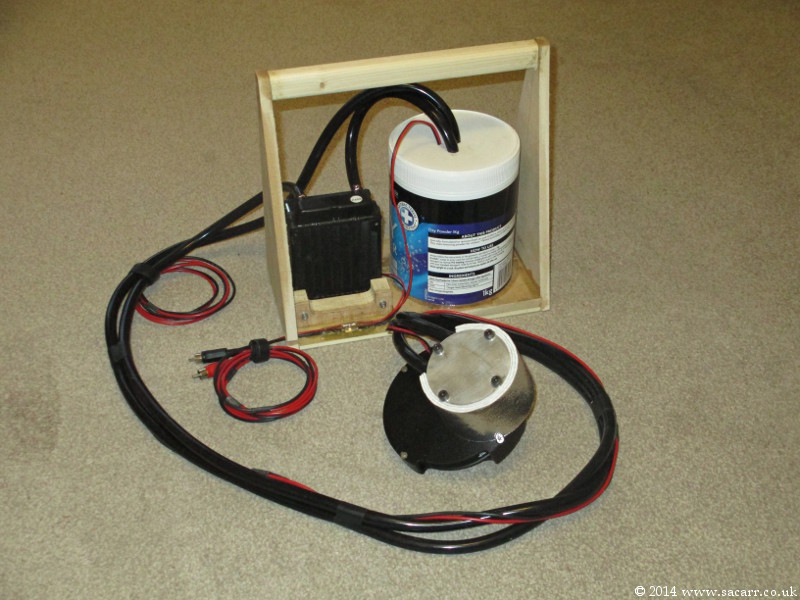
Having tried the ASI120 for long exposure deep space photography, I decided the next step was to cool it to reduce noise. This should also be of use in the Summer imaging the Sun, where sensor temperatures can rise to 40+ degrees Centigrade. |
|
|
Solar Imaging and Observing
 |
To
the left is my first home made Solar Filter. I was advised at the time,
that there was little point going larger than 100mm aperture for the
main filter.
It uses Baader solar filter material that blocks 99.9% of sunlight, allowing safe observing. The wooden frame and covers protect the fragile film. |
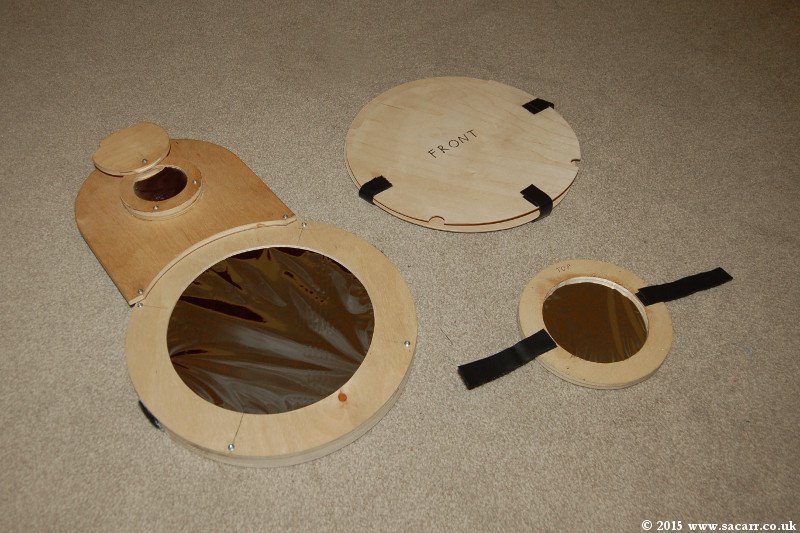 |
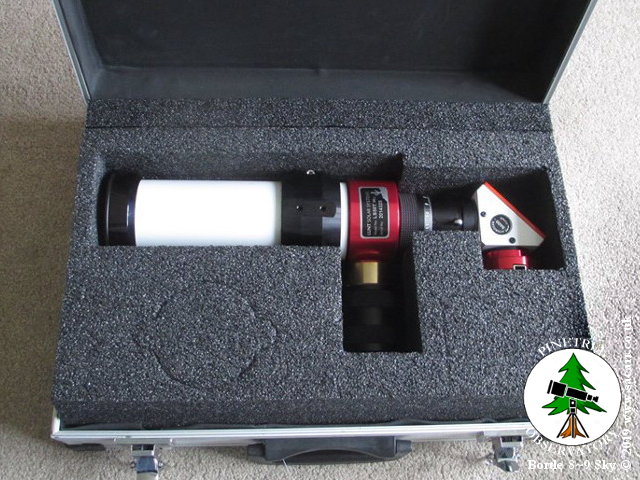
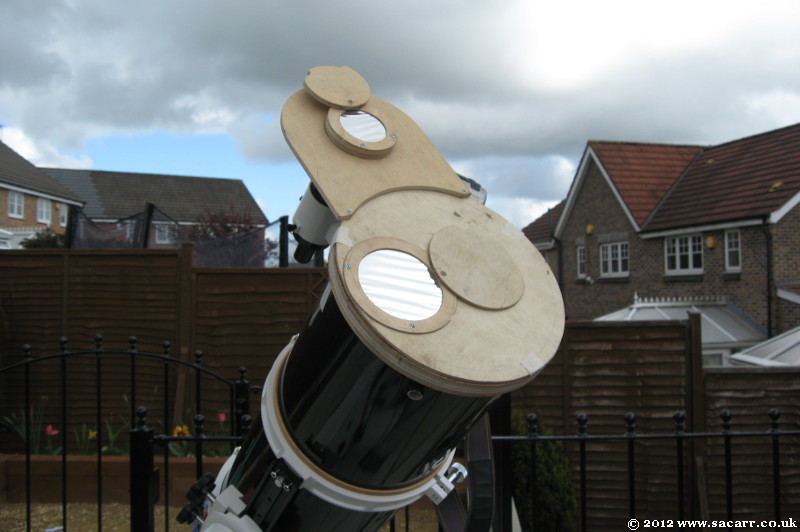
These are my new Solar Filters, 190mm for the 200PDS and 100mm for the 80ED. The larger filter uses the original finder screen and filter. This will hopefully give better resolution for imaging, and lower the native f number from f11 to f5.25. |
| To allow a quick grab and go solar capture set up, I made this Baader filter for my 70-300mm DSLR lens. It lives in the camera case so I can shoot the Sun any time I'm out and about and the Sun is out. The wood case protects the fragile film. | 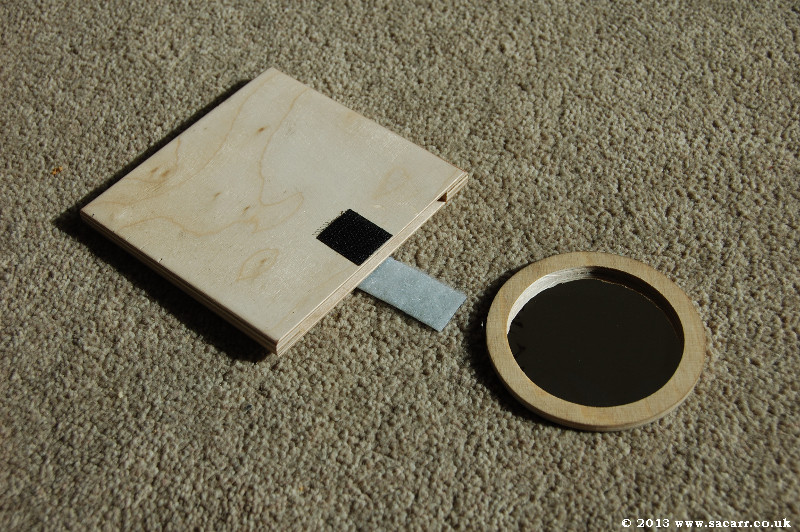 |
In early December 2014, I bought a 1.25in Baader Solar Continuum filter ( right filter ), to improve my white light images. It needs to be used with a UV/IR block filter as it leaks IR itself ( left ). So far, the seeing has been poor for tests, but have still given good results. | 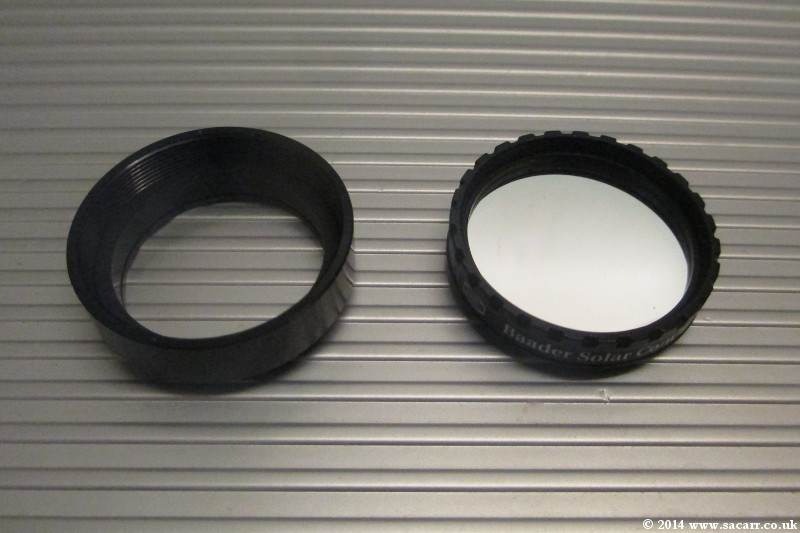 |
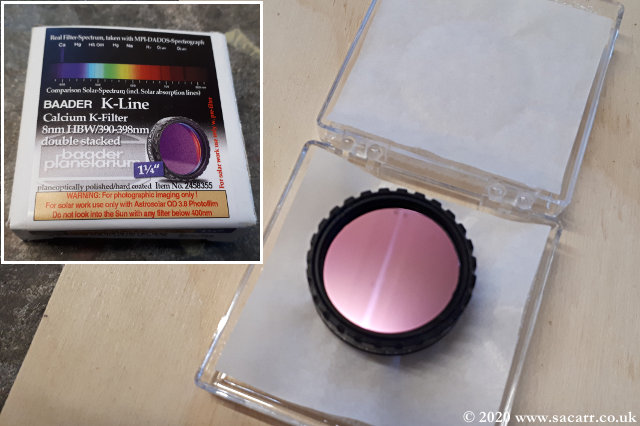 |
In March 2020, I bought a Calcium K line filter for UV imaging of the Sun. The K line shows a part of the atmosphere between the Chromosphere and the Photosphere. It can also be used to capture the clouds of Venus. | 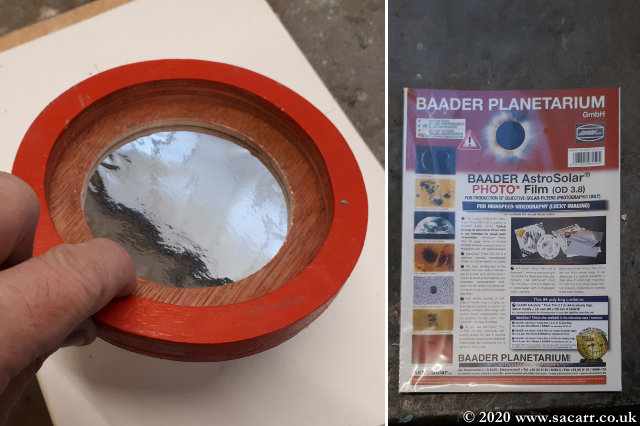 |
The CaK filter requires Baader Solar ND3.8 filter film, rather than the ND5 visual film. The ND3.8 allows more light through allowing shorter exposures and faster video capturing. I painted the new frame red to avoid confusion with visual film. |