|
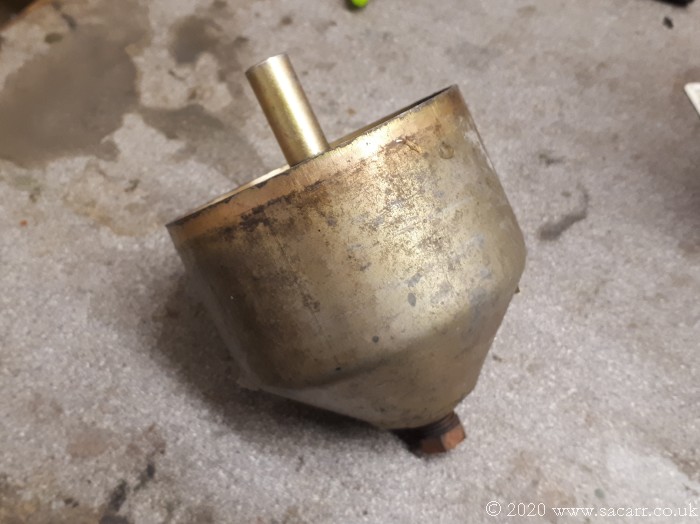
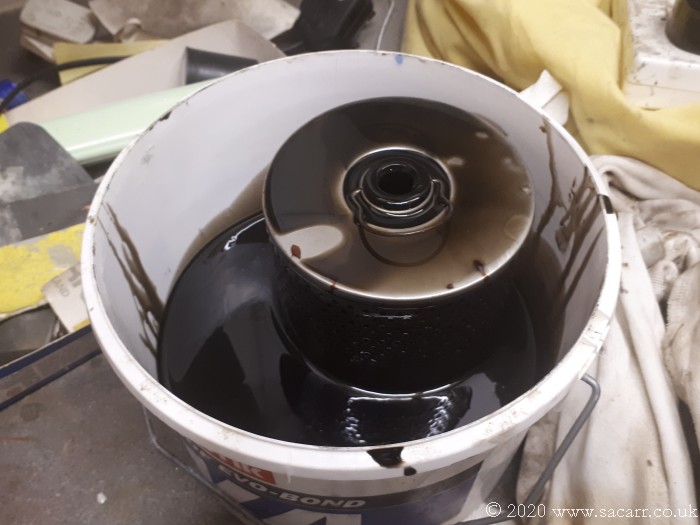
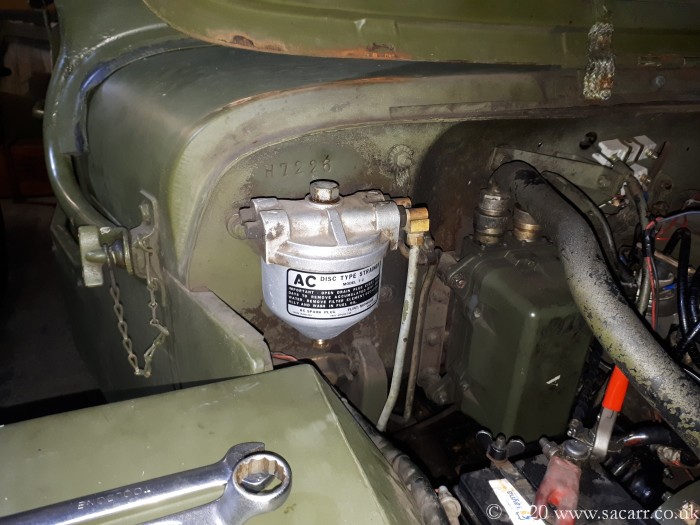
February 15th - Fuel Filter Overhaul I got both Jeep fuel filters stripped out for some work. Both Jeeps got a set of oil/fuel filter decals for Christmas last year, so it was time to make a start on applying them. Both filter bowls were quite scruffy on the outside. The one on Jessie had been untouched by me in 16 years other than being removed a couple of times to check for dirt. |
|

|
|
|
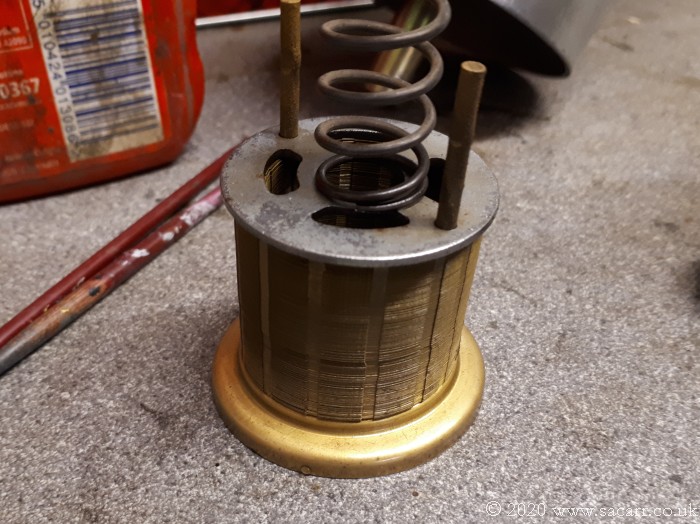
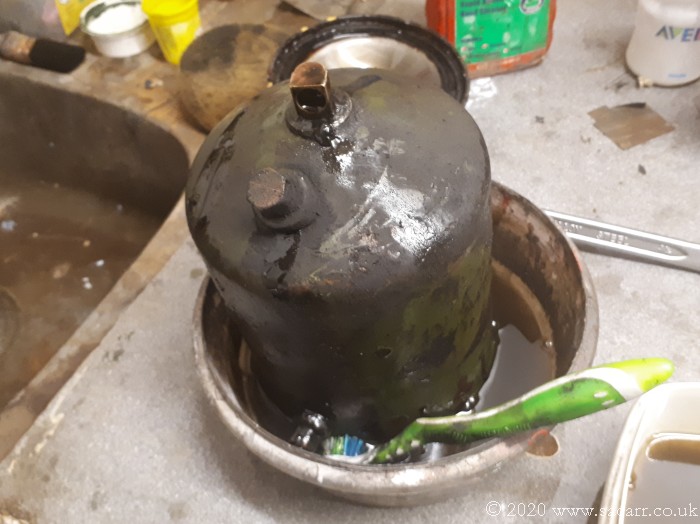
The bowl was cleaned externally and then wet sanded. It also needed some small burrs removed from the top rim. The filter and spring were still in very good condition. |
|
|
|
|
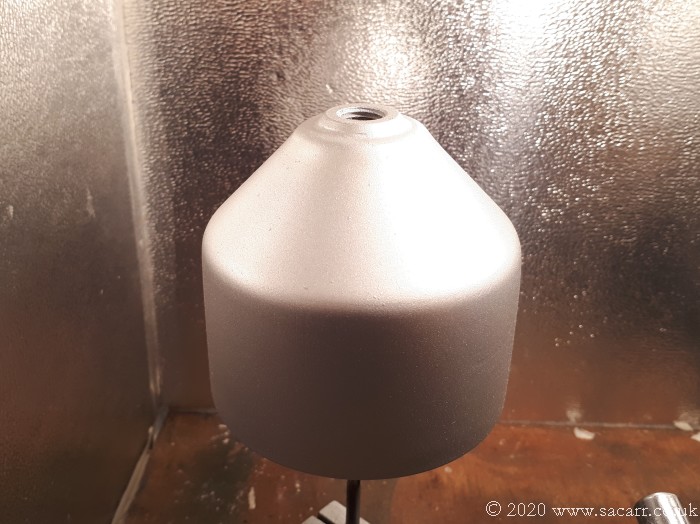
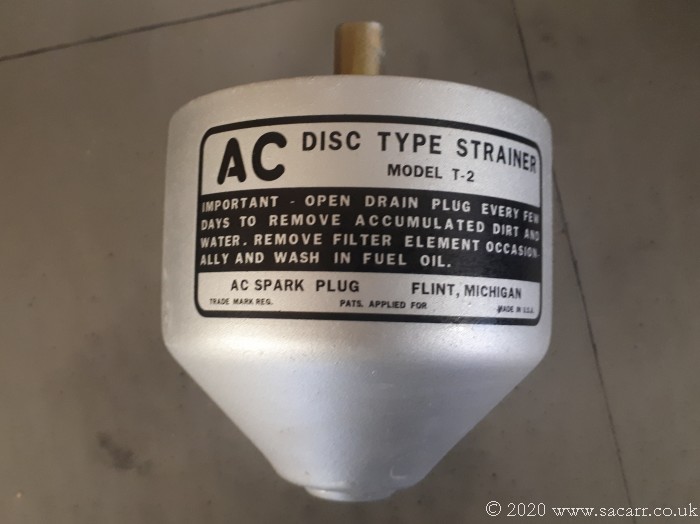
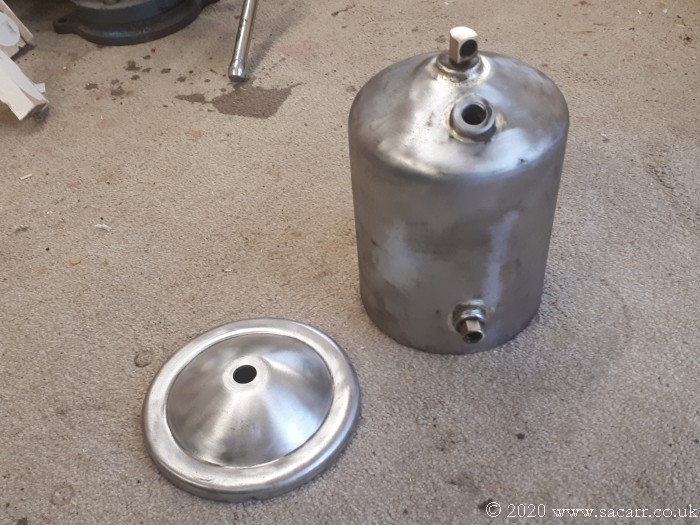
The filter bowl was sprayed silver and then left in my curing cabinet to bake the paint hard.
Once fully hard, I can apply the decal.
The oil filters will be the next job for both Jeeps, but the one on "Jessie" will need a repaint first. |
|
|
-----
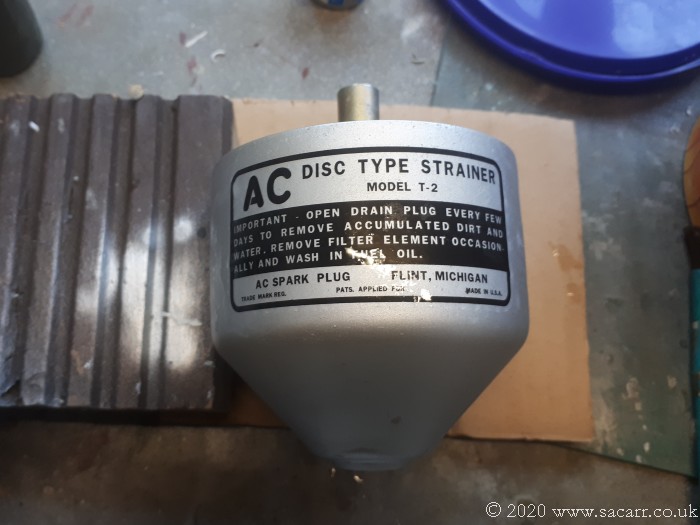
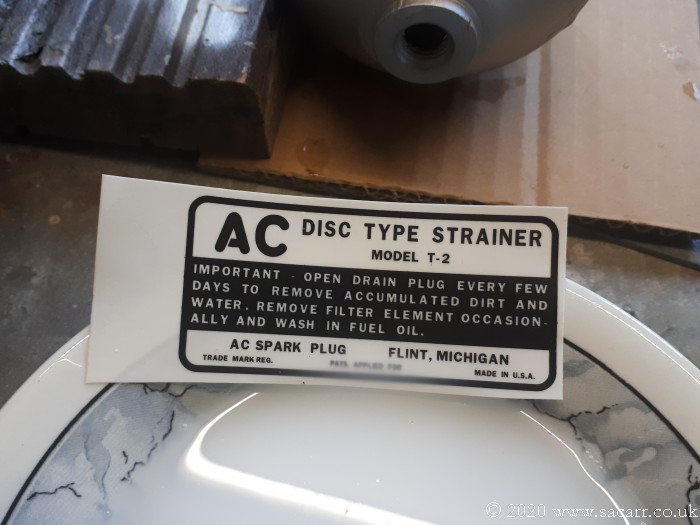
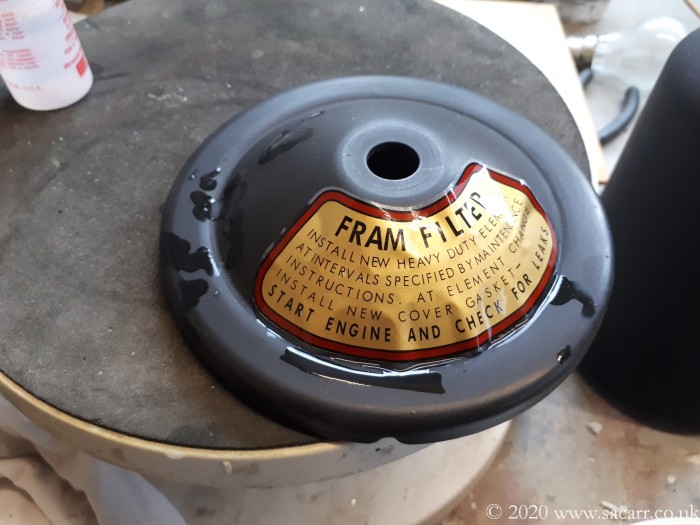
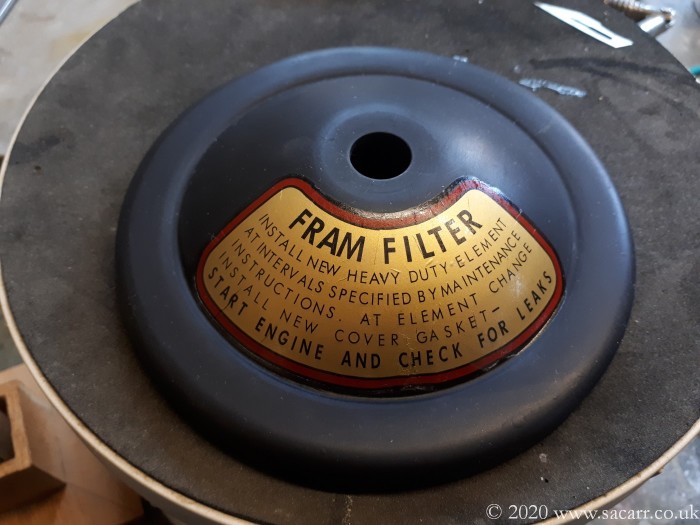
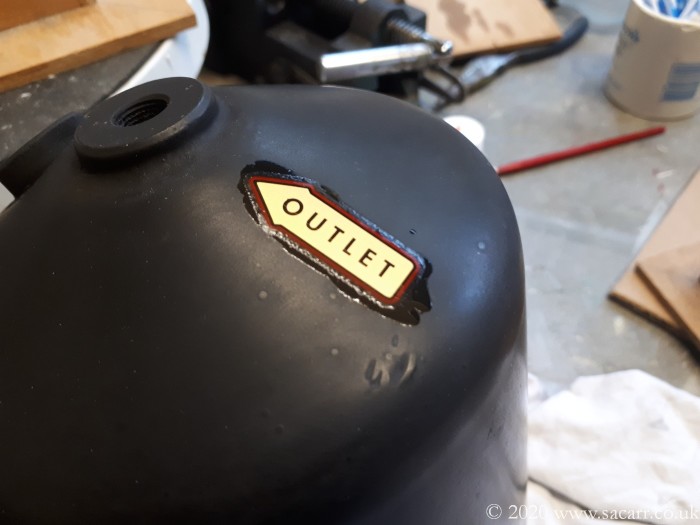
February 16th - Fuel & Oil Filters
The paint on the filter bowl had hardened overnight so I
prepared to apply the decal. It was cut from the sheet and a bowl of warm water
was poured, with a little PVA glue diluted in it. The PVA helps with adhesion of
the decal. After 30 seconds soaking in the water, the decal began to free itself
from the backing paper. |
|
|
|
|
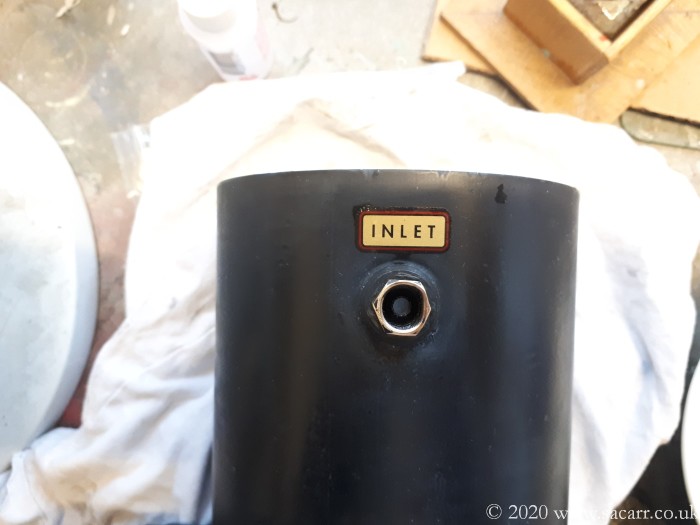
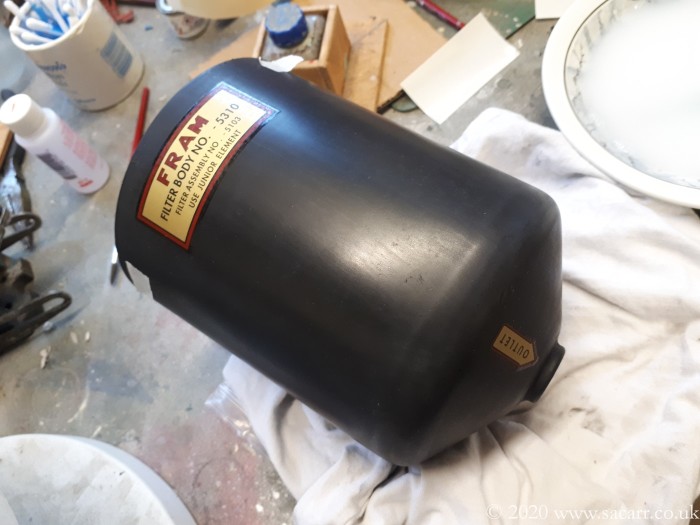
A little of the water/PVA mix was brushed onto the surface and then the decal was positioned on the filter. The water was then gently squeezed out from behind the decal until it was tight against the surface. After working on both fuel filters, I noticed the filter on the Ford has a slightly deeper bowl. That was left to harden and I turned my attention to the oil filter. |
|
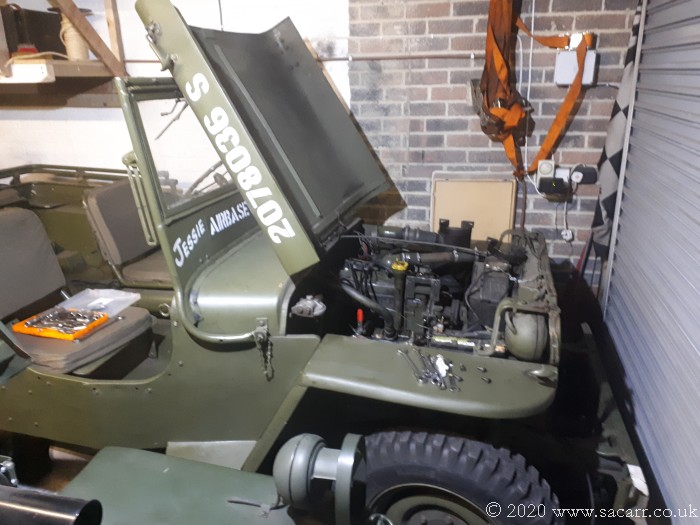
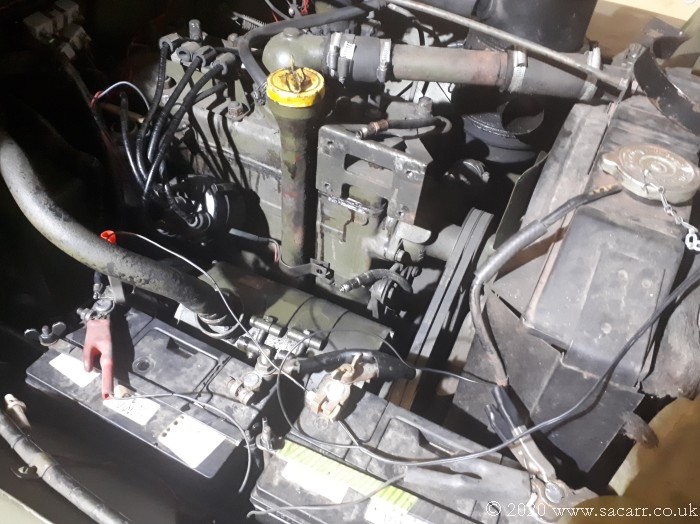
"Jessie" was still in the garage
engine towards the door following the work on the starter motor. This also
gave good access to the oil filter mounting. The filter housing had been
painted green fifteen years ago, following the original Hotchkiss green
filter. It would however need to be repainted black before decalling and
so needed to be removed. The filter pipes were disconnected and the filter
removed without draining the oil. I couldn't run the engine to warm and
thin the oil anyway as the fuel filter was still off. |
|
|
|
|
|
|
|
|
|
|
|

|
|
|
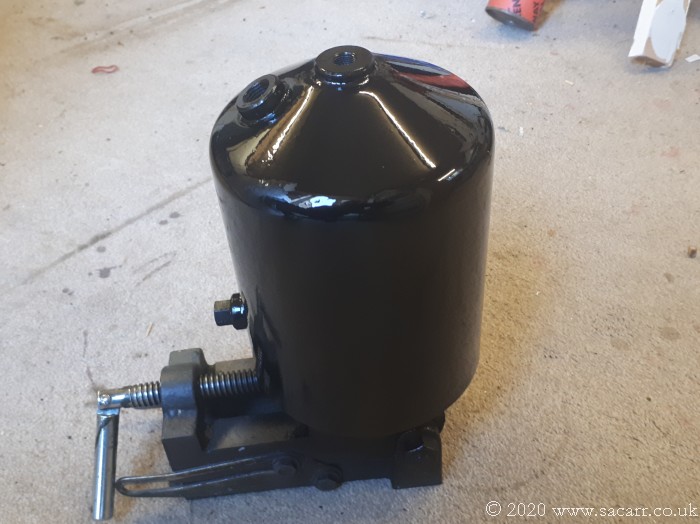
I wanted quite a hard finish on the paint, so opted for giving several sprayed coats of smooth Hammerite first, baking the paint between coats. Later, and while the top coat was still at the 'green' stage, several top coats of satin black were sprayed with the paint bought for the Ford engine bay components in 2012. The filter housing is baking in the curing cabinet once more and will stay there until fully hard. Once properly cured, it will then be ready for the decals. I want to look for something to fit inside the mounting rings, to protect the paint from damage from the mounting rings. This may end up as simple as electrician's tape. I'll have a think about it. The picture to the right shows the filter in its Hammerite undercoats, before the satin black was sprayed. |
|
| ----- | |
|
February 18th - Fuel & Oil Filters Between decorating sessions in Lynne's study , I thought I'd take 10 minutes out to apply the decal to the top of the oil filter. It actually took 90 minutes!! As I've just discovered, the Hotchkiss design of oil filter has a much greater double curvature on the lid compared to the wartime filter lid. As soon as the
decal was applied, it was clear I had a fight on my hands to get it to settle onto the double curvature. |
|
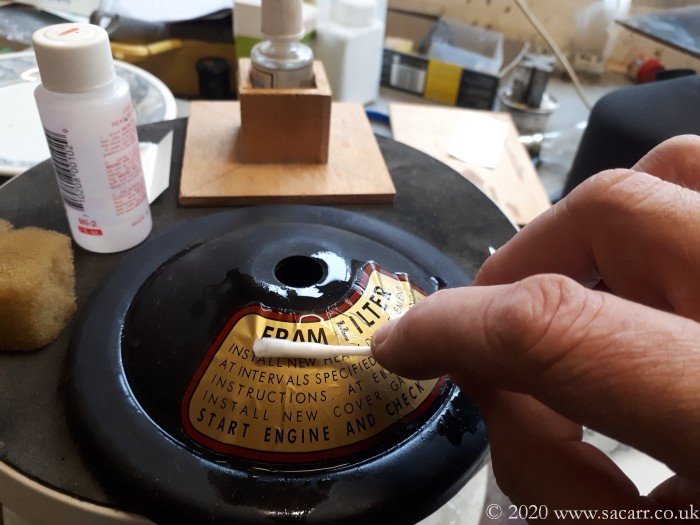
|
Normally, acetone would destroy decals in seconds.
Since the film was so tough, I was able to apply a little at a time, mixed
with the Microsol. Using a cotton bud, slowly, very slowly, I was able to shrink and distort the decal to conform to the shape. It was a long battle and I was still left with a few tiny wrinkles, but I can live with that considering how it started out! |
|
|
|
|
|
Later in the afternoon, I applied the other oil filter decals. Since they were all on single curve surfaces, they went on without problems. |
|
|
|
|
|
|
|
|
|
|