|
Four Page Updates - Nov 16th '18 - Nov 17th '18 - Nov 24th '18 - Nov 27th & 29th '18 |
|
|
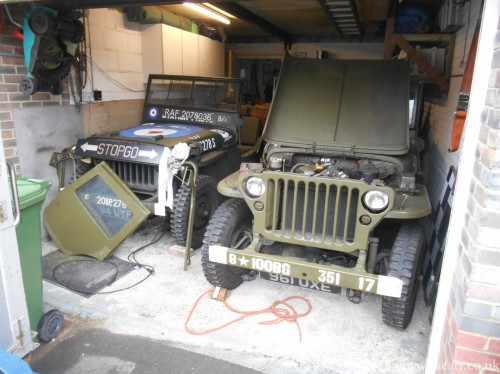
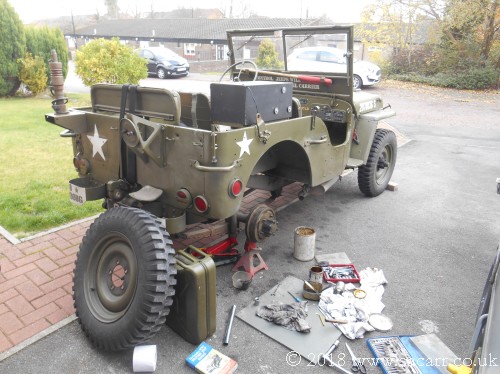
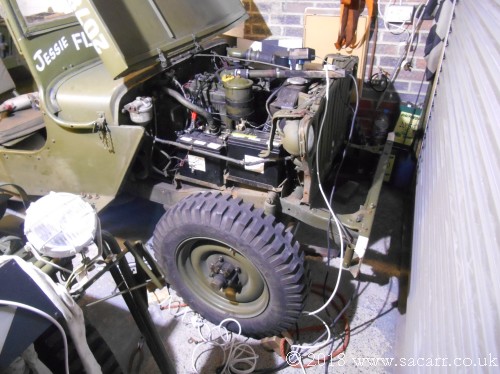
November 16th - Starter Pinion Gear Last event yesterday, first day of winter maintenance today. I had to park "Jessie" the other way around in the garage for the start of the work. This required the spare wheel to be removed so I could get it far enough into the garage. |
|
|
|
|
|
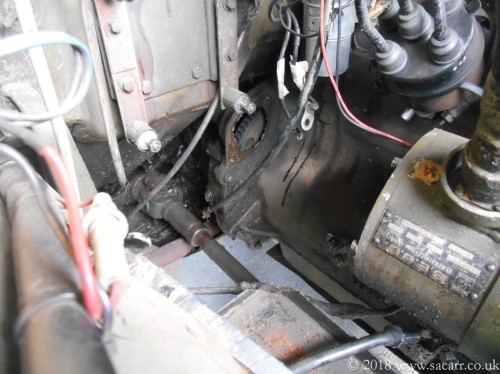
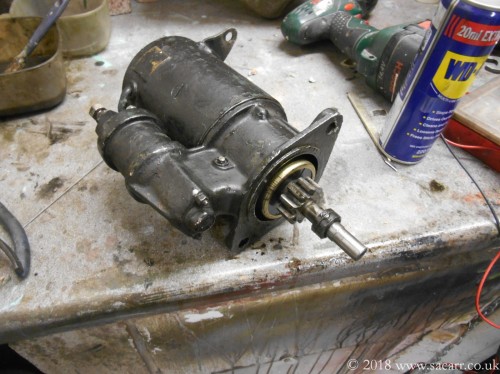
The first job was a sticking starter pinion gear. This meant both batteries out, regulator out and then starter out, down in the bottom of the engine bay. It was cleaned and lightly oiled with WD40. Putting it back together was always a challenge as you need to hold the brushes out of the way of the commutator to get the end cap on. Because of the length of the wires, you can only do this from the inside with the cap on!! I ended up drilling two small holes in the end cap to insert locking wires to hold the brush springs in the open position until the cap was on. After that, the pins could be pulled allowing the spring to push the brushes back against the commutator. The motor was tested, and re-fitted and the Jeep test started a few times. I'll check again tomorrow as it mostly happened when everything was cold. |
|
|
|
|
| ----- | |
|
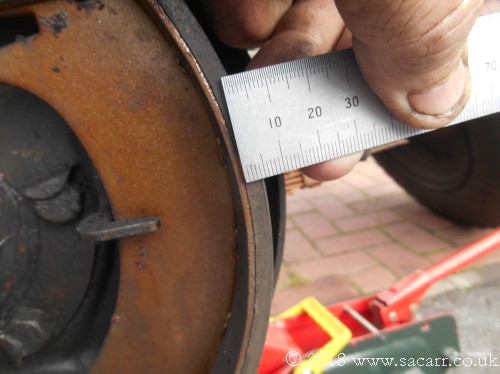
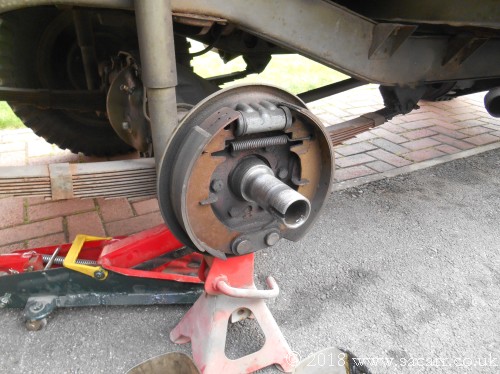
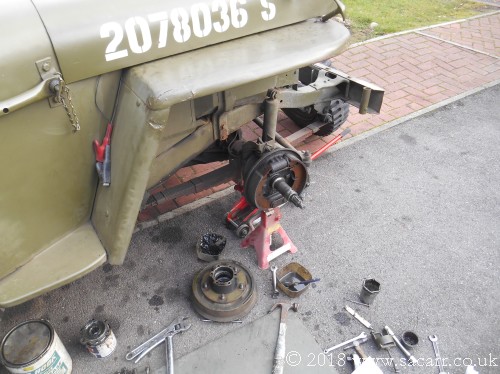
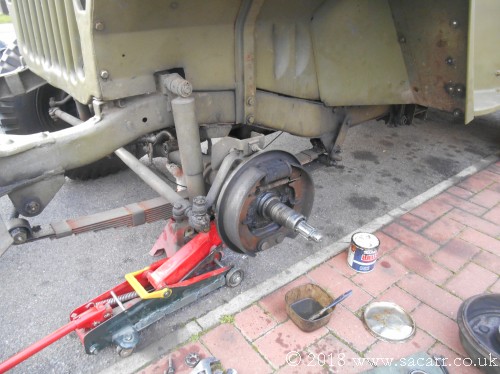
November 17th - Wheel
Bearings and Brake Shoes
It would have been a squeeze to work on the wheels in the garage. As it wasn't too cold outside, put the Jeep on the drive to do the work. Last winter, I got the rear left wheel off and the hub inspected while doing the bodywork repairs. Time ran out as the season approached and so the other three wheels were put off until today. Each hub was removed, cleaned and re-greased. The brake pedal was pressed, checking that each shoe operated and that there were no leaks. |
|
|
|
|
|
|
|
| -----
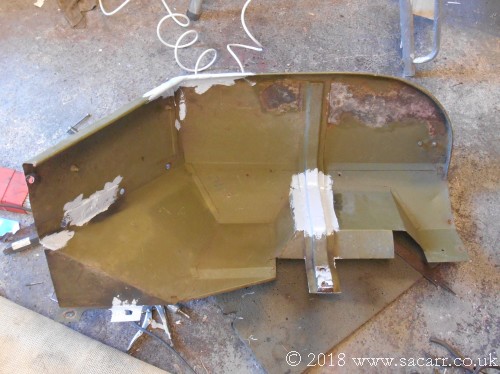
November 24th - Fender Repairs For a while, there's been some growing rust
spots on the corner of the right fender. The left one and left side of
the tub were worked on last year. Now the right side needed some
attention. While the fender was still attached to the Jeep, I took a
rotary wire brush to the area to see how bad it was. I then started to
look around the rest of the fender and realised there were more areas
that needed attention. |
|
|
|
|
|
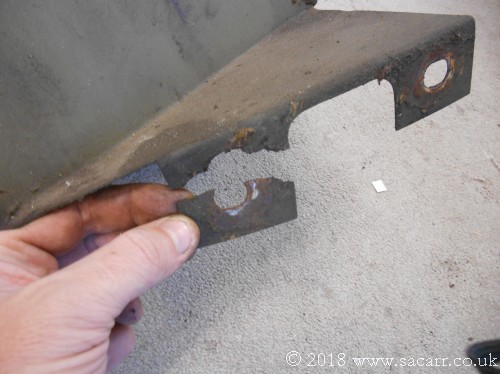
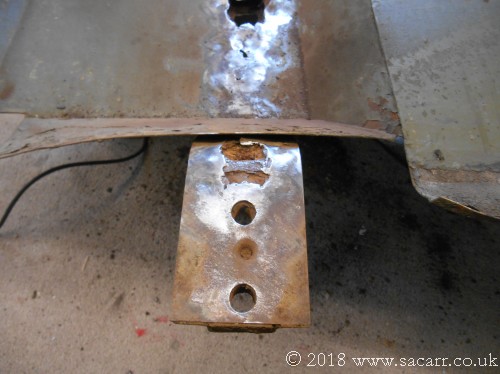
Some of the attaching bolts and earth cable screws were rather stubborn, but all came off without shearing. As I unfastened one of the lower brackets, part of the metal dropped away. It's obviously been broken a long time and it was only the friction of the bolt clamping it in place. I took a small pin hammer to the fender and started tapping away around the hat channel on the inside. I found a nice hole and a few very thin areas. |
|
|
|
|
|
The lower part of the hat channel where it attaches to the chassis was a bit moth eaten and the outside of the hat channel is quite rotten and needs work. |
|
|
|
|
| -----
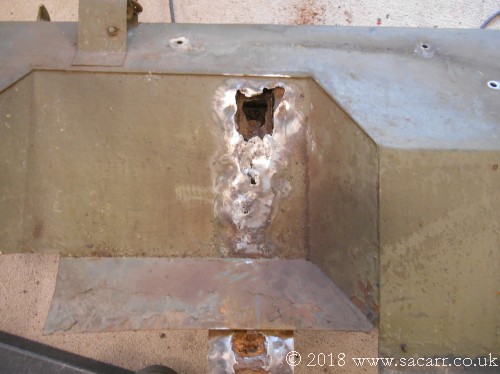
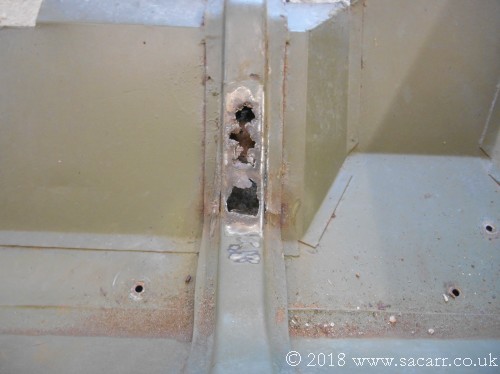
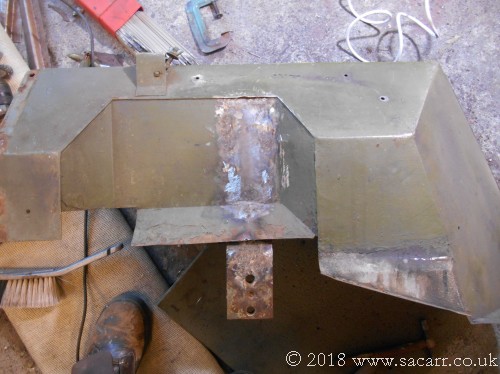
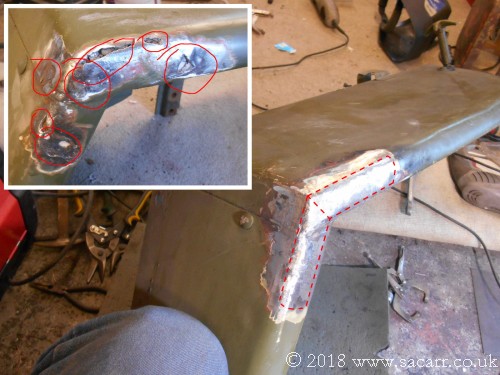
November 27th & 29th - Fender Repairs The more I looked at the fender, the more
rust holes I found. It really needed a new hat channel, but decided to
see if I could keep this one going a little longer. The main rot was in
the hat channel and flat area next to the battery. I started by cutting
out a rectangle from the flat inside skin of the fender behind the hat
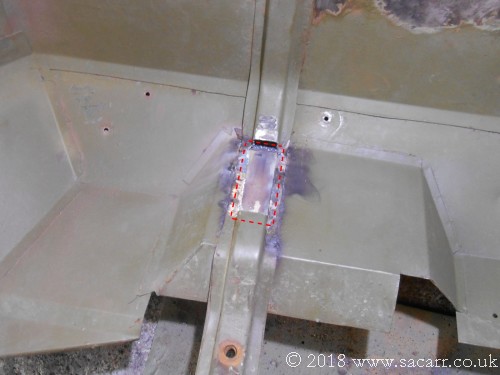
channel. A new piece of sheet steel was welded in here. and the
hat channel cut out of the front. I built up the new channel from three
pieces of flat sheet, adding the top first, then the two sides. |
|
|
|
|
|
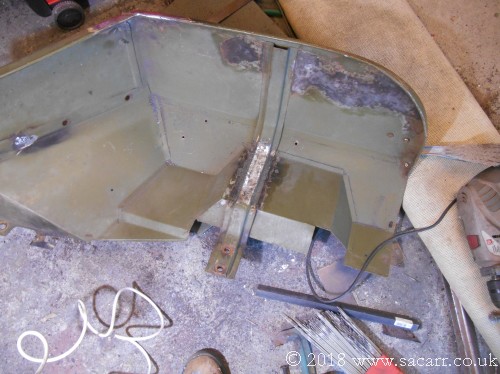
The lower part of the hat channel had a piece of metal added to fill the hole above the mounting bolt holes. Weld was then built up over the top to bring the surface flush again. The angle grinder came out next for lots of noise and sparks. |
|
|
|
|
|
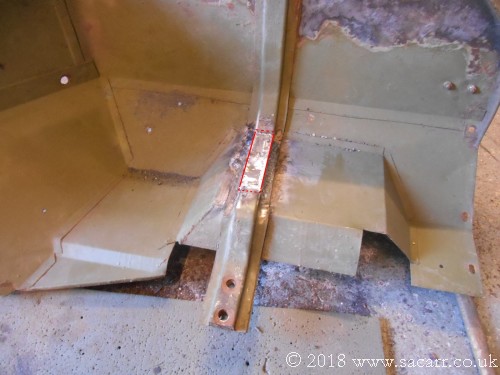
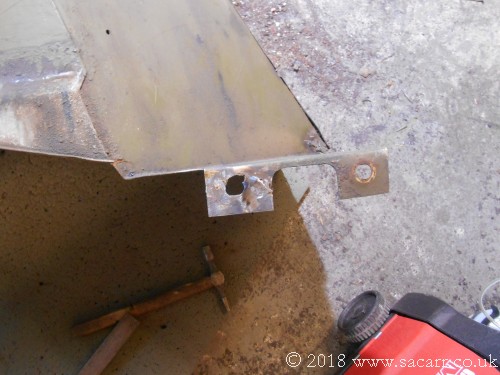
The snapped rear attachment lug was welded back on and there was also rot in the sloping rear face of the fender between the lower and centre bolt holes. There were two one inch cracks, one near the bolt hole that attaches to the step and one on the inner face The other main area of repairs was the outer corner. |
|
|
|
|
|
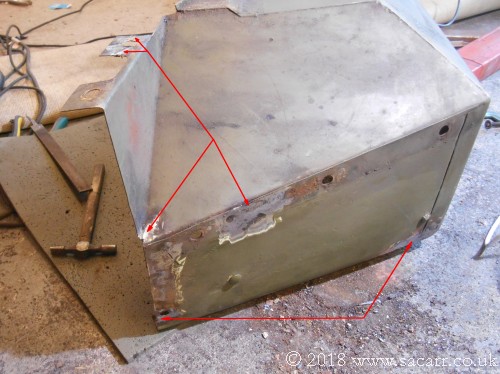
Other than the hat channel, this corner was the other largest area of repairs. There were many holes and very thin areas in the metalwork. The inside face of this corner was cleaned up with the grinder and wire brush. Two pieces of flat sheet were beaten into a curve to match the curve of the fender and welded to the inside. These pieces gave a firm surface behind the holes which allowed me to build up layers of weld to fill up the holes.
The grinder came out again to bring the surface
back to the original shape again. All the areas were given a coat of
primer to keep damp away while I work on the surface rust on the bottom
of the fender. This is as a result of dirt and grit thrown up from the
wheel and chipping away at the paint. Once I've cleaned up all the
surface rust under here it will all be primed and repainted. |
|
|
|
|