|
Jan 6th - Jan 7th - Jan 10th - Jan 11th - Jan 12th - Jan 21st |
|||||
| January
6th - Canvas Repairs
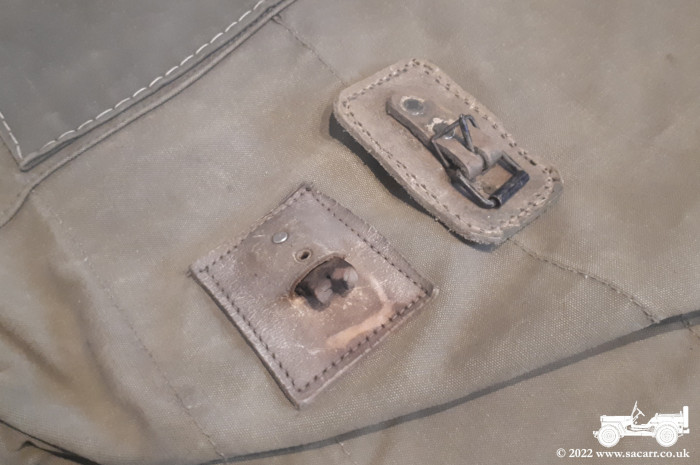
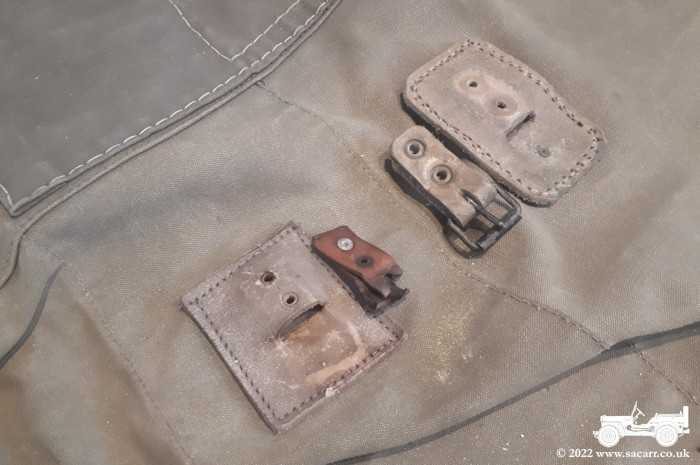
I don't know how old the Dodge canvas is, but it probably dates back at least to Norwegian Army service. There's a few small wear holes in it, but overall, it isn't too bad. One of its main problems was that three of the buckles on top were missing - the leather buckle straps having snapped long before I got it. Two of the cab canvas buckle straps had also snapped at some point and new straps sewn onto the leather patch, rather than
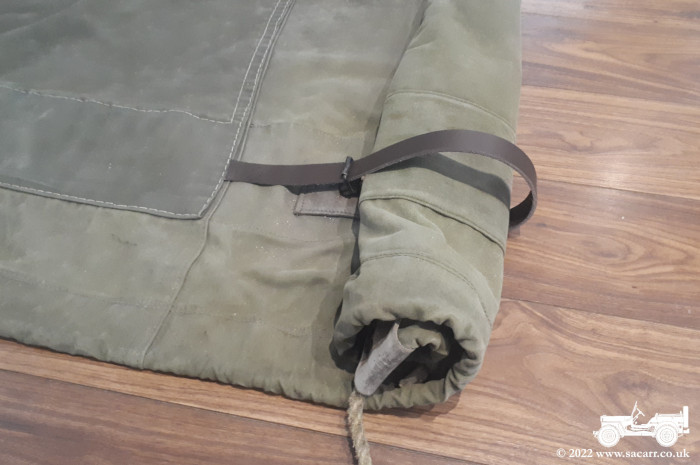
using rivets as it originally had been. As you probably noticed from the pictures taken while I was out driving, I've only had the front corner of the canvas rolled up. Once these repairs were done, I'd be able to roll up the canvas side properly and secure it.
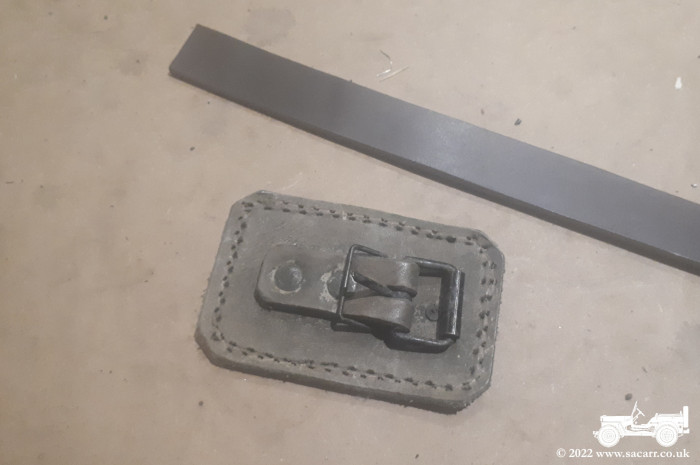
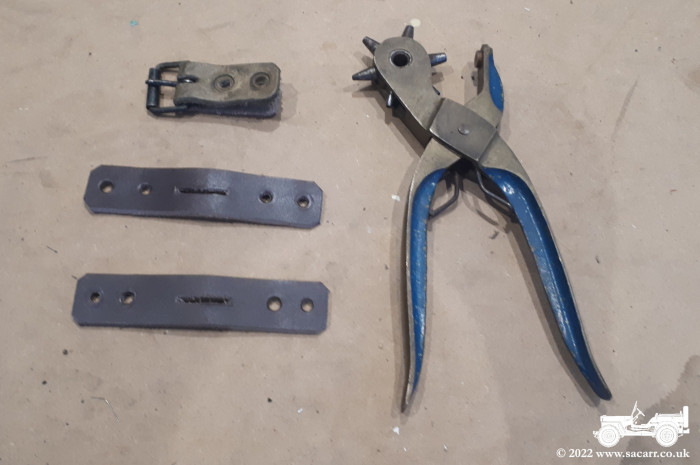
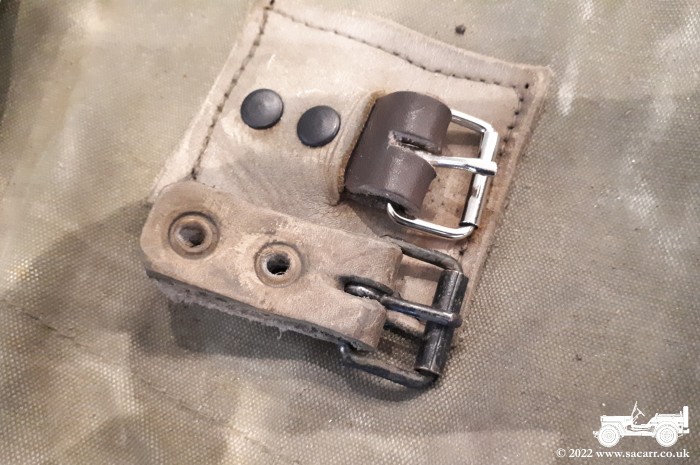
Below left is the doner patch and buckle and the original and doner in
the picture to the right. |
|||||
|
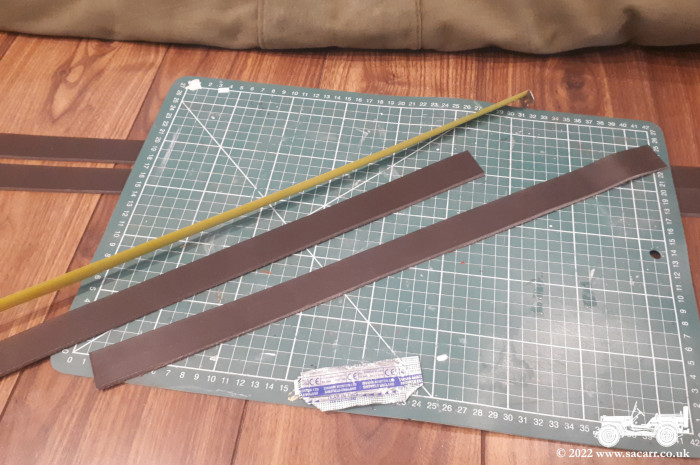
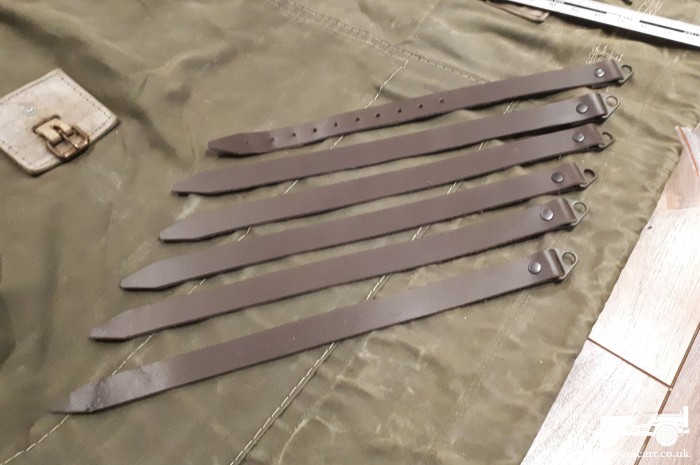
I'd also bought some leather belt blanks to make some new roof straps to replace those missing from the bows. The rivets were ground off the doner buckle with a mini drill and stone wheel and also off the snapped strap remains on the roof. This separated the buckle and its strap from the patch. This was a test to see how well/easy it would be before I went hacking away at the other two! I still have the other two snapped straps to cut free and I'm waiting for two replacement buckles and some leather rivets to arrive in the post. |
|
|||
| The leather belt blanks were also cut to length, ready for the bows, but I'm also waiting for some hardware to attach them. The leftovers from the belt blanks will be used to attach the new buckles to the front of the canvas. Once repaired, I'll have a full set of buckles to hold the rolled up canvas. | |||||
|
|
|
|||
| ----- | |||||
|
January 7th - Buckle Straps
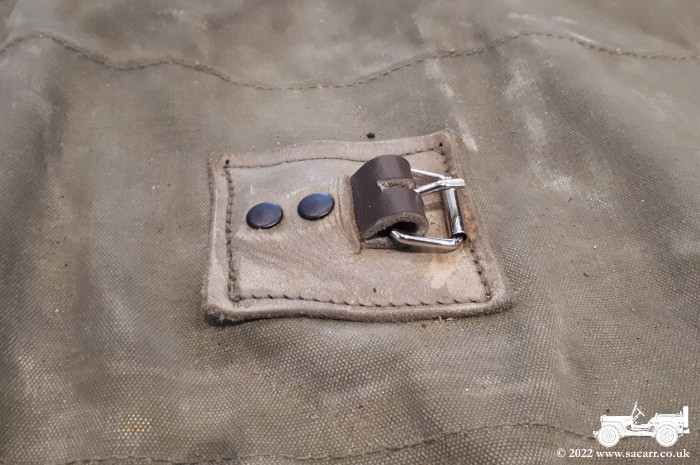
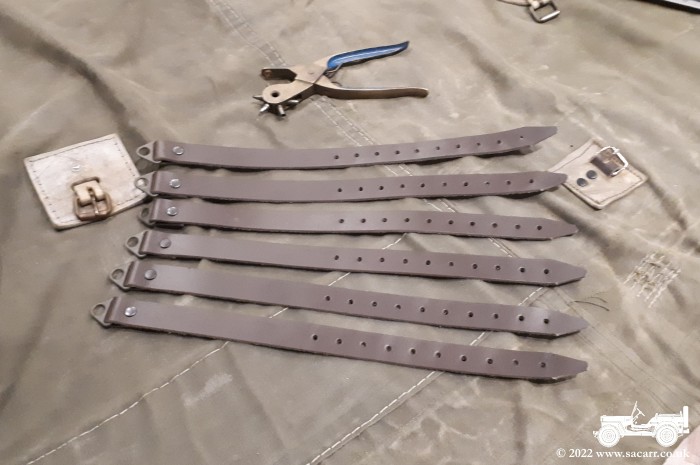
Another small step forwards on the canvas repairs. When I ordered the leather straps, I actually ordered one more than I needed by mistake. Two was enough for the six straps needed, but it was a couple of weeks before when I worked out the lengths needed and when I came to ordering, bought three in error. It turned out just as well, as this gave me spare material to replace the missing front buckles. I hadn't realised the two front ones were missing initially. Two new lengths were cut for the front buckles and were folded in half and fed into my bandsaw to cut the centre slot. For many years I've had a leather punch, which I think belonged to my granddad. I've never needed to use it until now but the cutters were still sharp and made nice clean holes in the straps, ready for the new buckles. |
|
||||
| ----- | |||||
|
January 10th - Buckle Repair
& Tie-Up Straps
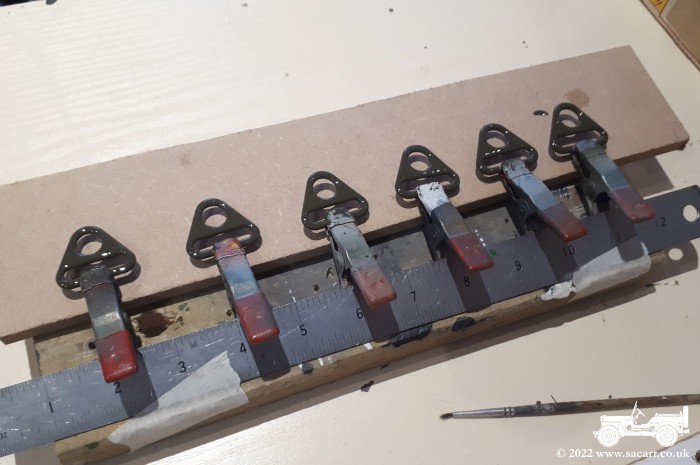
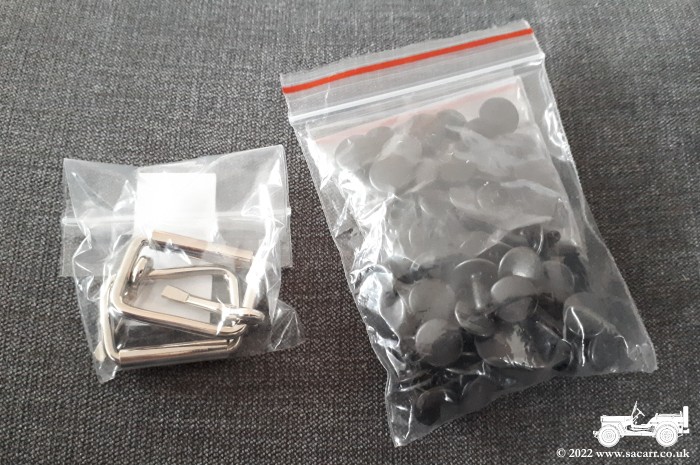
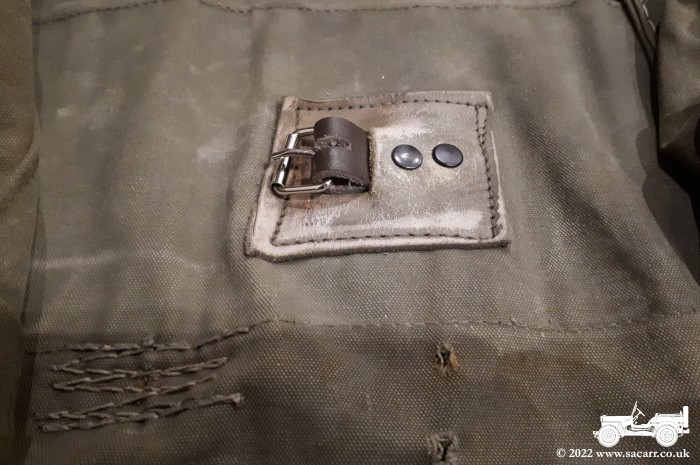
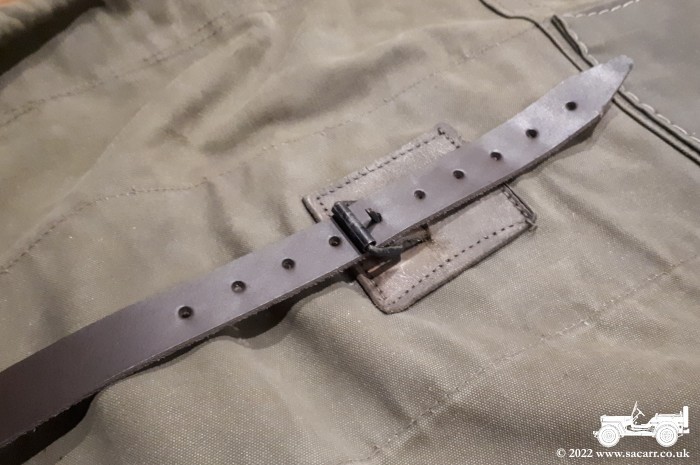
I found some small D-rings on Ebay which were pretty cheap. They aren't the right shape, but wanted the canvas useable as soon as possible. These will do for now until I can make a proper set. The gloss, gunmetal finish was scrubbed off with fine wire wool and they were then given a couple of coats of olive drab. The last of the bits and pieces arrived in the post today, so late afternoon, I set to work. The new buckles were slotted onto the straps I made and riveted into the canvas. They weren't a bad match for size and shape of the original buckles. I'm sure they'll dull down fairly quickly. I can always give them a light wire wool to help that process. |
|
||||
|
|
|
|
||
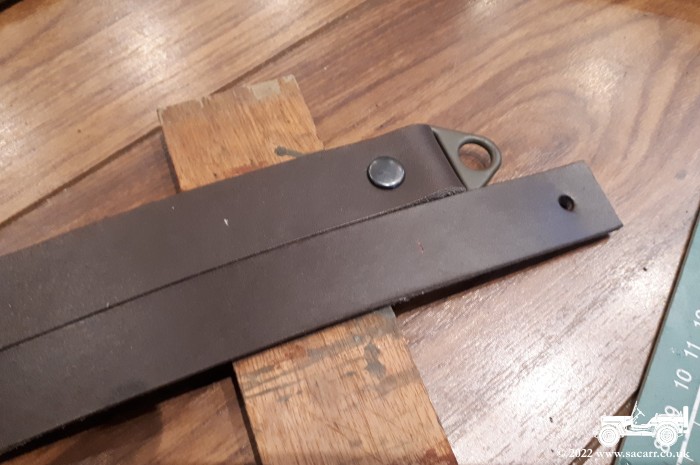
| The six canvas straps, that hold the roof canvas when the sides are rolled up, were next. They were riveted onto the D-rings firstly. These rivets can be cut off when I get around to making proper fittings. The ends of the leather were cut to a point and then I started the long job of punching out the holes for the buckles. After each punching, I had to pick out the leather waste from the tool. Unfortunately the tool has a blind hole, so the waste couldn't be poked out from the other side, but had to be picked out with a scalpel blade. However, I now have a repaired canvas and six new straps ready to be fitted. | |||||
|
|
|
|
||
| ----- | |||||
|
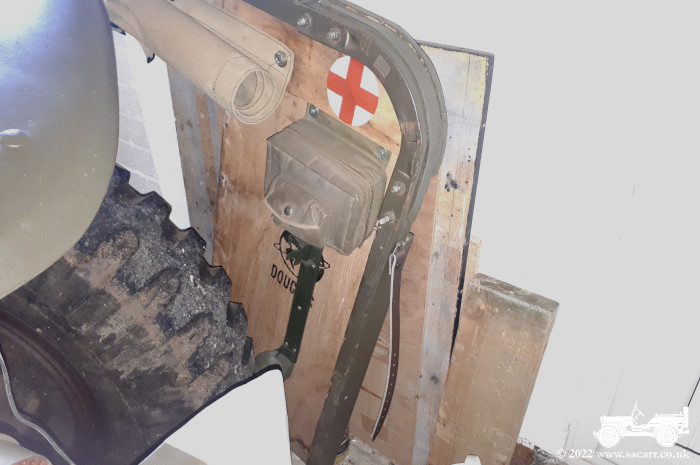
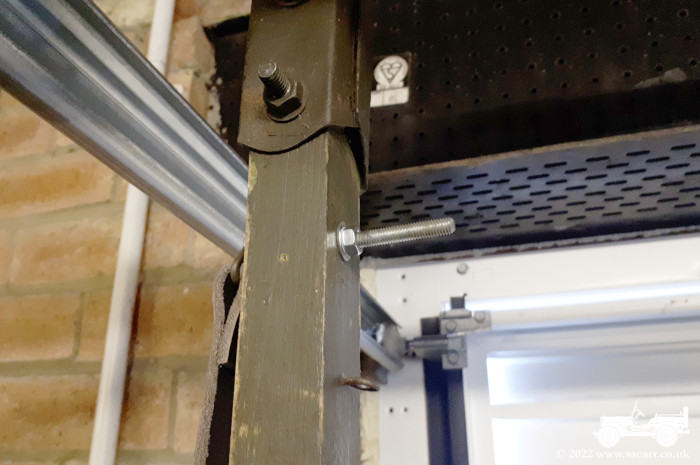
January 11th - Tie-Up Strap
Fitting On the morning of the 11th, I went out to the garage to fit the straps. The two rear bows could be fitted between the garage door runner, though the centre brace would have to come off if I wanted to fit the canvas. The front bow is tucked between the Dodge and garage wall. With the woodwork, canvas, first aid kit and fire extinguisher bracket, it's heavy and awkward to lift out of that position, so I didn't bother fitting it. All the bows had existing holes from previous straps, though the holes were lower than the proper position, below the metal corner bracket. With holes already there, I didn't bother making fresh holes in the correct position. When I get around to making some proper strap fittings, I might look into drilling the metalwork for the proper location and plugging the current holes. Since they'll be removed again at some point, I just used a little PVA glue to lock the threads for now. The excess bolt length will be trimmed off once those have dried. I think I'll have to get the Dodge out to try the canvas on, rolled up, as it will be easier than in the confined space of the garage. |
|||||
|
|
|
|
||
| ----- | |||||
|
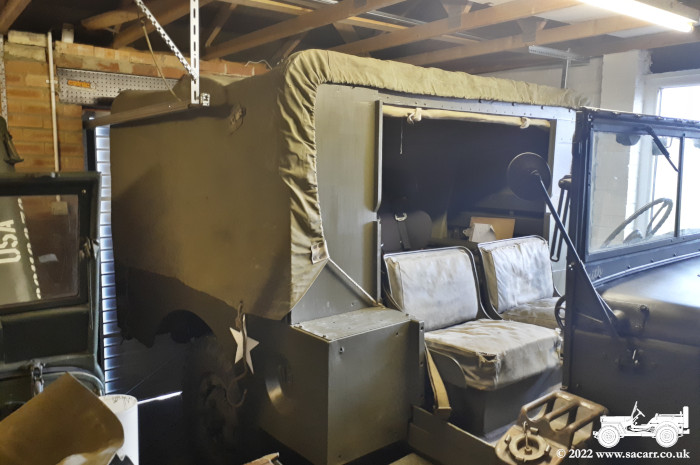
January 12th - Canvas Fitting |
|||||
|
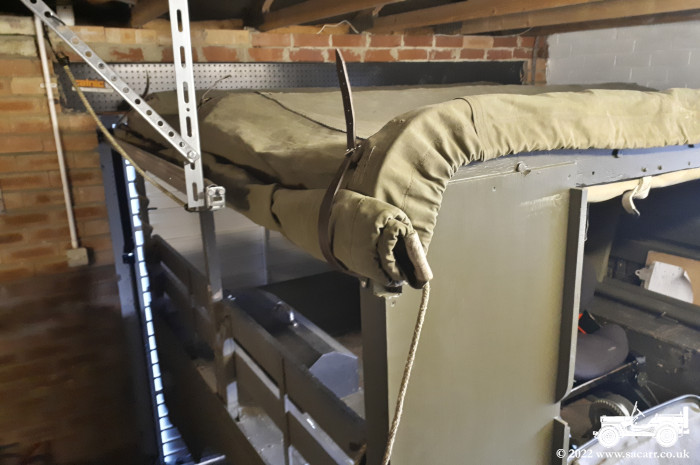
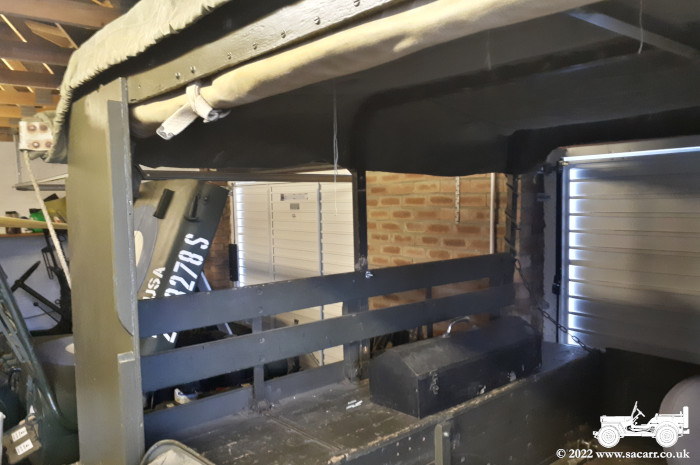
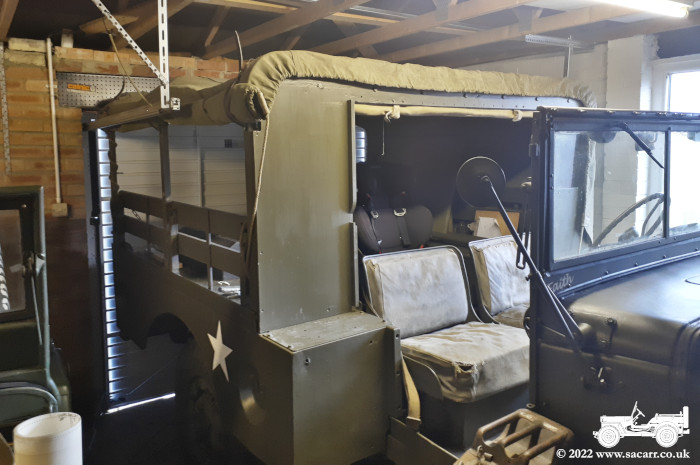
Despite my last comment yesterday, I decided
to try and fit the canvas on the Dodge inside the garage. The garage door track
cross brace had to be removed as the truck is taller than the door runner. Then
the heavy front bow was jiggled out of its position against the wall and into
place on the Dodge.
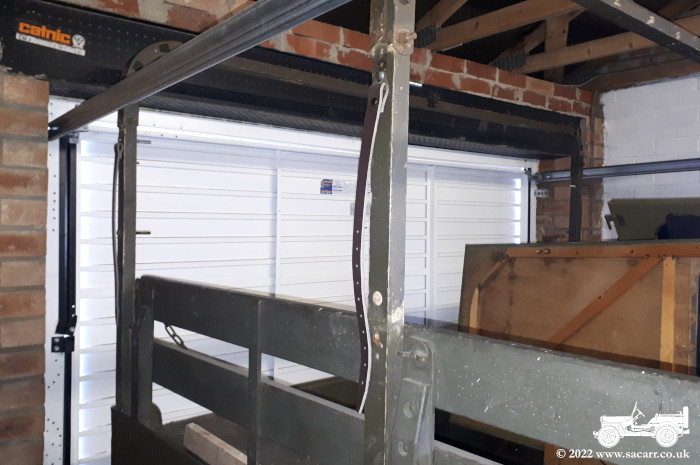
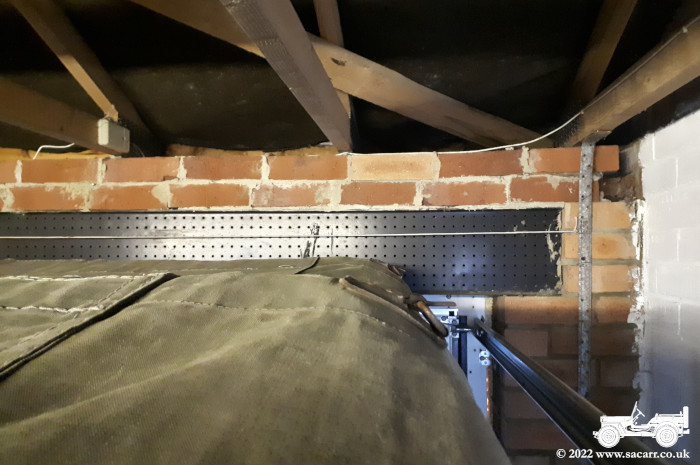
That was easy compared to wrestling with the canvas in the confined space between the door runners to the side and roof trusses over my head, trying to stop it from sliding back off the bows as I fought it into position. I got there in the end and rolled up the right side. All was well. It enabled me to get a better sense of the clearance, or lack of, between the truck roof and the position of the garage door lintel, once raised to its new position. The string in the last picture marks the lower edge of the new lintel. |
|
||||
|
|
|
|
||
|
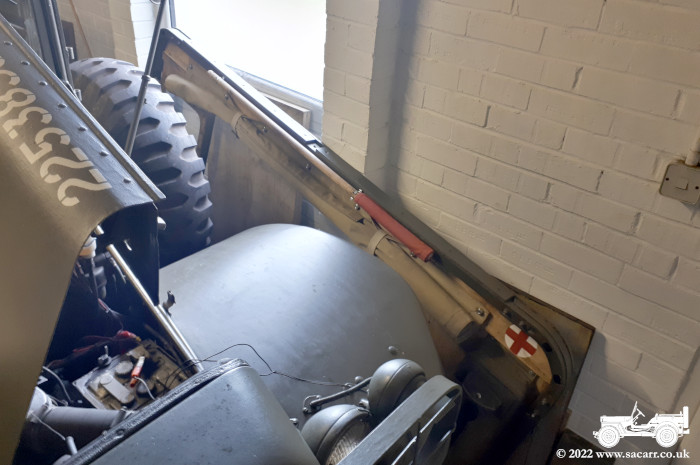
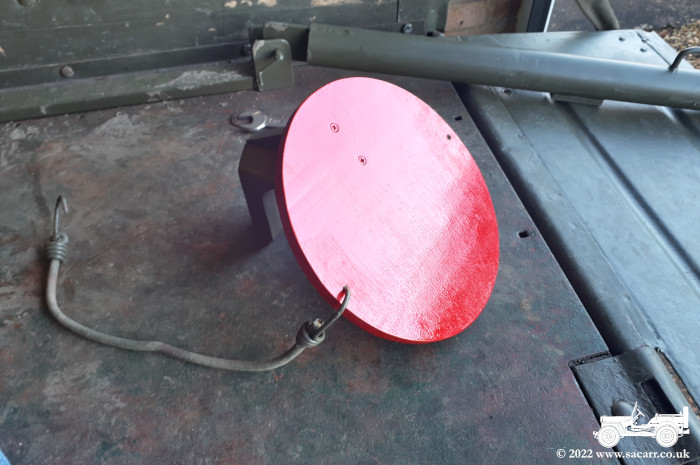
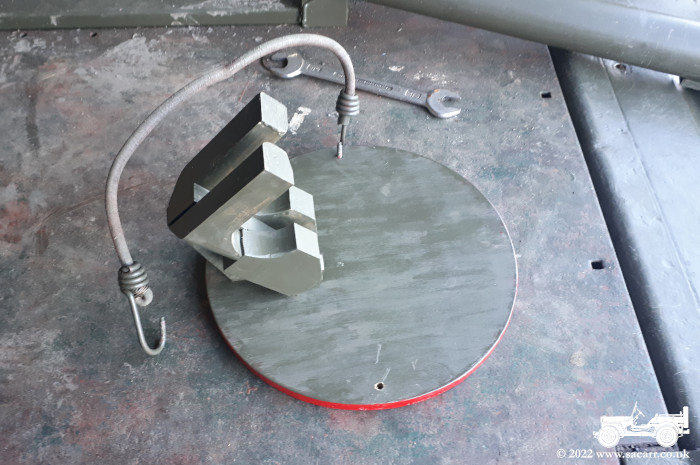
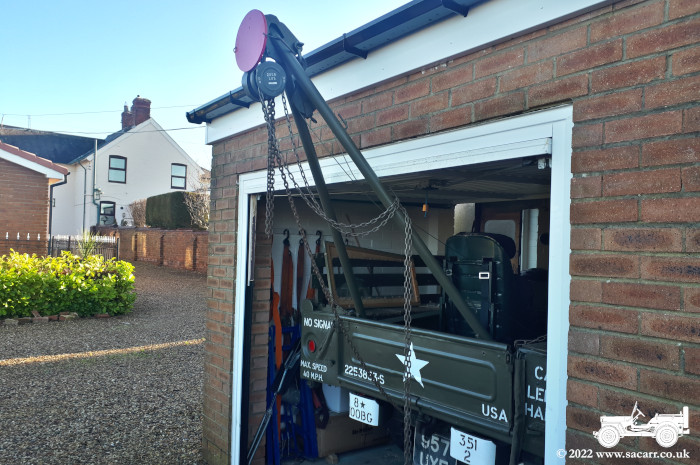
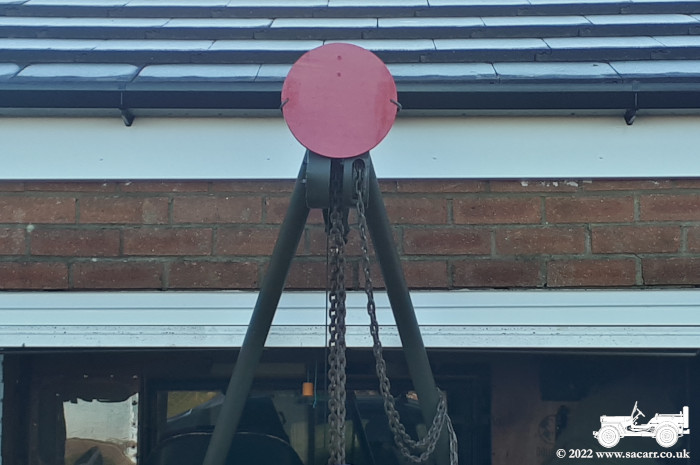
January 21st - Warning Sign |
|||||
| When I took the Dodge out for the photoshoot, Lynne was following me in the Jeep. That won't always be the case, so I wanted to make the end of the crane more noticable for truck drivers coming up behind me. The crane is too high to be an issue for cars. I didn't want anything modern, so made this red disc that attaches around the end of the crane with a bungee. | |||||
|
|
|
|
||