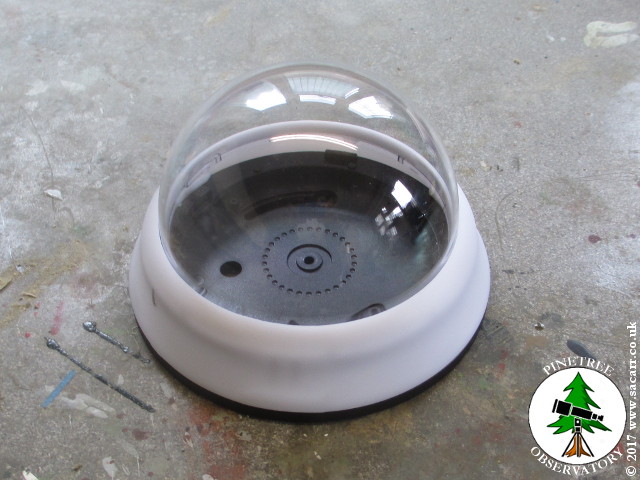
After
spotting a security camera dome on Ebay for a couple of pounds, I
got around to building a housing for an all sky camera. I wanted
to be able to leave the camera out all night for meteor watches
and time lapse videos etc., so wanted to make sure it could
survive a surprise change in weather. I considered a permanent
mounting on the observatory, but because the roof folds, there
wasn't enough height to mount it there. I also considered that I
wanted it protected from extreme weather and UV, and the easiest
way was making it removable.
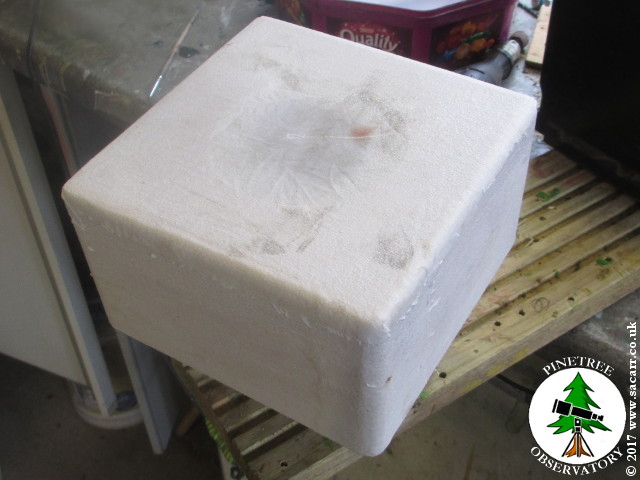
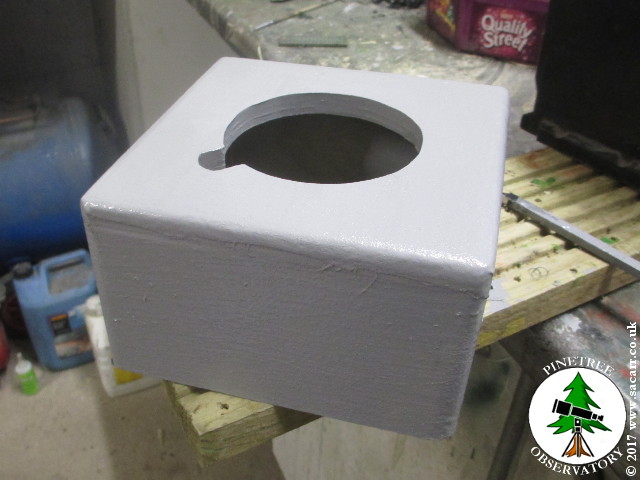
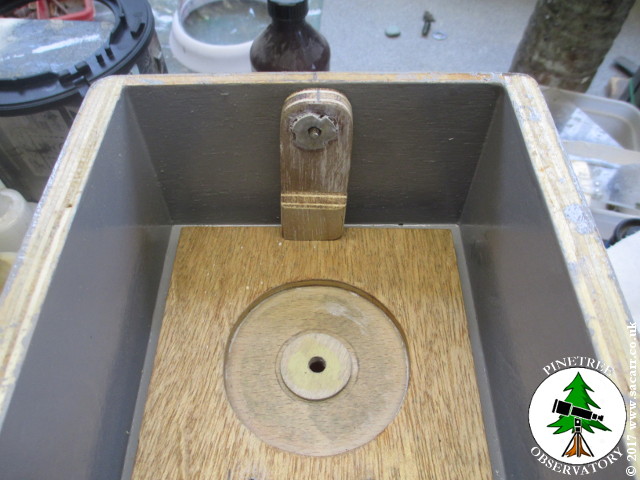
The basic box is
plywood, painted in waterproof PVA glue, then coated in thin
cotton cloth, applied with waterproof PVA. A final coat of gloss
exterior paint was then added.
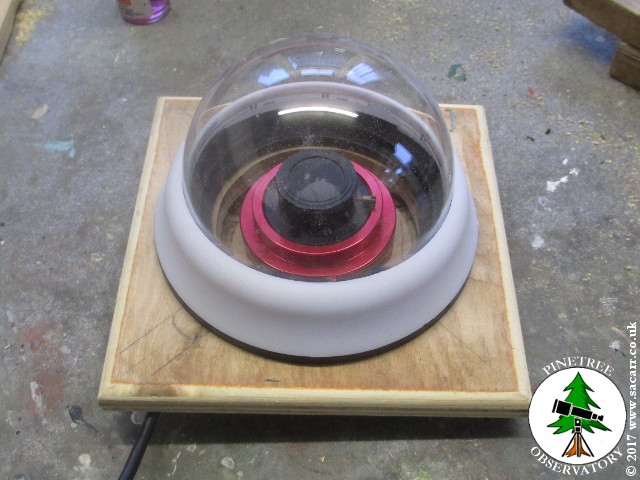
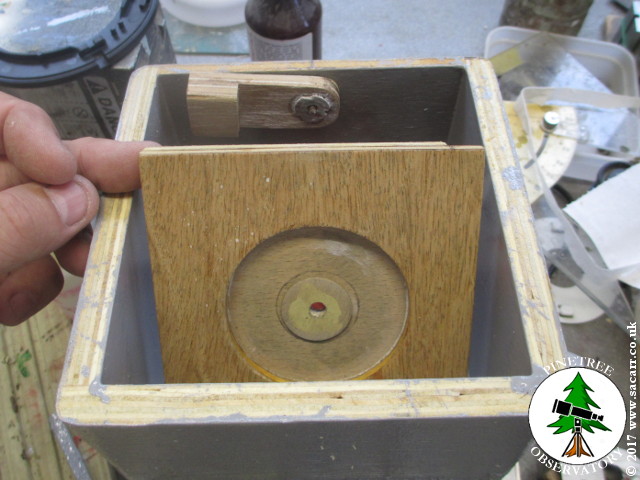
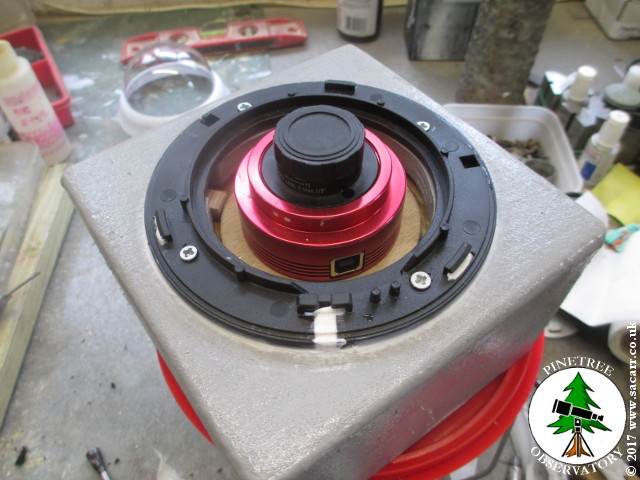
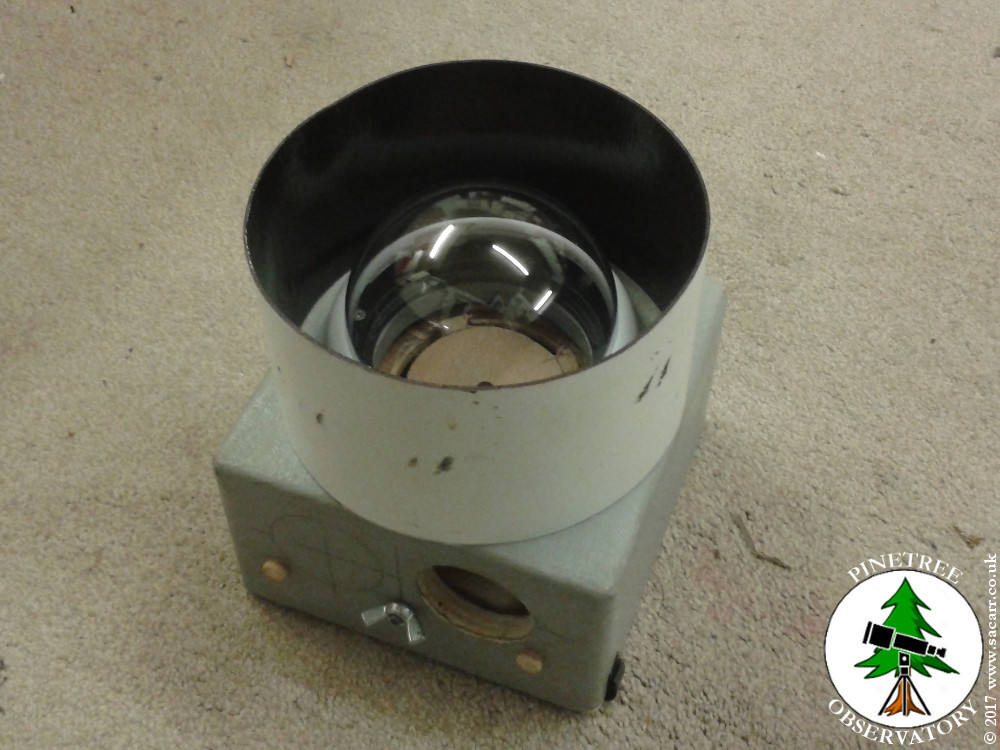
The
camera mounts on a hinging tray, to allow fitting and focus
adjustment before closing into the dome. The mount has two
locating dowels on the side and a single bolt to hold it in place
on the side of the observatory.
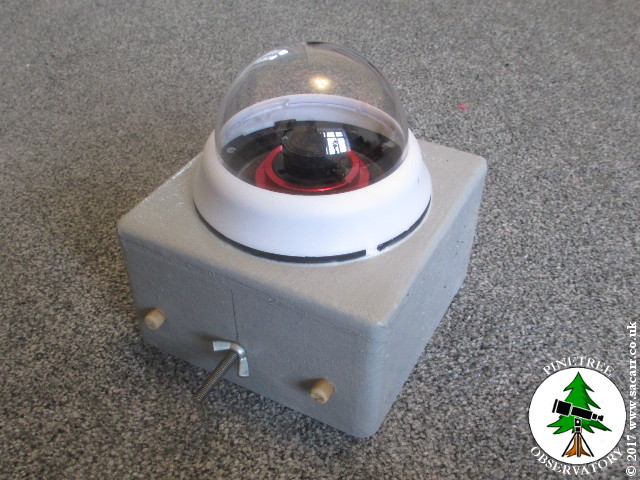
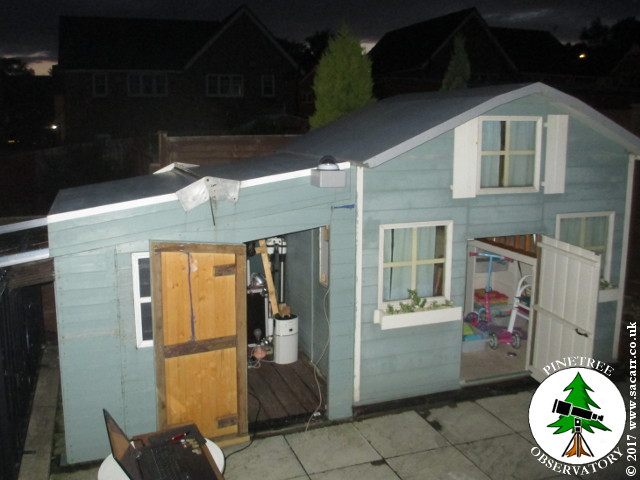
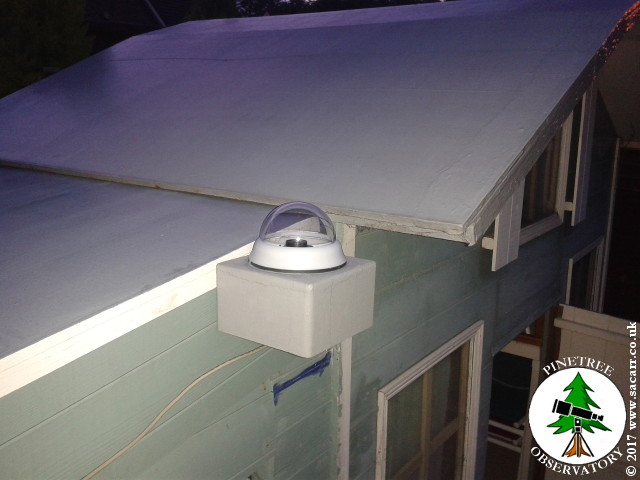
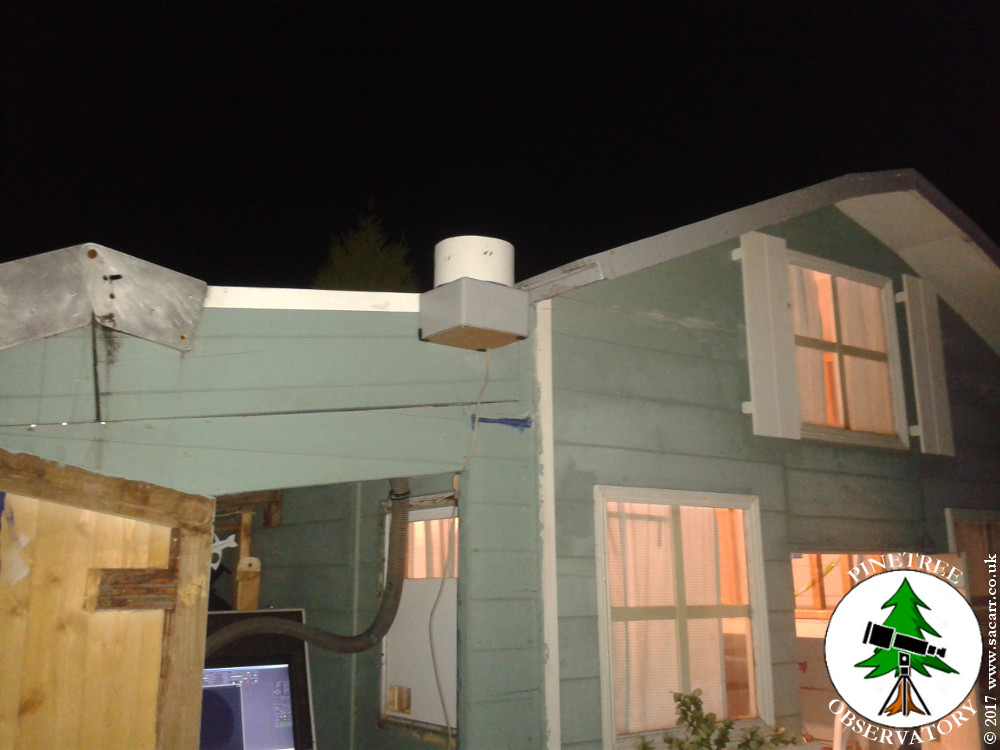
I
considered several locations for its mounting, but the first was
the one chosen. This uses the play house roof to shield the camera
from nearby street lights and allows the camera an almost
completely unobscured view of the sky, as can be seen from the
last image.
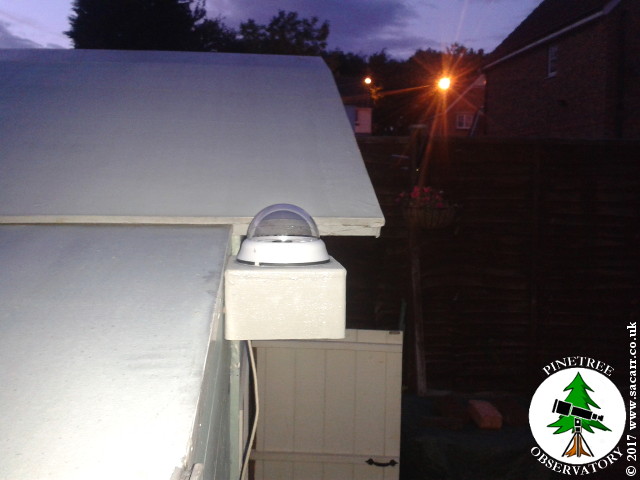
The initial tests inside the dome showed up a couple of problems. Its position on the side of the observatory was chosen to use the playhouse roof to shield the camera from a nearby street light. This worked to some degree, but stray light reflecting off the house, and neighbours bedroom/bathroom lights turning on and off, reflected off the clear dome,
spoiling the capture. A quick test solution was to cut a section of 6 inch postal tube to drop down over the clear dome. This reduced the field of view a little, but blocked stray light shining directly onto the dome.
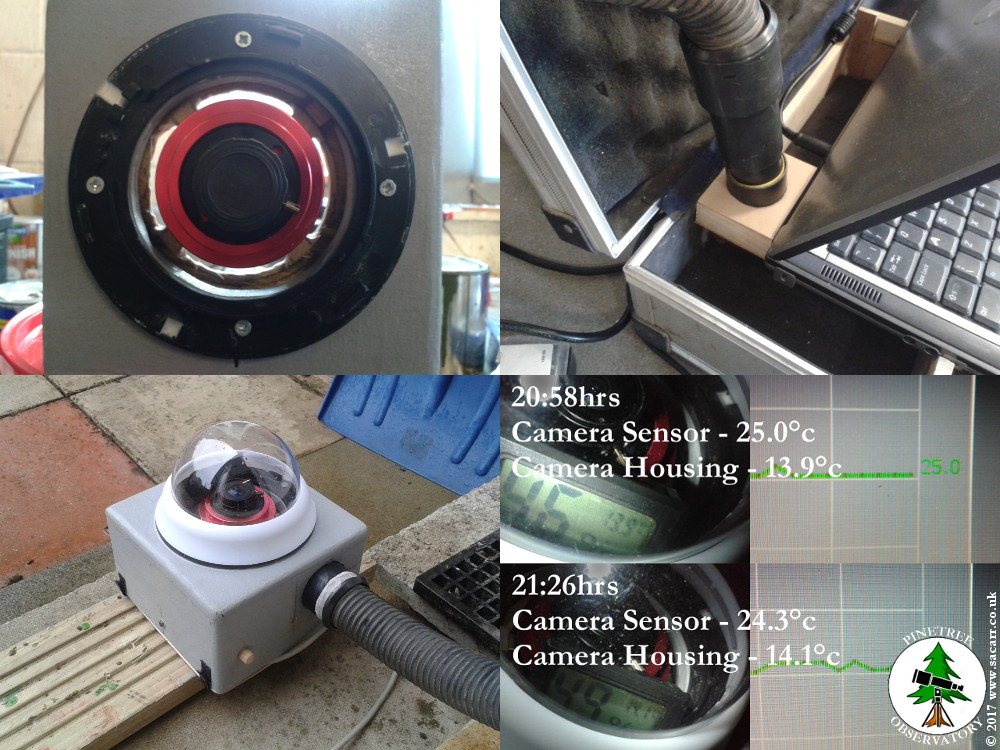
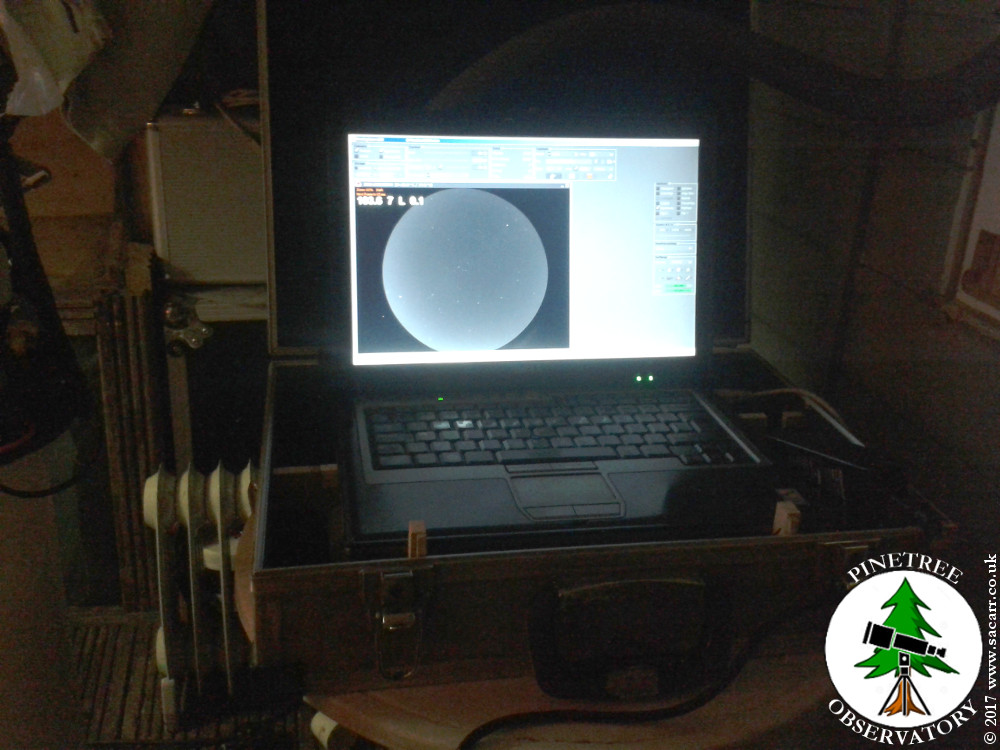
The second problem was that after an hour or so, the dome started to fog and dew up, cutting visibility of the sky. I needed some dew heating of the dome. I didn't want to have to provide another power
supply, but the light bulb moment was to use the waste heat from my laptop CPU.
I set to making the modifications. This involved cutting some warm air slots around the camera to allow the air into the dome. The observatory laptop is mounted in an aluminium carry case. The next modification was a wooden box behind the CPU outlet to direct the warm air into a flexi-hose. The other end of the hose was fitted into the camera box, and camera sensor and dome temperature testing was done on the patio. The tests showed promise, so I was then prepared to cut holes in the observatory for the warm air
hose.
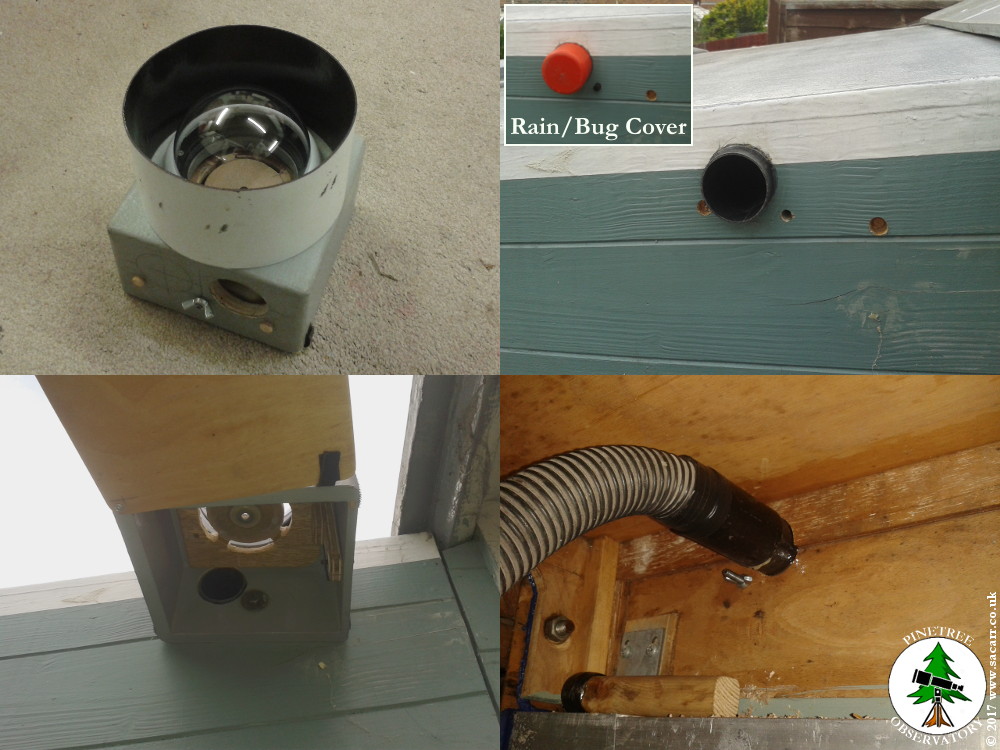
A new plastic light shield was cut to keep out stray light. A hole was cut
in the obsy roof, and a piece of pipe glued in to link the flexi-hose to the removable camera box. A plastic cover keeps bugs out when the camera is not fitted. Inside the observatory roof, the flexi-hose plugs onto the tube glued into the roof, and the other end into the laptop
outlet.
That
night, it was clear, so I set everything up and left it running
over night. The next morning, I went out to check on things, and found the observatory roof covered in dew, but the dome was still clear!
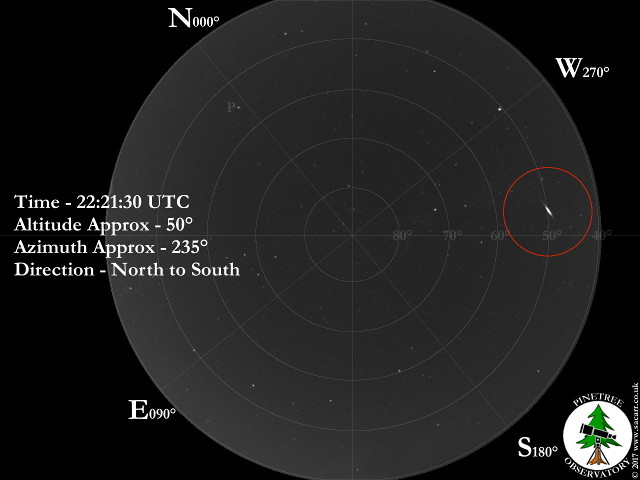
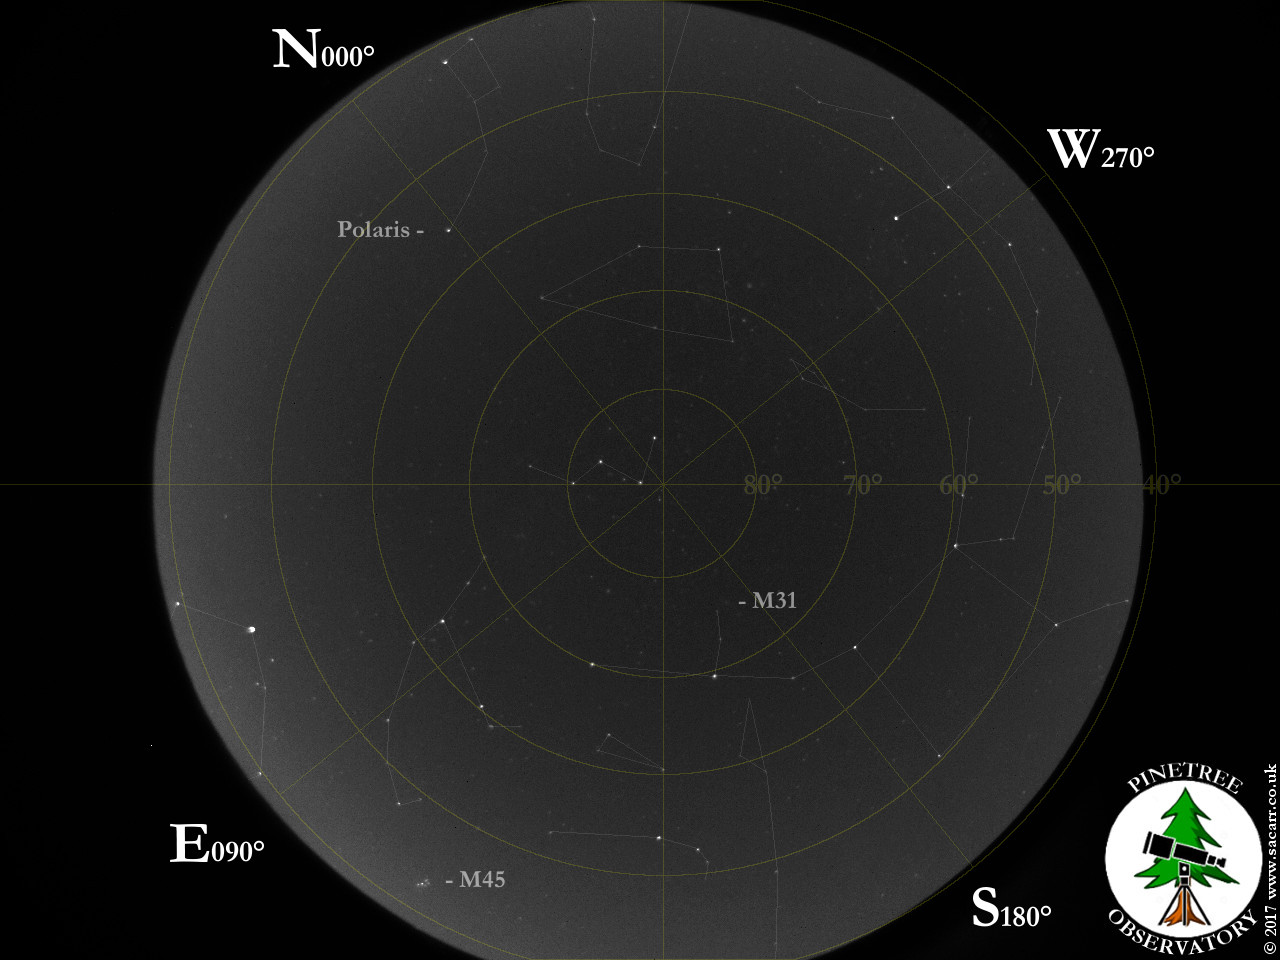
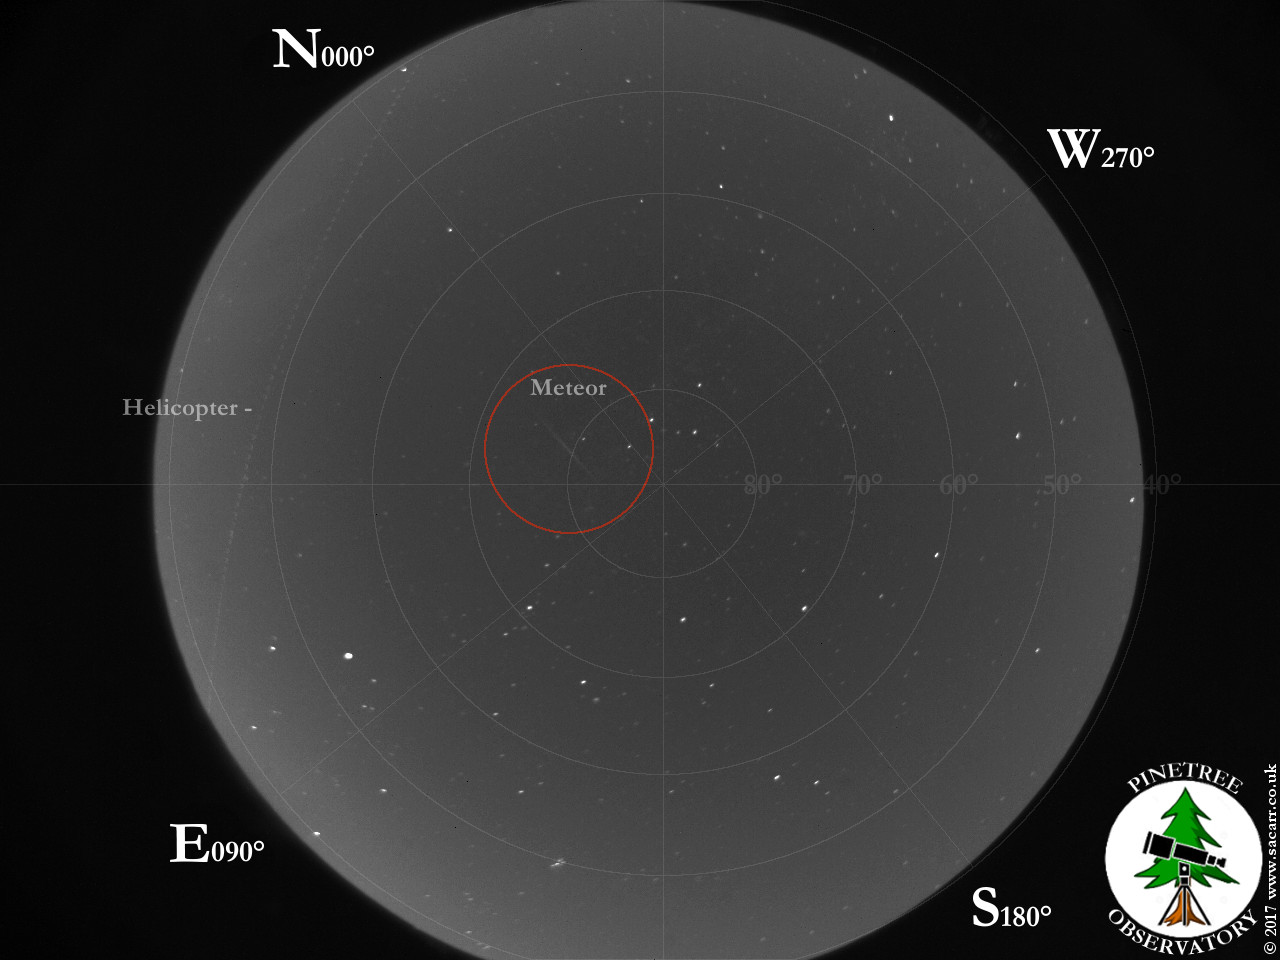
While there weren't a huge number of interesting targets that night ( no meteor shower! ), I caught a meteor, satellite, some airliners and helicopters, plus got a nice time lapse of 6 hours and 38 minutes of sky.