After some long exposure experiments with the ASI on small planetary nebulae, I was quite impressed with the results, but the signal was quite noisy. Cooling the camera would help with the noise, so I decided to experiment.
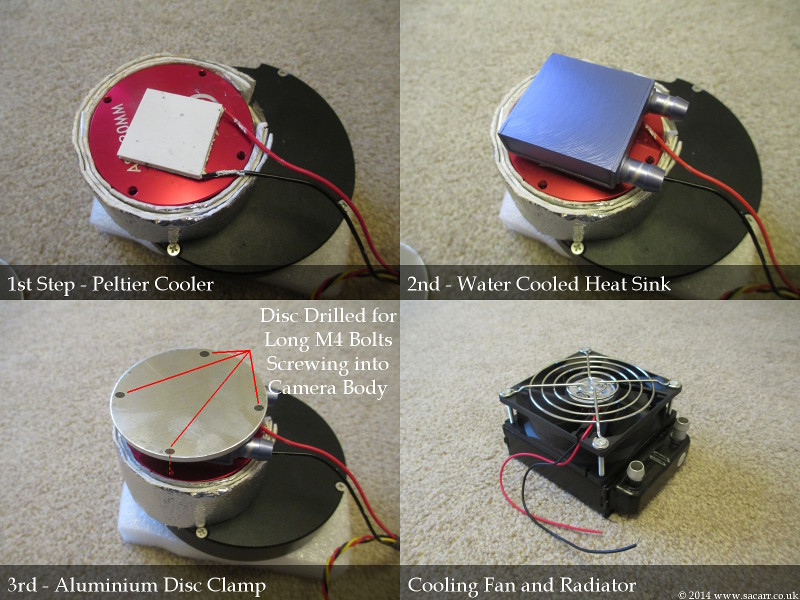
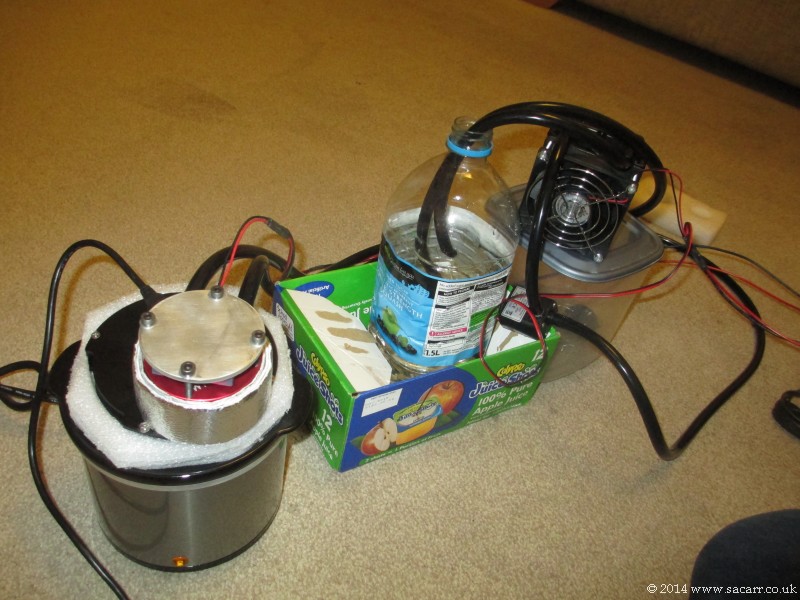
I got a peltier cooler and fan from a friend, who had taken it from a fridge. A heatsink and aluminium block sandwiched the peltier cooler, and this was simply rested on the back of the ASI120 case. The fan was bolted on top of the heatsink and the camera wrapped with three layers of insulation.
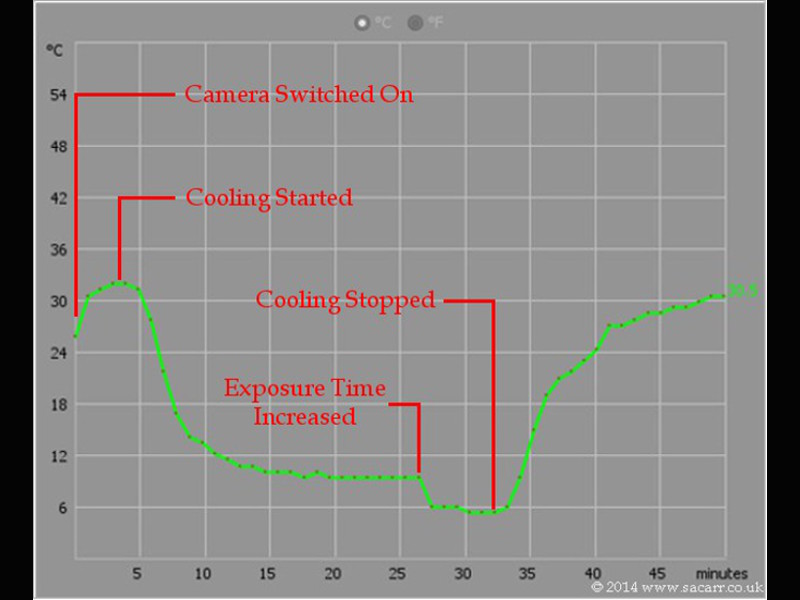
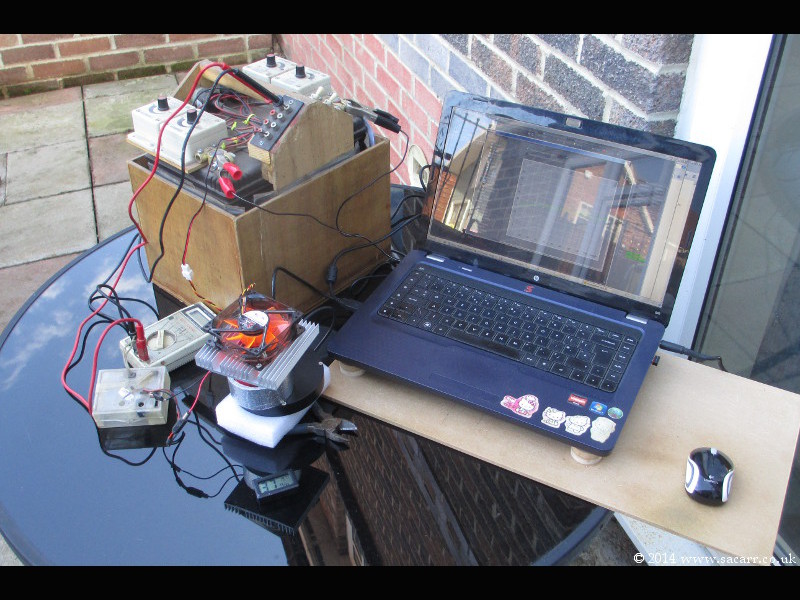
After doing some tests indoors, the set up was taken out to the patio to do some test runs in a cooler environment. The ambient temperature outdoors was 20 degrees C, and when switched on, the camera sensor temperature quickly rose to a stable 30C. The image to the right shows the stack of parts for the test which were removed from a 12v camping fridge.
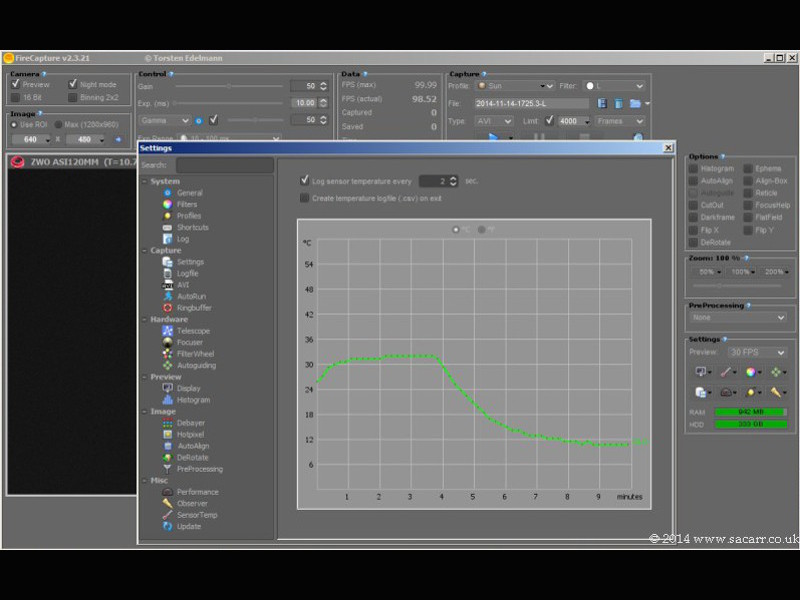
When the cooling fan and peltier were started, the sensor slowly dropped in temperature over a period of about 25 minutes, getting the sensor to about 10 degrees C as seen in the graph above.
Development
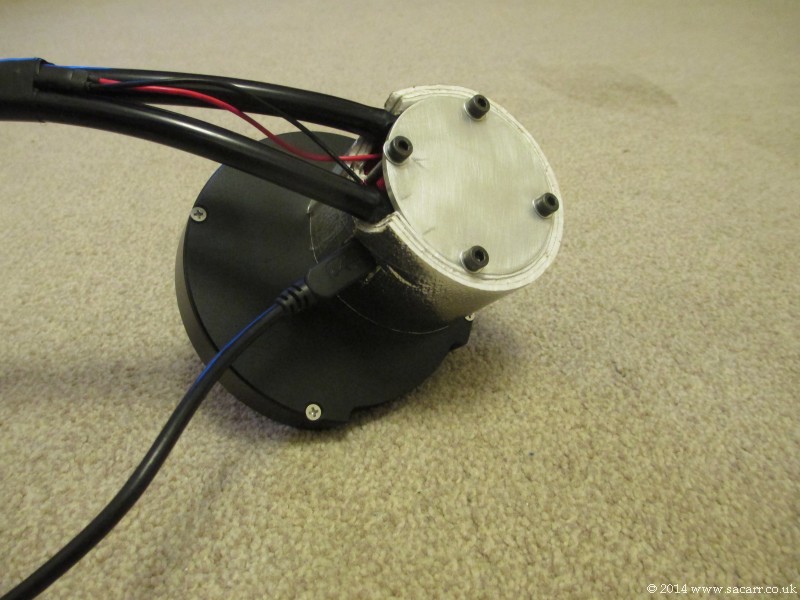
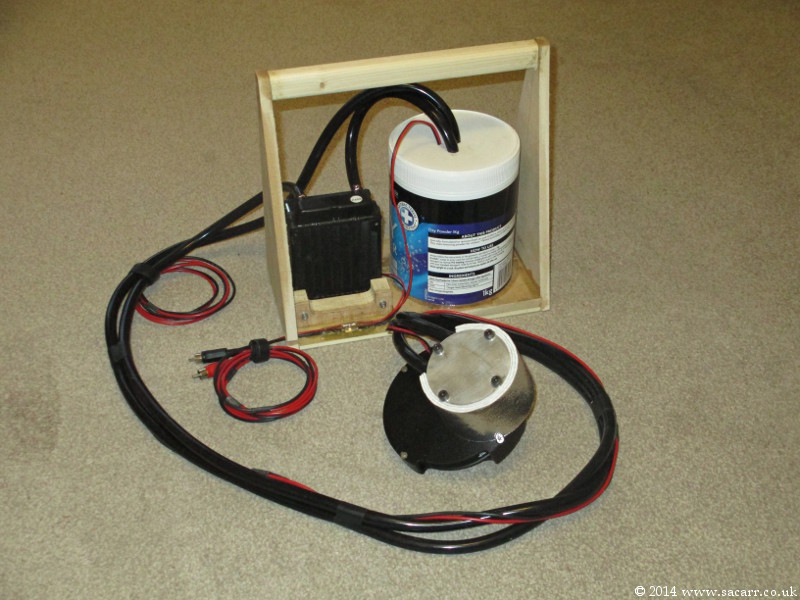
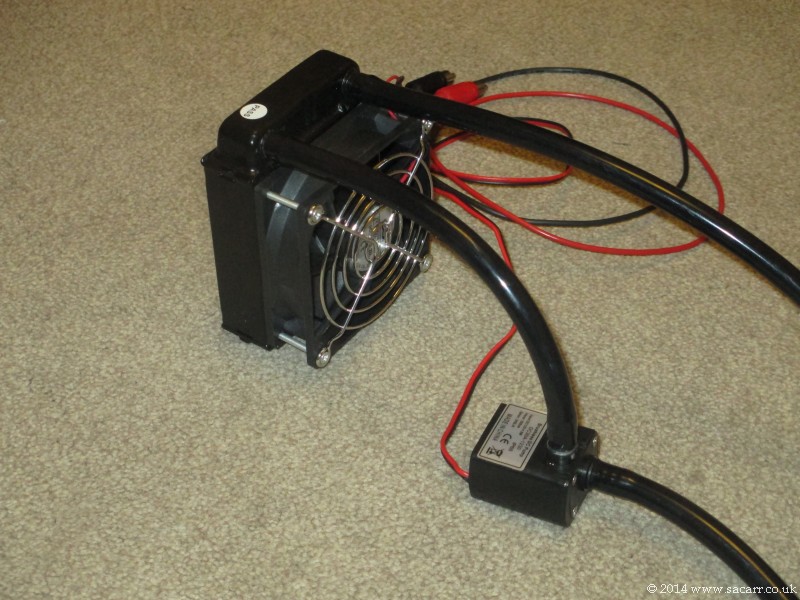
After the success of the air cooled version, which cooled well, but suffered from vibrations, I decided that the proper prototype should be water cooled.
The pictures below show how the peltier cooler is attached to the camera. The cooler sits on the camera body with the water cooled heat sink on top. Over this there's a disc of aluminium drilled to match the holes in the camera case. Four M4 bolts pass through this and clamp everything to the camera body.


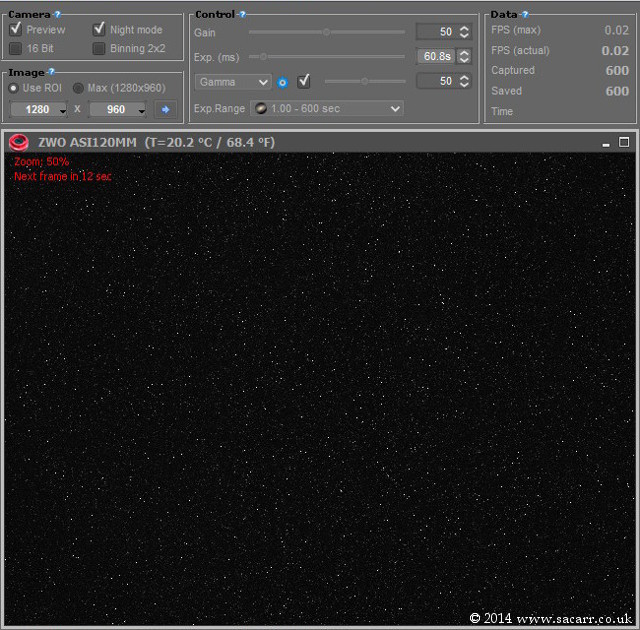
The gain was set at 50%. The more gain the more noise, so I had this set at this average position. The preview window was set to the fastest frame rate and the temperature stayed stable whether the camera was just on preview or capturing video.
When the shutter speed was slowed to 1 second exposures, the temperature dropped further to about 5 degrees C. I then tested even longer exposures as would be used for small planetary nebulae. My Deep Space tests have so far ranged from 2 to 16 seconds, but I had no doubts I would be going longer. So the next test was with the exposure set to 60 seconds.
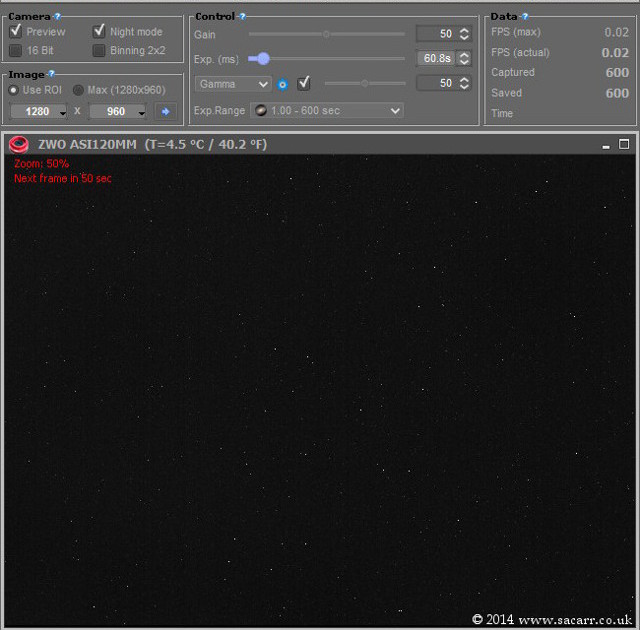
Since the camera was already cool, I shot the cooled test first, which was at 4.5C, then switched the cooling off, and let the camera temperature rise to 20 degrees. The two images below show the difference in noise between the two temperatures. This will give significant improvements in captures for long exposure settings.