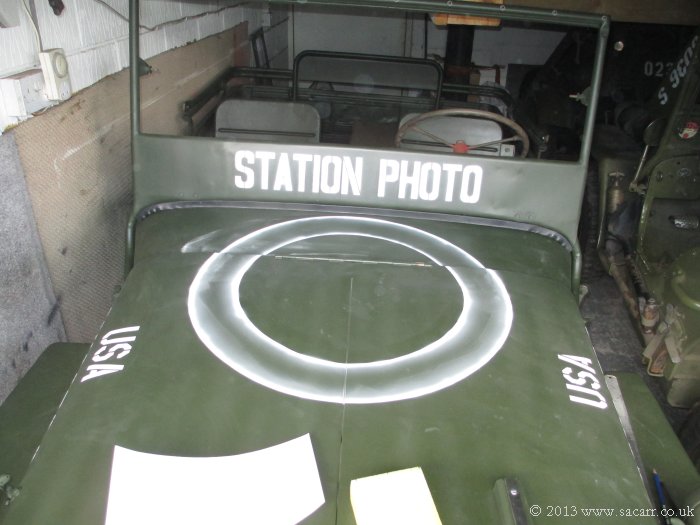
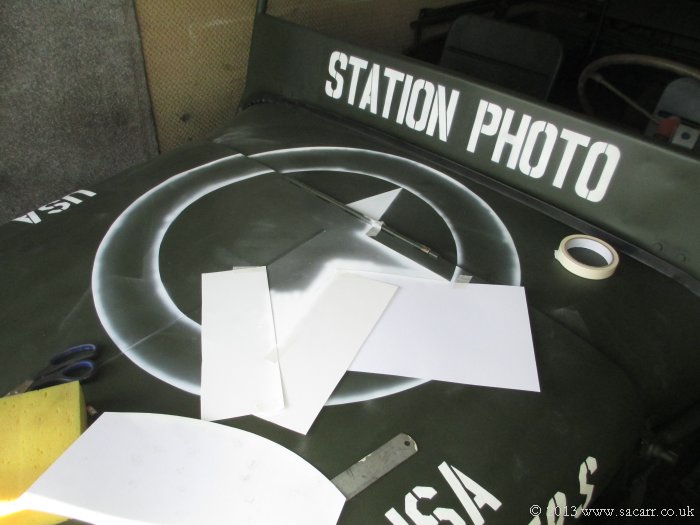
| Once I was happy with the sizes and positions, the star was marked onto the hood in pencil. I didn't have any card large enough to make a complete star stencil, so I sprayed the edges with a small mask, to give a slight soft edge. The star was done the same way and once dry, the whole area was masked properly with tape to fill in the rest of the circle area and star. | |

|
|
|
|
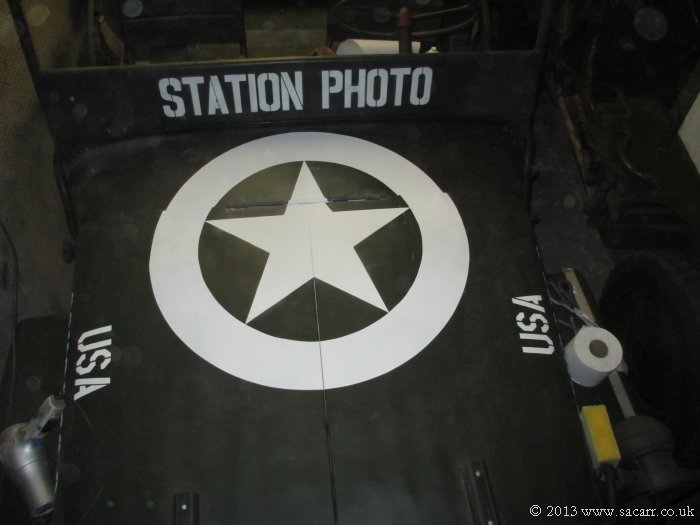
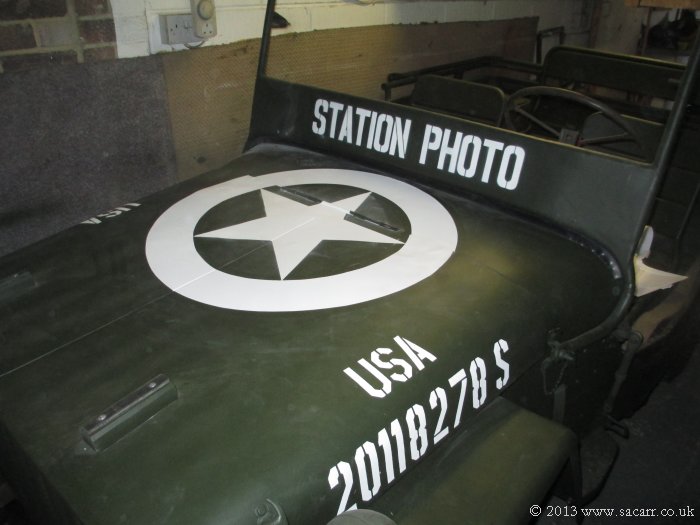
| There
was one small spot where the white paint blistered, so once dry, it was
rubbed down and painted again. It blistered again, not on the exposed
green, but where the edge of the original coat of white was. It was
rubbed down once more, repainted and blistered again! Once dry again, it
was rubbed down, the area getting larger and larger each time! This
time, as soon as the paint was sprayed from the can, I blasted it with a
hair-dryer to flash off the solvent. After a few minutes, this process
was repeated, and again until a good coverage was achieved. The whole
circle was given one more coat to even out the density and it was then
unmasked.
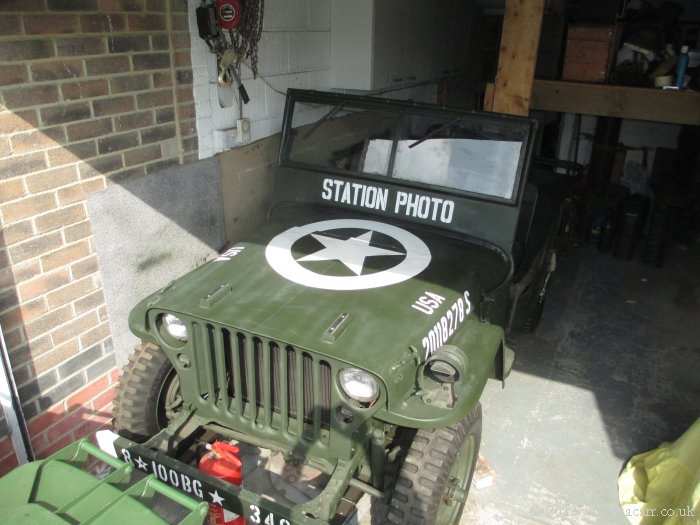
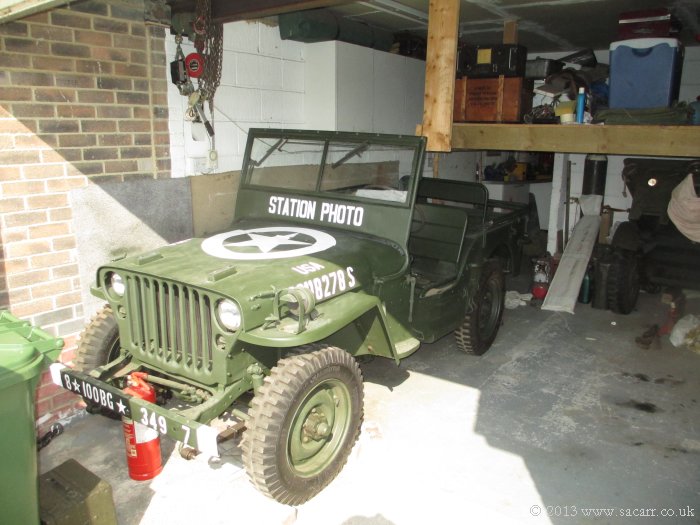
It is unusual to see the large star in this position, but it is copied faithfully from original photos, so all the "experts" who comment in future can be told where to insert their expertise! |
|
|
|
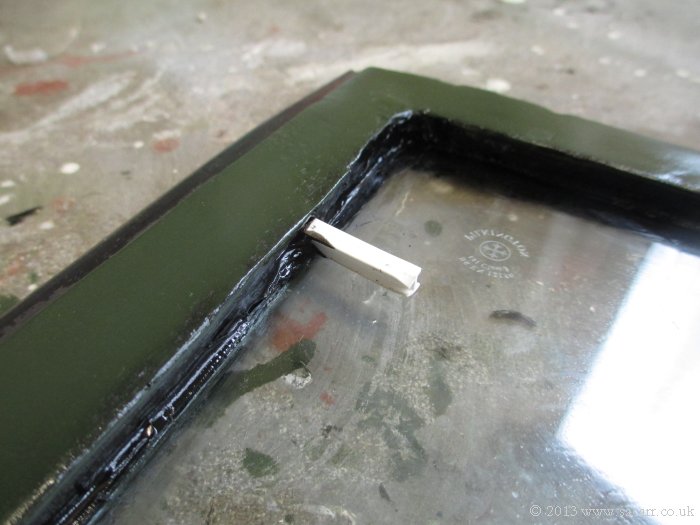
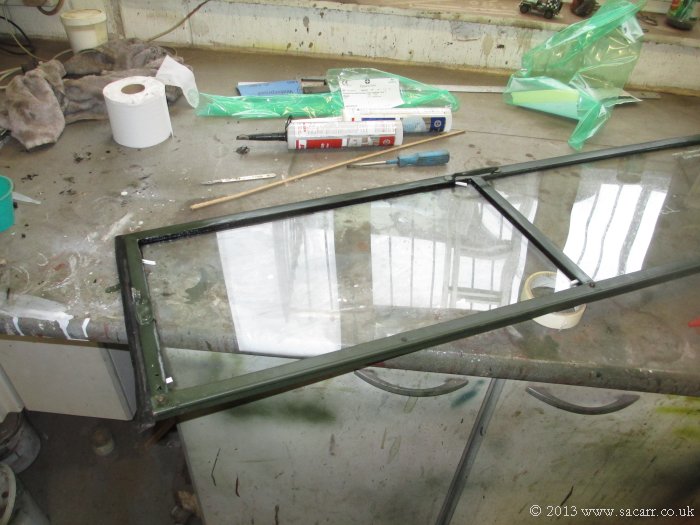
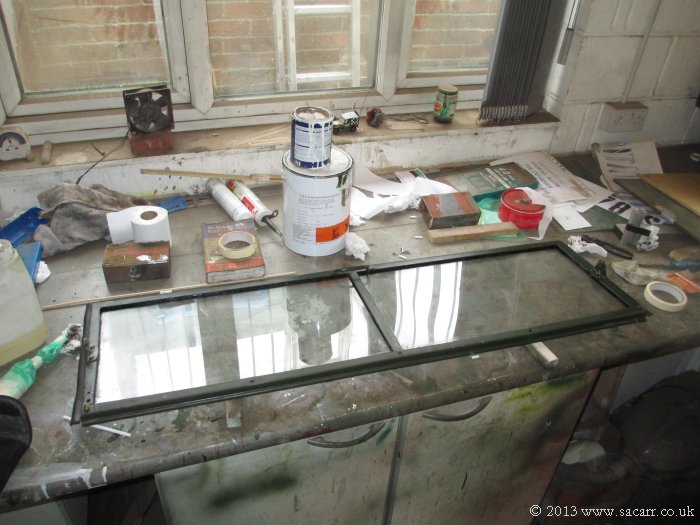
| Once the glass was collected, it was fitted into the frame. I used silicone rather than the original type rubber seals as the water gets between the seal and the frame and rots it out. Spacers were used to hold the glass firm up against the front of the frame while the silicone cured. | |
|
|
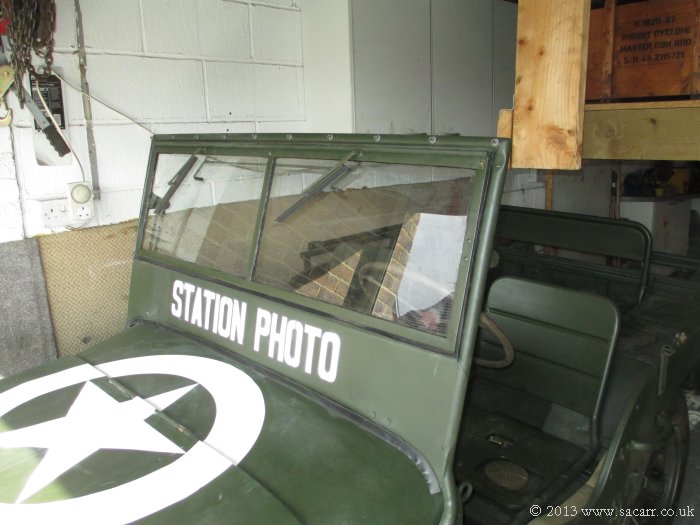
| Once cured, it was a 5 minute job to slide the screen back in and connect the screen arms. | |
|
|
|
|
|
|
|
|
ASSEMBLY 1 ASSEMBLY 2 ASSEMBLY 3 ASSEMBLY 4 ASSEMBLY 5 ASSEMBLY 6 ASSEMBLY 7 ASSEMBLY 8 ASSEMBLY 9 ASSEMBLY 10 ASSEMBLY 11 ASSEMBLY 12 ASSEMBLY 13 |
|