|
Four Page Updates - Dec 1st '18 - Dec 3rd '18 - Dec 4th '18 - Dec 5th '18 - Dec 6th '18 - Dec 8th '18 |
|
|
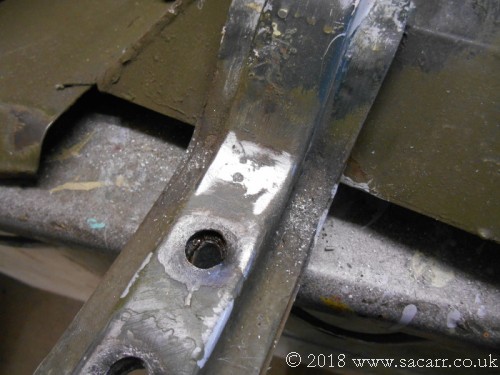
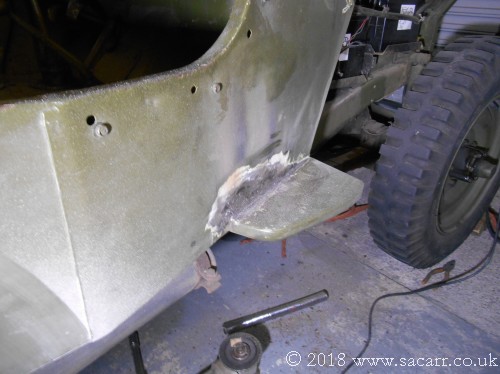
After a good clean up with a rotary wire brush, the
underside of the fender was given an under coat of Hammerite smooth as a more
impact resistant surface to protect the metalwork from road debris. It was then
matted off with a Scotch-Bright pad to key it for the top coat of paint. Another
small hole was found in the hat channel near the mounting bolts, so this was
filled with soft solder before being given a skim over of filler. |
|
|
|
|
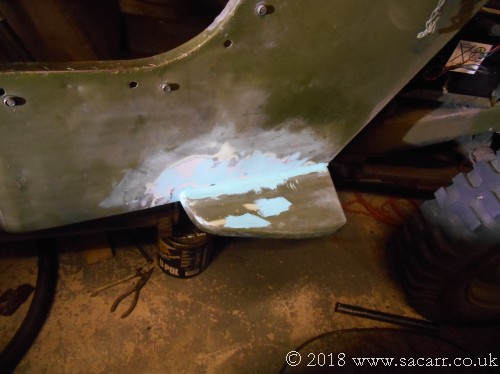
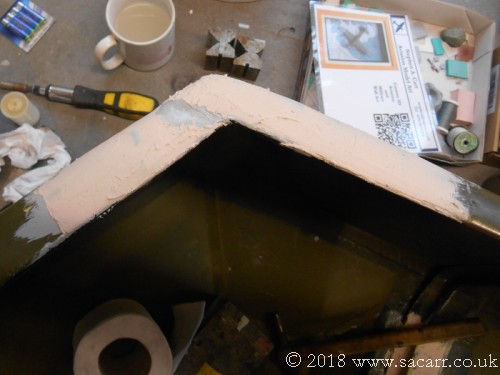
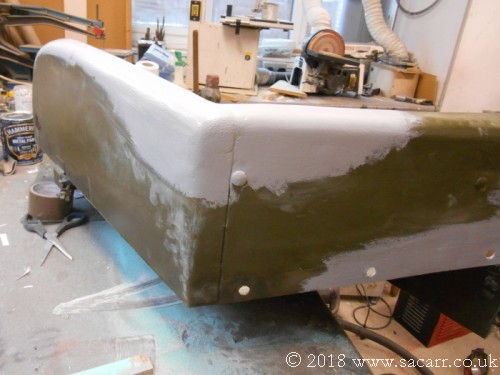
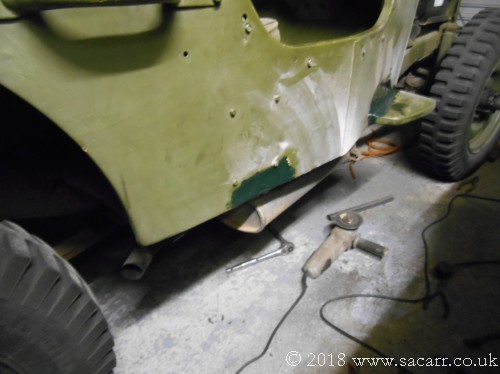
The corner of the fender was given a skim of P38 filler to even out the surface and after a sand was given a brushed coat of primer, as was the hat channel. This gave an even colour to check the surface finish and see where any further filling was needed. |
|
|
|
|
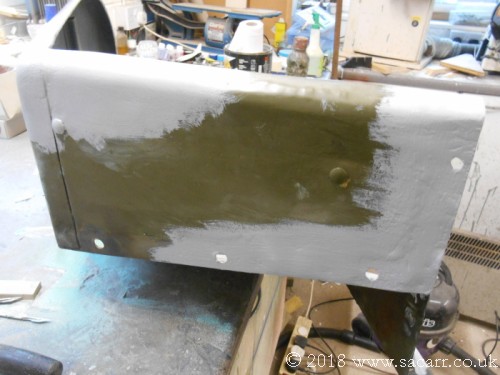
The outside of the fender was sanded and primed too, and after these pictures were taken, some fine surface filler applied to even out some of the smaller hollows. This will be allowed to harden and then everything will be wet sanded before another sprayed primer coat. I can then decide if it's ready for the top coat. While my workshop looks like a bomb site, the repairs have gone better than I expected them to and the fender should last a while longer. It could still do with a replacement hat channel, but that can probably be put off for a year or two. The main sheet metalwork of the fender is still in reasonable condition. |
|
|
|
|
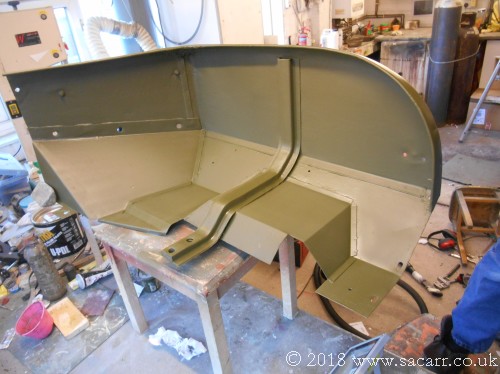
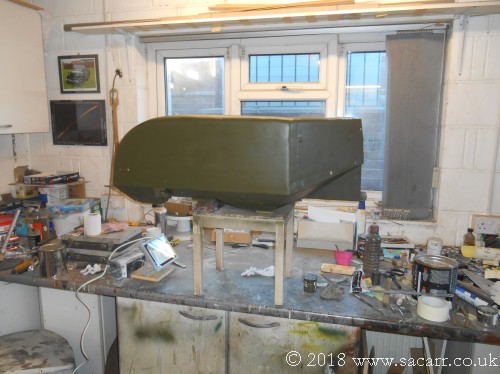
----- After a light sand all over, the fender was given its olive drab top coat of paint. This was done in two stages as I couldn't get to all the surfaces in one go. |
|
|
|
|
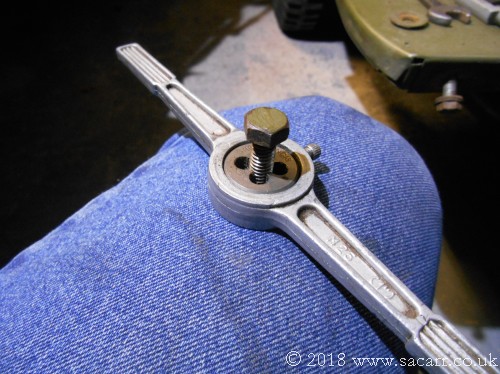
The next step was to clean up all the fixings. all the threads and captive nuts were cleaned up with taps to re-cut the rusted threads. The bolts were all run through a die to clean up their threads. The bolts and washers were all then cleaned back to metal with a rotary wire brush and painted. |
|
|
|
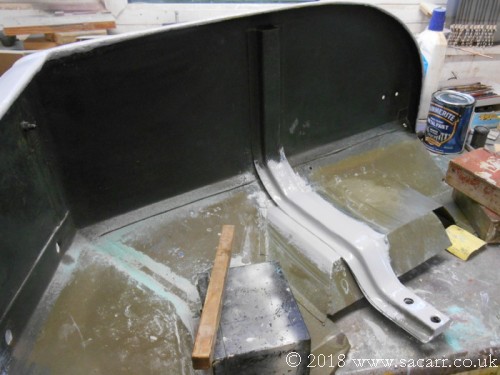
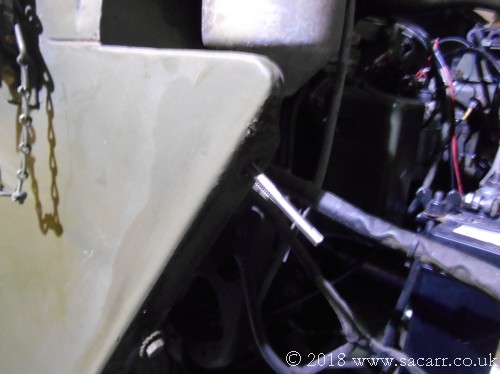
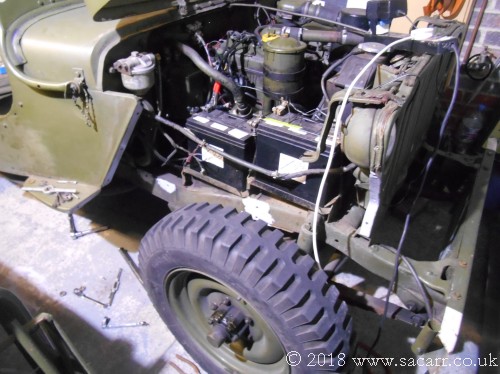
| On the Jeep itself, there was lots of surface rust where the fender fitted. All the contact points for the fender and its fittings were cleaned with a wire brush and primed ready for painting. |
|
|
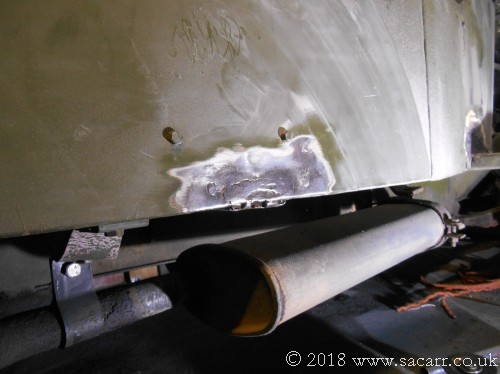
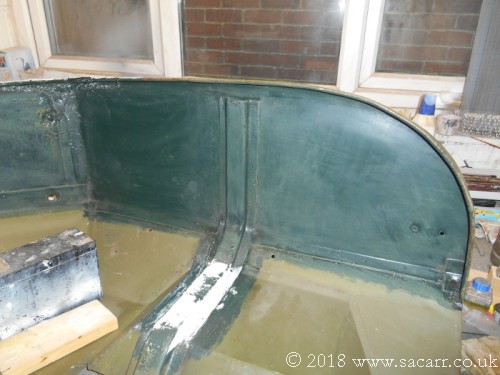
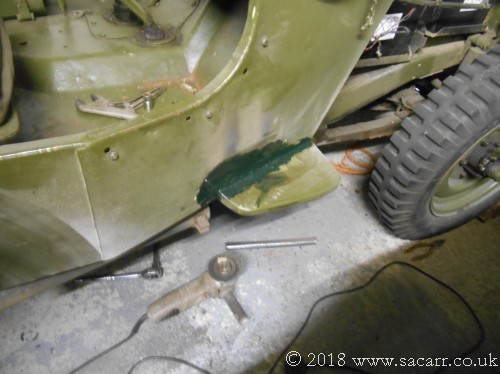
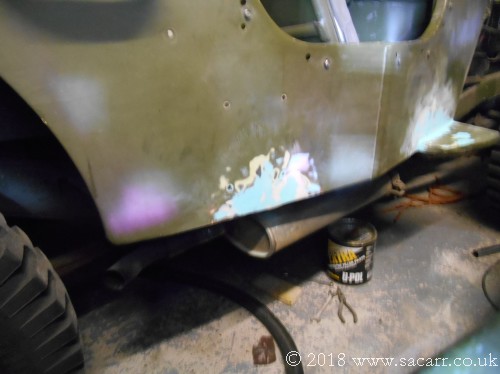
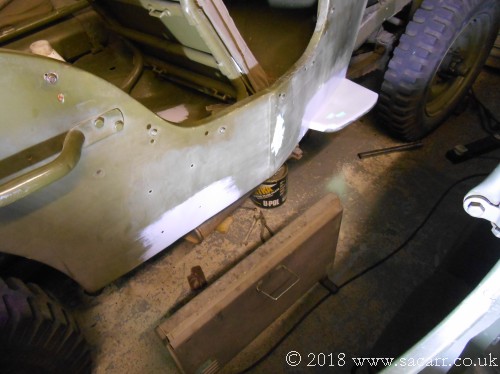
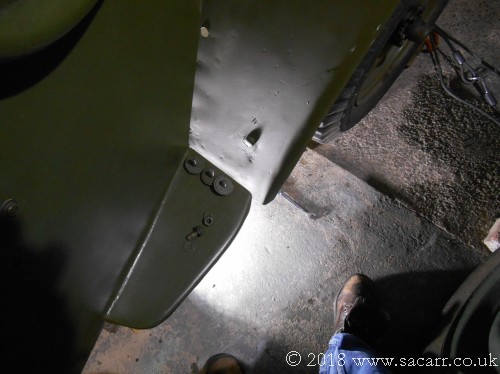
----- December 4th - Bodywork Repairs On Tuesday 4th, the remaining bodywork repairs were started. The body between the front pillar and step had rusted, allowing the skin to crack away along most of the length of the step. This was cleaned and welded. There was also another crack just above the exhaust. The rotary wire brush revealed the crack to be no more than the filler, and the metal below, where a new hat channel had been welded in, was still good. This would just need a new skim of filler. |
|
|
|
|
After both areas were given a good clean with the wire brush, they were given an undercoat to seal the metal until I could proceed. |
|
|
|
|
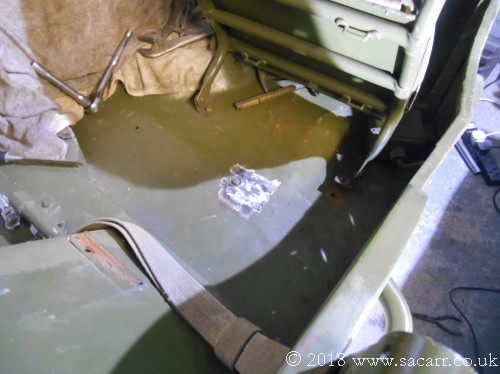
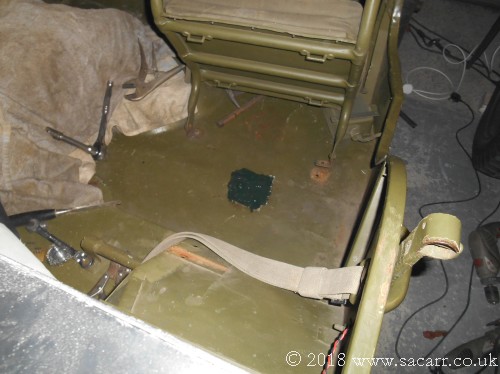
There was another small spot on the floor where the floor panel had rusted through. A patch was welded in and painted over, leaving it overnight for all the paint to dry. |
|
|
|
| ----- | |
| Today was just a day of sanding and filling. Even with the heater in the garage, it was cold, and that was slowing down the cure times for P38 polyester filler and air dry acrylic fine surface filler. As a result, this delayed the sanding of each layer, slowing down the job. A couple of areas were still too soft to sand by the time I had to pack up for the school run. |
|
|

|
|
----- December 6th - Bodywork Repairs On Thursday 6th, there was lots more filling and sanding first thing, then a coat of primer. After that had hat time to harden, with a little help from a heater, it was given a light key with a Scotch pad and then I was ready for the olive drab. Because of the cold outside, and the cramped conditions inside, I decided not to spray the side of the Jeep. Instead, it was brush painted and before it had too long to dry, I went over with a mini paint roller to even out the brush strokes and to matt the surface off. |
|
|

|
|
The rollered finish turned out pretty good so then I painted all the mounting hardware. I also made some plastic washers for all the bolts. These would go between all the mating surfaces where the fender contacted the Jeep bodywork or chassis. These plastic washers, only about 0.75mm thick spaced the metalwork apart slightly, preventing dirt and moisture from being trapped between the metalwork. This tiny gap isn't really noticeable, but allows me to get the hose pipe in to give them a good rinse out. The white styrene washers were also painted olive drab. |
|

|

|
|
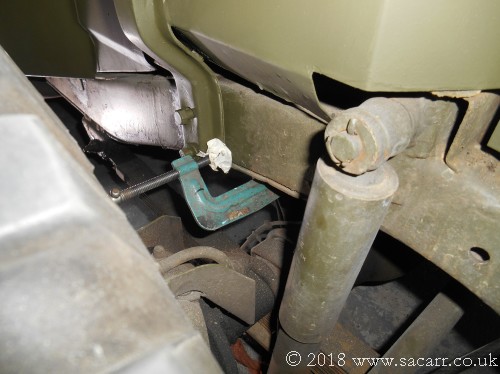
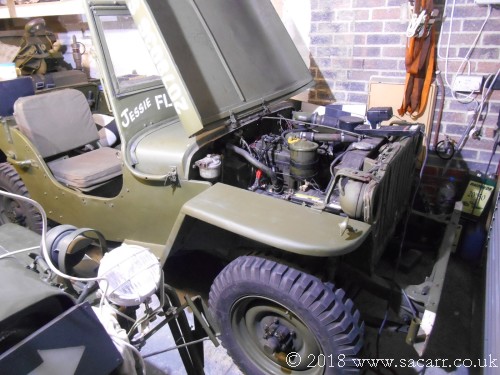
----- December 8th - Bodywork Repairs After a day and a bit for the paint to harden, it was time to re-fit the fender. As with the Ford GPW when I rebuilt that, fitting the fender was a bit of a battle. The top rear and top front bolts were fitted loosely to support the weight of the fender. Then I started fighting to get all the other holes to line up. The hat channel needed a G clamp to pull it in to allow the bolts to start in their threads. The two lower bolts where the bracket had snapped were fitted next, followed by the other two rear and two front grill bolts. That left the step bolt until last. It was a little tricky slotting in the plastic washers, but once all the bolts were in by a few threads, it was then an easy matter to tighten them all up. |
|
|
|
|
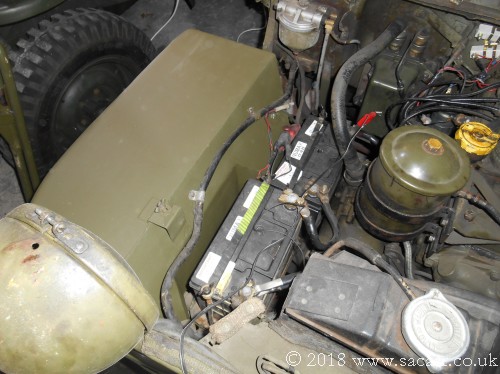
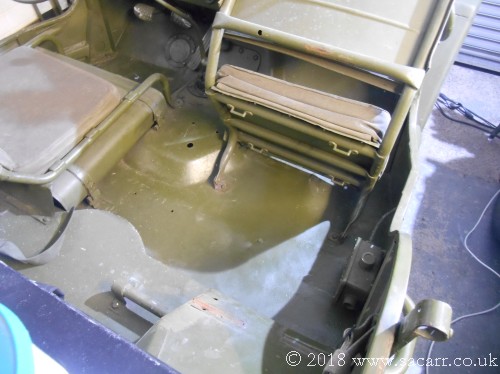
With the fender attached, the battery cable clamps were attached, along with a small earth wire. All the nuts, bolts and machine screws were then touched up with olive drab. The seat was then bolted back down and the radio electrical box on the side of the Jeep tub bolted back on. |
|
|
|
|
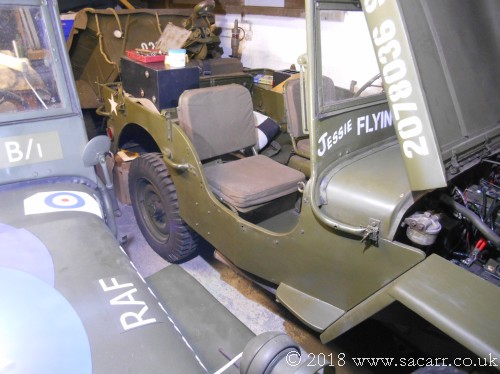
All back together again! It wasn't as big a job as I first thought when I started cleaning paint off all the rust patches. |
|
|
|