|
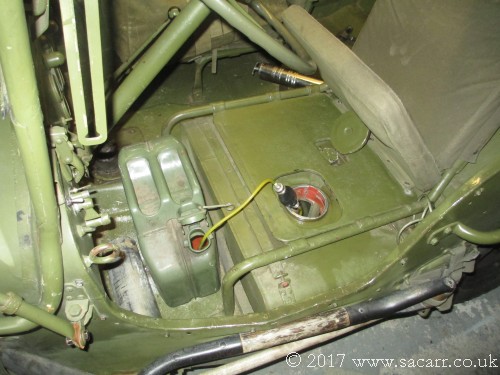
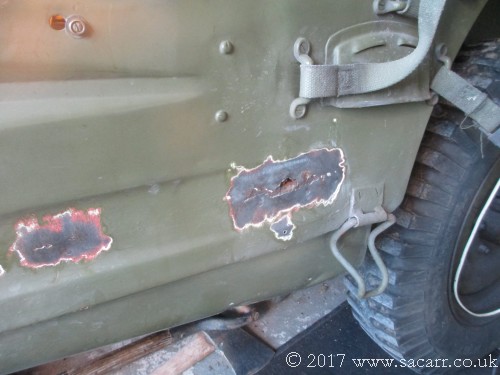
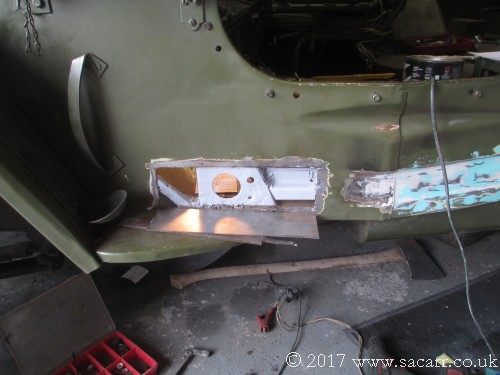
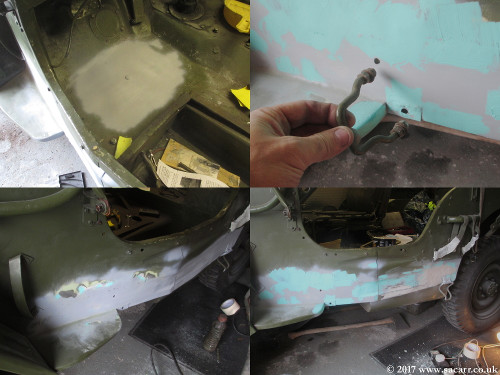
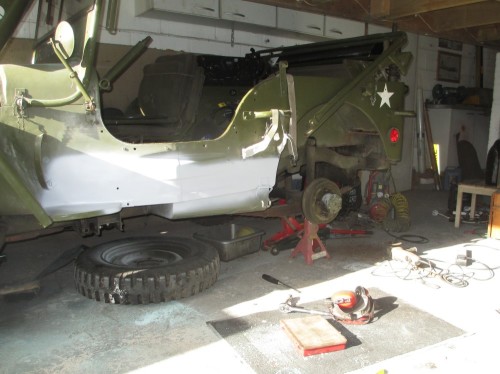
October 7th - Bodywork Repairs Back in 2009, I made some temporary repairs to some rust holes around the axe handle with body filler. Those repairs have lasted eight years, but it's now time to deal with the problem properly. There were also a couple of holes forming in the drivers floor. Because both repairs were near the fuel tank, the first stage was siphoning the petrol out. Most was removed via a large hose, and once the level got too low and the siphon stopped, I used a small diesel primer pump to drain the last 10 litres. The driver's seat was next out to access the tank. |
|
|
|
|
|
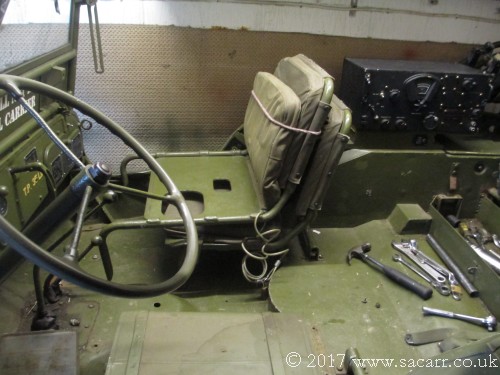
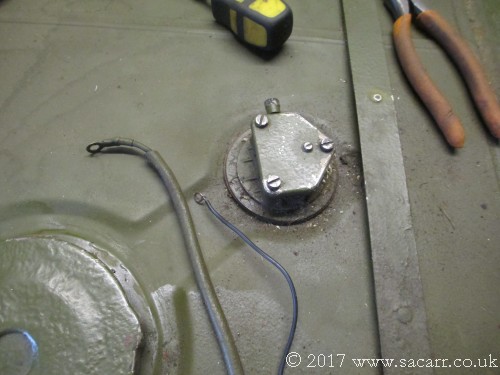
"Jessie" was parked in "Hope's" usual spot for the winter for the work. This means I still have a Jeep to use, and when rolled out of the garage, I have a reasonable area to work in if the weather isn't too kind. After the seat was removed, the sender and earth were disconnected, followed by the fuel feed on the bottom of the tank. That was a bit of a pain due to lack of clearance around the nut for the spanner. |
|
|
|
|
|
|
|
|
|
|
|
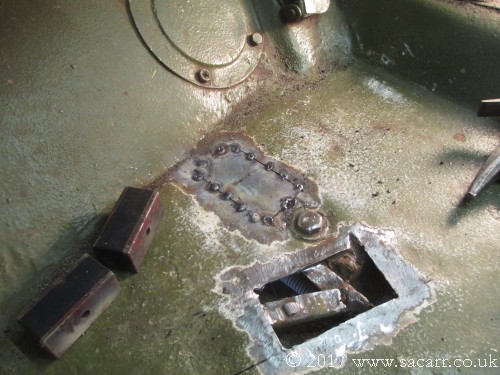
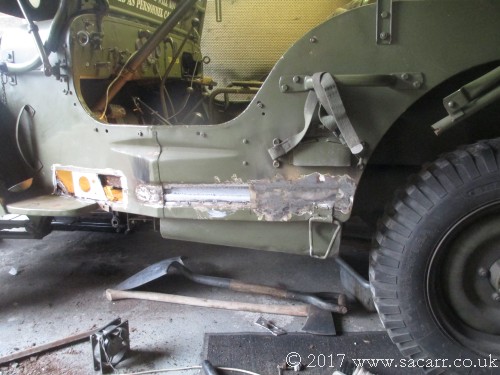
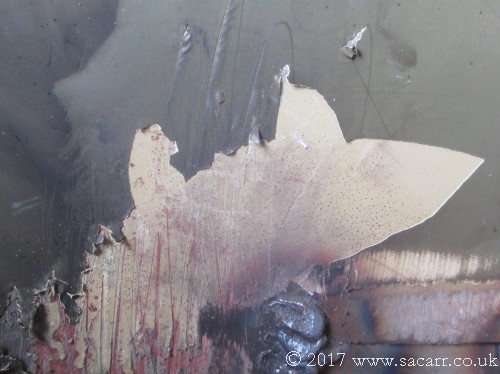
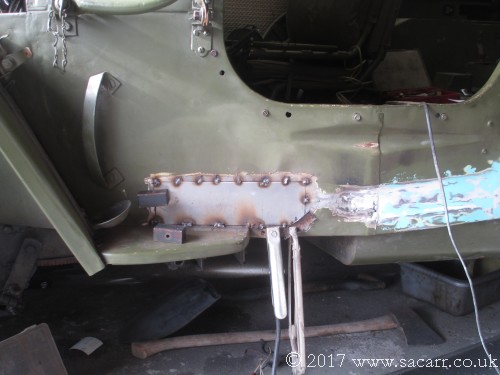
Replacement steel was cut to fit, and welded in. I only had a stick welder which wasn't ideal, slowly tacking spots around the patch. For the remainder of the bodywork, I plan to get a MIG welder for more control when using thin sheet. The welds were ground down and a skim of filler applied to smooth it out. |
|
|
|
|
|
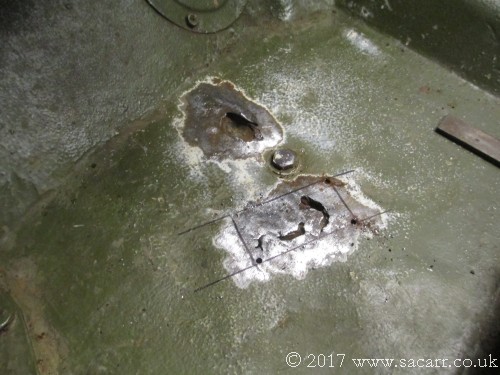
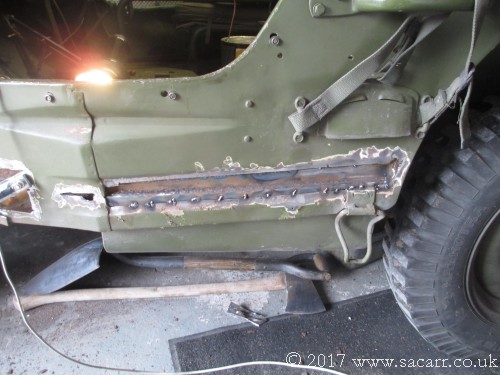
The axe, shovel and fire extinguisher were removed from the side of the Jeep and once again, the rotary wire brush went to work. Around the axe handle bracket, the metal was very thin, but the condition wasn't entirely unexpected. The last time the Jeep had any serious bodywork was its French Army rebuild in 1966; 51 years ago. |
|
|
|
|
|
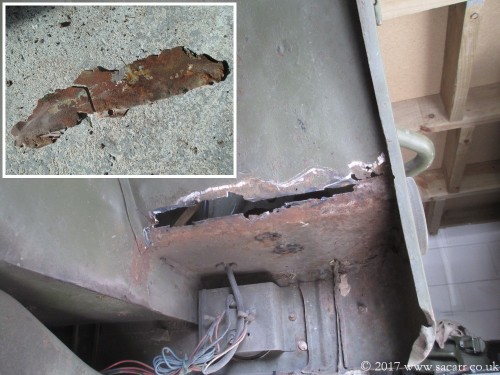
It was obvious the repair was going to larger than at first thought, so I began to cut away the rusted and thin material. This revealed the hat channel behind the pillar was also badly rotten along its lower edge, so I was going to have to do more rebuilding than just adding flat sheet. I still need to cut out the rear area under the straps, but it was getting late, so packed up and put "Hope" back in the garage. |
|
|
|
|
|
-----
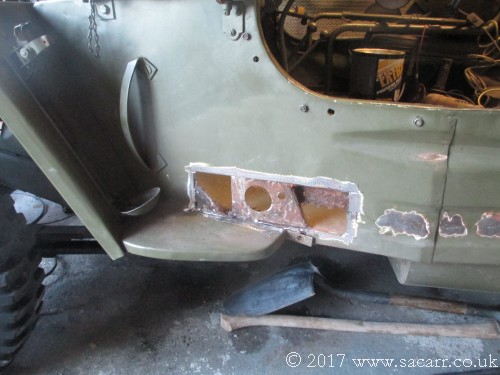
October 8th - Bodywork Repairs Further investigation of the rear
panel showed more rot in the panel and in the lower part of the hat
channel behind it. The upper part of the hat channel was still sound,
and as it had the tank brackets attached, I decided to leave that part
alone. Instead, I cut the lower half of the hat channel away. I still
had some wide hat channel left over from the Ford rebuild, so I cut a
section down the middle to graft into the damaged part. It is seen here
in a test fit. |
|
|
|
|
|
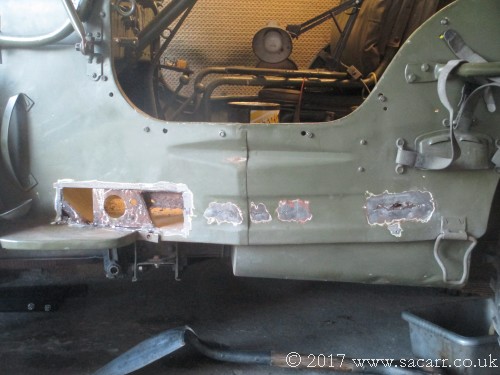
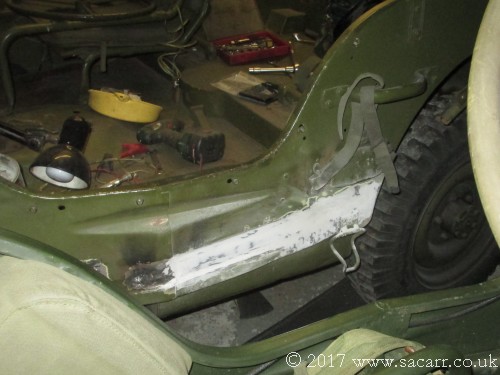
The hat channel was tack welded in place, and then the lengthwise seam with the old piece welded from the tank well side. It was primed inside and then I moved onto the replacement outer skin. Because of the difficulty in holding the piece in place without being able to hold it from inside, I decided to replace the skin in two sections. |
|
|
|
|
|
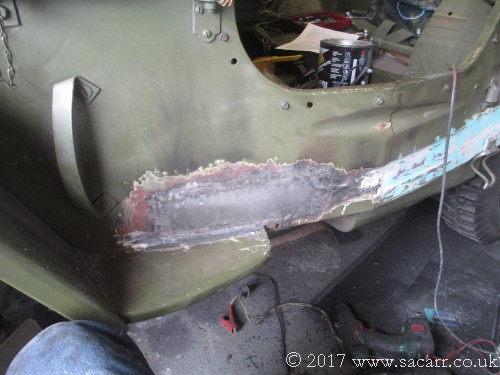
October 9th The second skin was cut and welded in to the front part of the rear body panel. The welds were ground down and then the repair given a skim over in filler which was left to harden. It was given a sand later in the day, but there were a few low spots from the spreader used on the filler. The following day, another skim of filler was added and left to cure. The next session will see this sanded and then I'll move onto the replacement skin in the door pillar area.
|
|
|
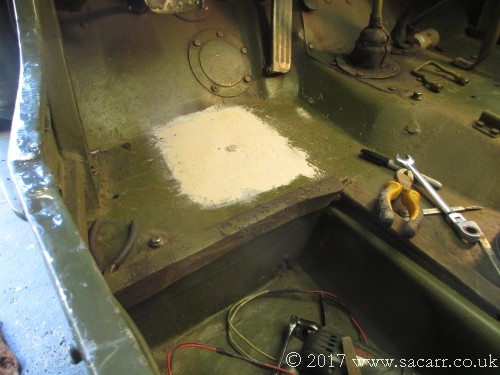
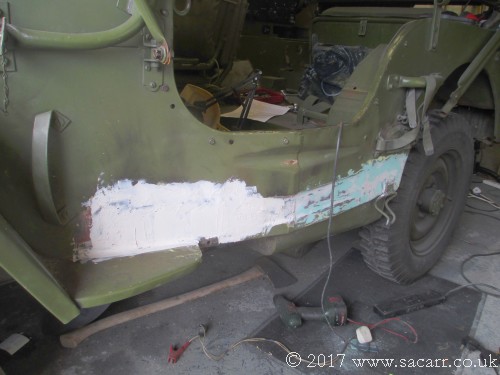
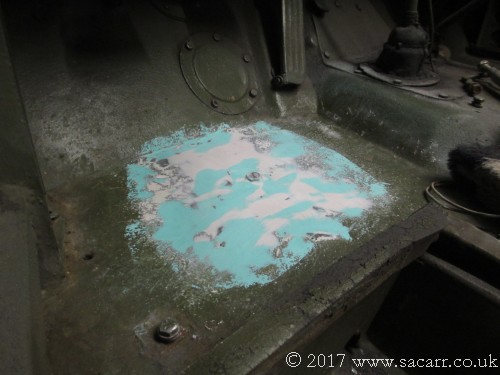
The body filler was sanded on the
floor and side panel and then it was given a thin skim of fine surface
filler ( the green colour ). This was given a little while to harden and
that was also then sanded. Being an acrylic based filler, it is pretty
quick drying if applied in a thin layer. |
|
|
|
|
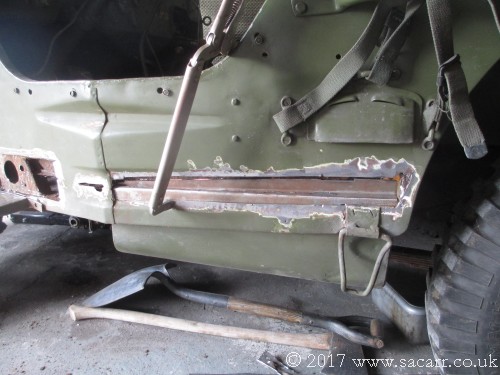
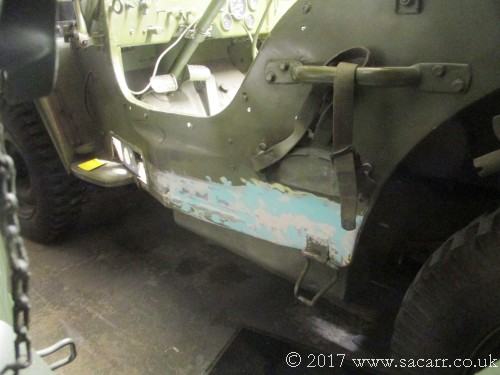
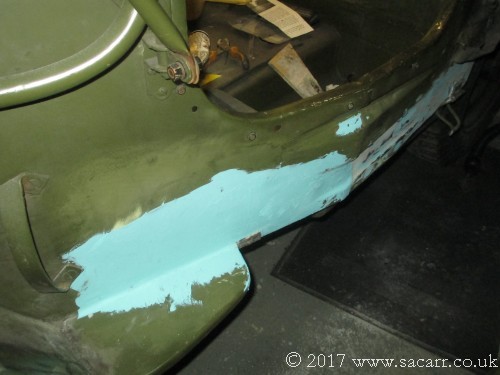
October 13th A new piece of hat channel was added just behind the door pillar and then the door pillar skin was next. It was cut slightly over size, then slowly trimmed on the bench grinder until it was a good fit. The inside faces were primed and left to dry. The skin was tack welded in place and left to cool. I stripped back some of the paint around the new panel and discovered desert sand paint. When I first got the Jeep, it had a "Sahara Jeep" windscreen, fitted with a spotlight bracket. I hadn't found any other obvious evidence of being a Sahara Jeep, but hadn't stripped any paint. Now with these repairs, the sand finish has become clear to see.
|
|
|
|
|
Once cool, the rest of the welds were completed in stages, and ground down with the angle grinder. It was all cleaned up with a rotary wire brush and then skimmed with body filler, once again leaving it to dry. |
|
|
|
|
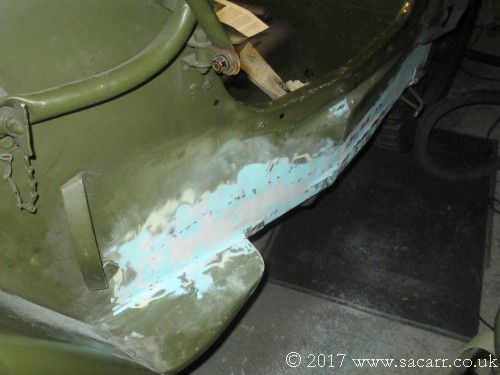
October 19th Fine surface filler was added on the
18th and sanded on the 19th. The fine surface filler helps to blend the
repair into the old keyed paintwork. This now needs a coat of primer to
check over the finish before any other filling and sanding. I'll then
probably leave it in primer while I deal with a few other rust spots
before spraying the olive all in one go. |
|
|
|
|
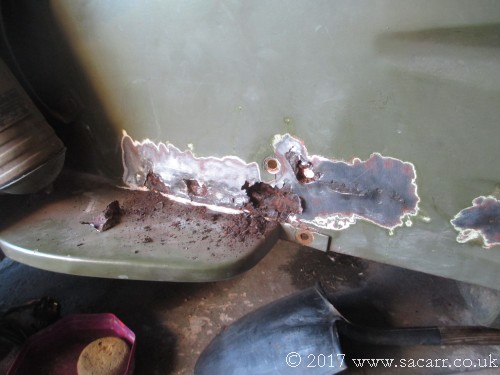
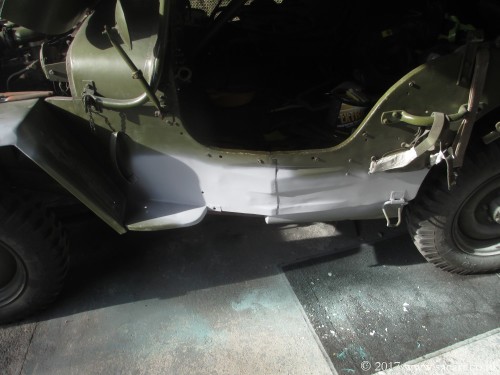
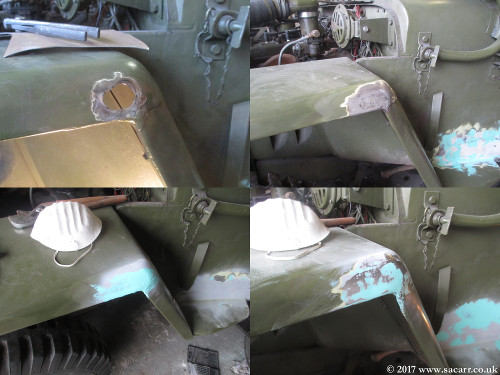
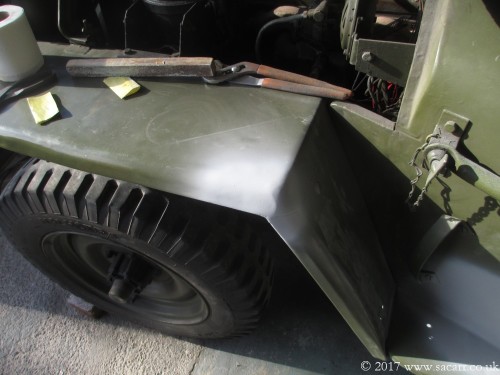
October 20th The side repair and floor were given a
light coat of grey primer today and left to dry. I then turned my
attention to the front left fender which had a large rust patch on the
corner. Further investigation showed the whole outer skin had rusted away
over the top of the 'L' shaped reinforcing piece behind. I ended up
cutting this out, opening up the hole and welding a new piece behind. The
hole was then filled in with further weld. Back on the side panel, the axe
handle bracket holes were redrilled and I found some other welding needed
on the inside at the top of the tank well. The heat damaged some of the
filler, so that was broken away and refilled. |
|
|
|
|
October 22nd On the 22nd, the filler was given a
light sand again on both the fender and tub side and they were given
another coat of primer. Apart from a couple of small spots that reacted
with the sand paint underneath, the side and render are ready for the
olive top coat. |
|
|
|
|
|
|
|
|