|
October 29th - Test Drive After several days of heavy rain, the Sun finally made an appearance and gave me the opportunity for a test drive around Washington.
|
|
|
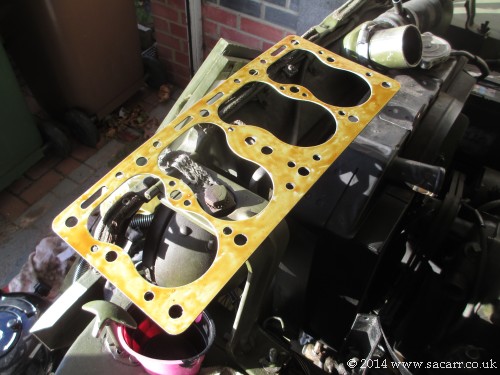
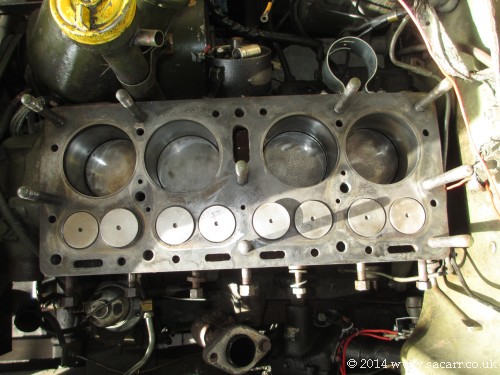
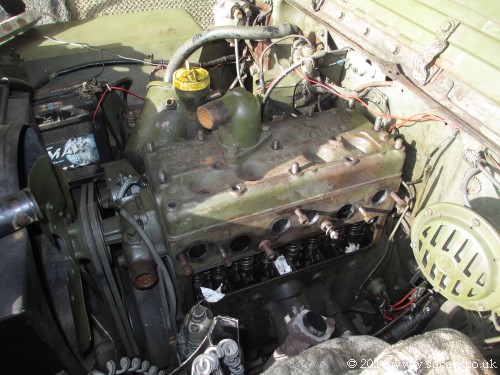
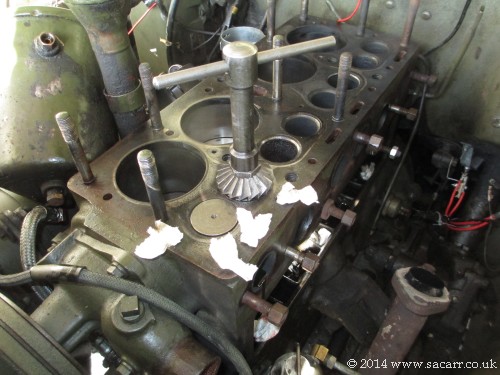
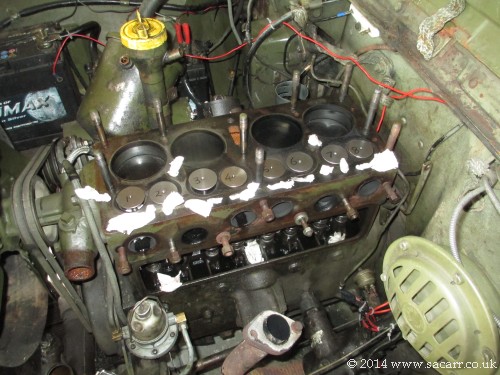
October 24th - Re-assembly and First Start With more good weather today, I couldn't let the opportunity pass, so got straight to work on the engine re-assembly. I bought some Wellseal gasket sealant a couple of days ago, and this was painted onto the head gasket and block, allowing it to go tacky before the gasket was added. |
|
|
|
|
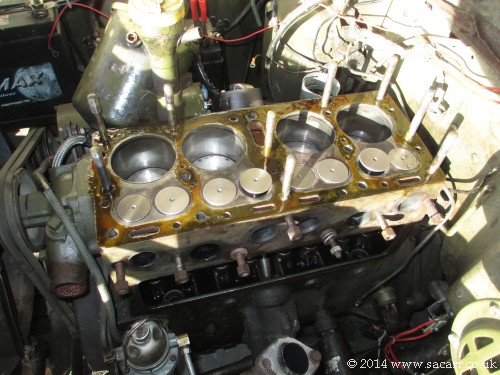
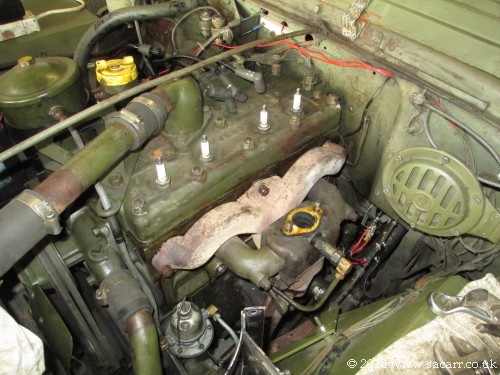
Once the gasket was fitted, the other side of the gasket was painted and the mating face on the head. They were left to dry too, and then the head dropped down onto the studs. Oil filter bracket and ignition lead support were added on top of the studs, then the nuts added and torqued up. The oil filter was tighted on next and the oil pipe connected. |
|

|
|
|
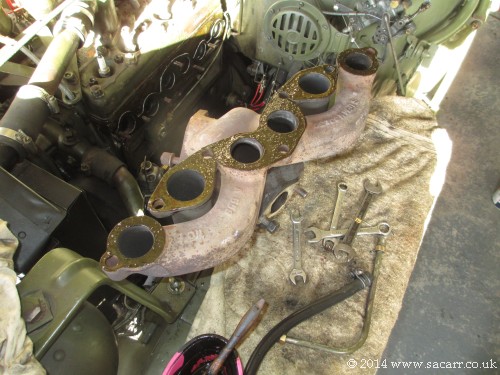
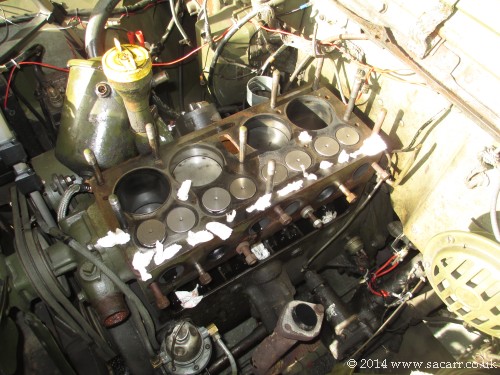
The radiator to thermostat water pipe was fitted next, followed by the bottome radiator pipe. Manifold gasket came after that, with more Wellseal on the block and the back of the gasket, then the front of the gasket and manifold. This was then fitted and bolted up tight. The radiator bracing bar was fitted over the top of the engine. |
|
|
|
|
|
|
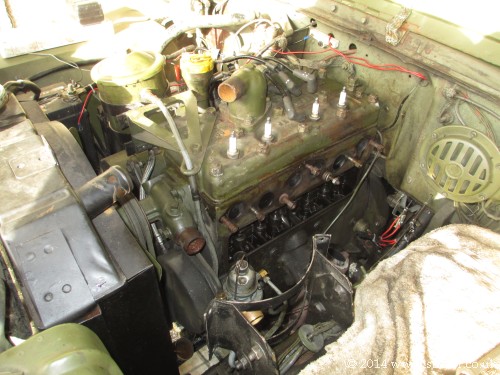
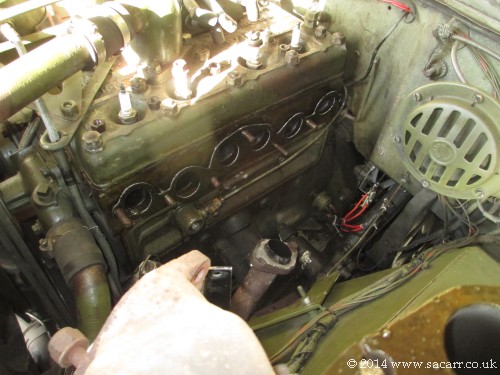
Plugs were tightened up, leads fitted and coil fastened in and wired up. Carburettor was next with the throttle link and return spring. Fuel pipes after that and then air filter. Last job was to refill the radiator with a water/antifreeze mix. I use Prestone anti-freeze, the same stuff that was used in WW2 is still manufactured! |
|
|

|
|
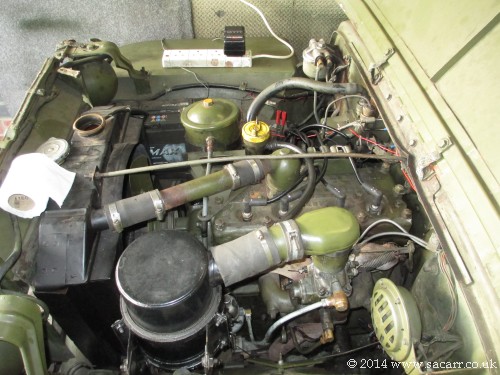
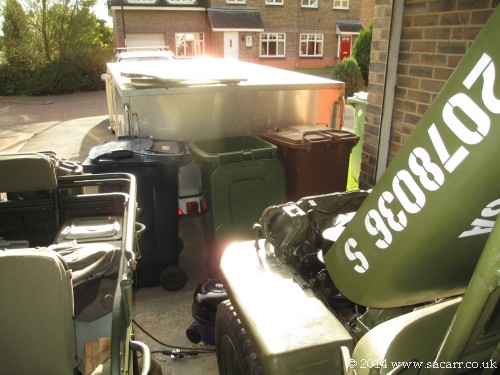
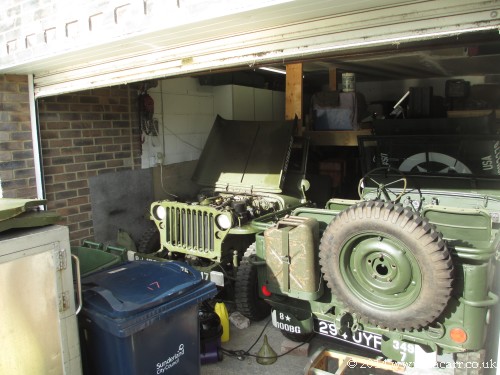
A test drive will have to wait a little while, as Jessie is blocked in the garage by the trailer, but after seeing how easily Jessie started compared to usual, and the smooth idle, I'm confident that the engine troubles of 2014 are behind me. |
|
|
|
|
----- |
|
|
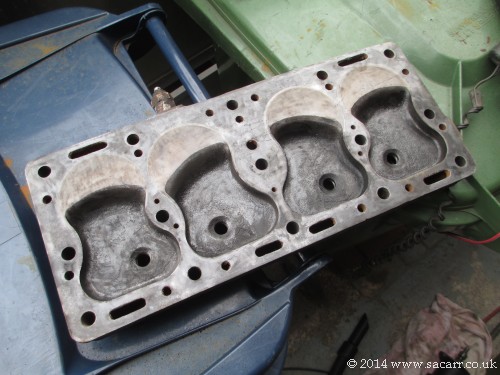
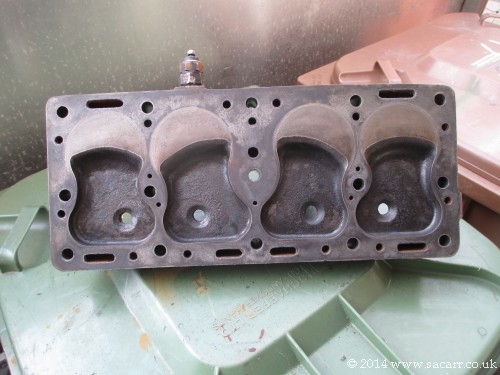
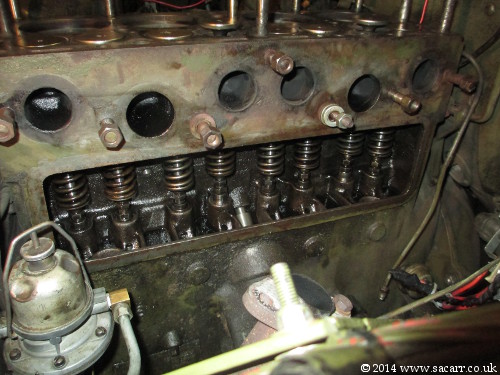
October 23rd - Start of Engine Re-assembly Today saw the beginnings of the engine going back together again. The mating surfaces of the head and block were cleaned and the valve ports and pistons were cleaned of carbon. The inside of the cylinder heads were also cleaned out. The picture below right shows the head part way through cleaning off the carbon with a tiny rotary wire brush. |
|
|
|
|
Once most of the wire bristles had worn down, the little rotary brush was exactly the right size for cleaning out the stud holes. Some of these had rusted up, which is what caused so many problems for me when trying to remove the head. Here's the head now all cleaned. |
|
|
|
|
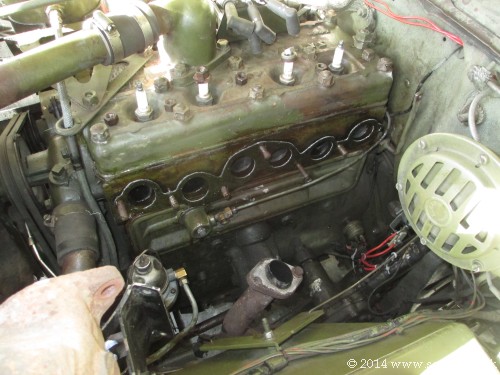
The head was test fitted to the block to make sure it wouldn't stick when going back on. Next came the re-fitting of the valves. There wasn't much room to get the collects fitted to the valves, and I wasn't sure I was doing them right, working just by feel. By the third valve, I was checking the collects fitted the valve stem before I tried to fit them in the engine. Some needed a slight sand with some wet and dry before they would fit the recess on the stem. |
|
|
|
|
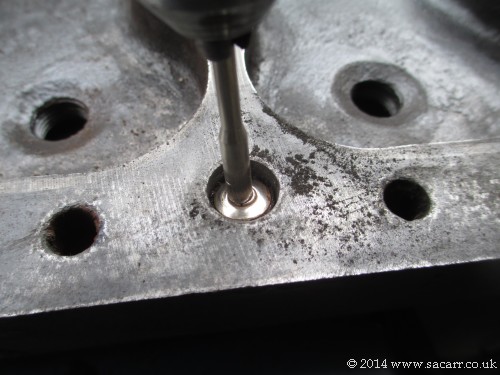
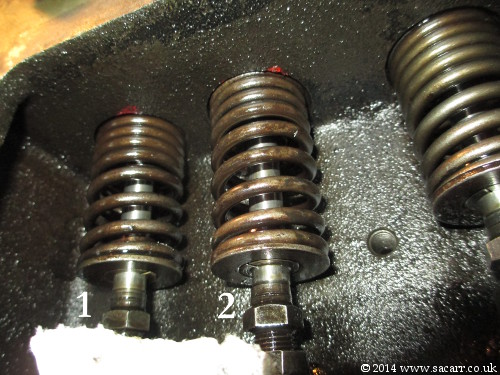
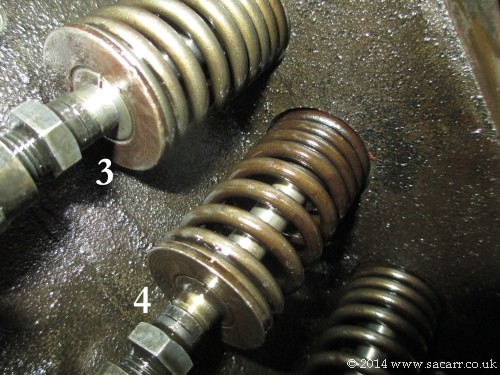
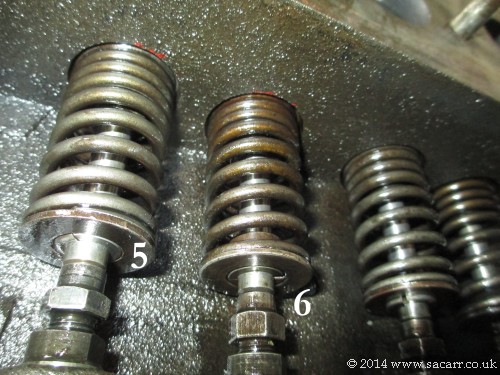
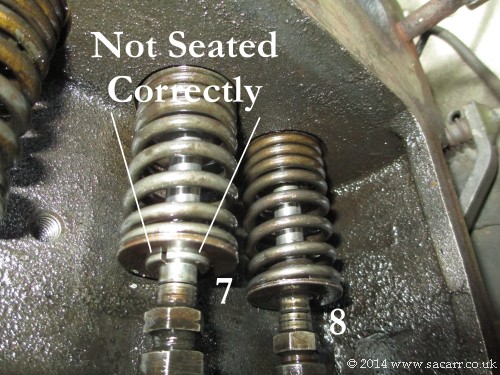
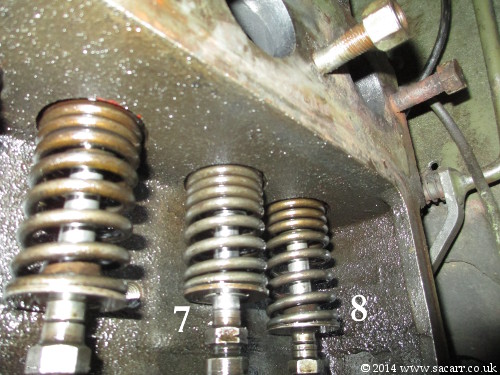
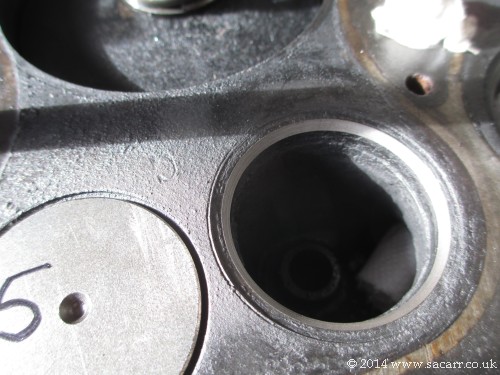
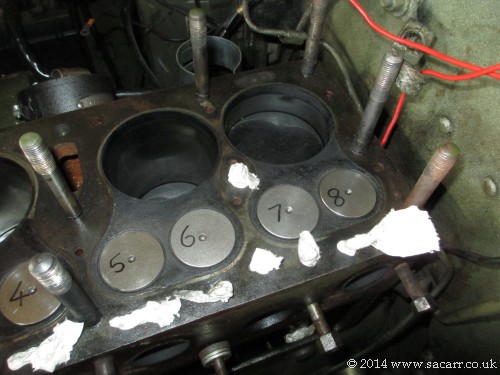
Only a couple of collets popped out as I released the springs from the valve compression clamp, so out of eight, I didn't think that was too bad, and both went in easily the second time. However, with the fender still attached to the Jeep, I couldn't see if the collets were fitted correctly. Fortunately my little digital camera was able to fit down beside the engine to get a picture of each pair of valves. As can be seen from the pictures, Numbers 1,2,3,4,5 and 6 were all sitting correctly. |
|
|
|
|
|
|
Number 7 valve wasn't right, and by feel, I couldn't tell, so it's a good job I took the picture. It was removed, and I found the collets didn't fit in the stem groove very well. They were wet sanded until the fit was good and re-assembled. The top of the spring still needs a little tap square to sit straight. After that, all the valve clearances were set to 0.016 thou gaps. The manual says 0.014 thou, but my engine rebuilding master said to leave them slightly over size by 0.002 thou to allow for bedding in. The next free day I have should see the head go back on, and then the manifold and rest of the engine accessories can be re-fitted, then I'll be ready for the first test run. |
|
|
|
|
----- |
|
|
October 17th - Lapping the Valves In October 17th was another sunny day, so the garage was opened and work on the valves began. To start with, I used the valve seat cutter to dress the valve seats, and then all eight valves were dropped into place in the block. |
|
|
|
| One by one, each valve was drawn on with a marker, around the contact area. The valve was then replaced and rotated a quarter turn and removed again. The marker was rubbed off where the valve was making contact with the seat. The rubbing area was central on all the valves, so I moved on to the next step; lapping the valves. The picture below right shows the first valve with grinding paste applied, ready to start. | |
|
|
| It was a slow process, taking most of the day to go through all eight valves, firstly with the coarse cutting paste, then the fine paste. In the bright sunlight shining into the garage, they all looked good. To be sure, I got the little compact camera out, set it on macro, and did some video of each valve and seat. After studying the videos, there are a few areas that look like they need a bit more work, so that can wait for another day. | |

|
|
|
|