| February 15th - February 16th - February 28th - February 29th | |
| February 15th - Fuel Filter & Power Supply | |
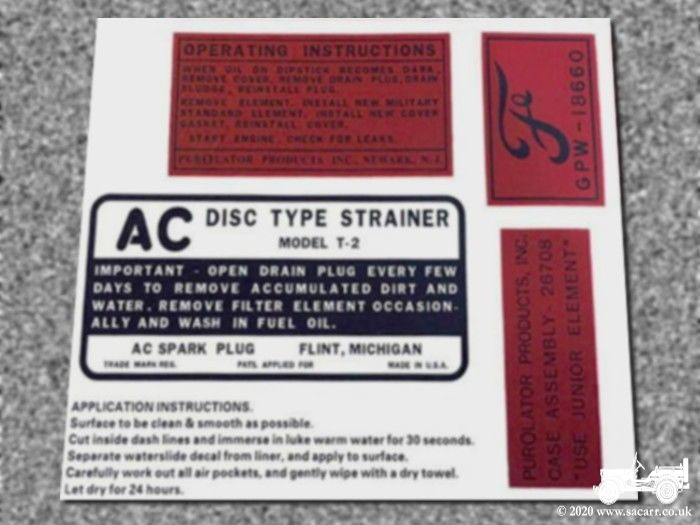
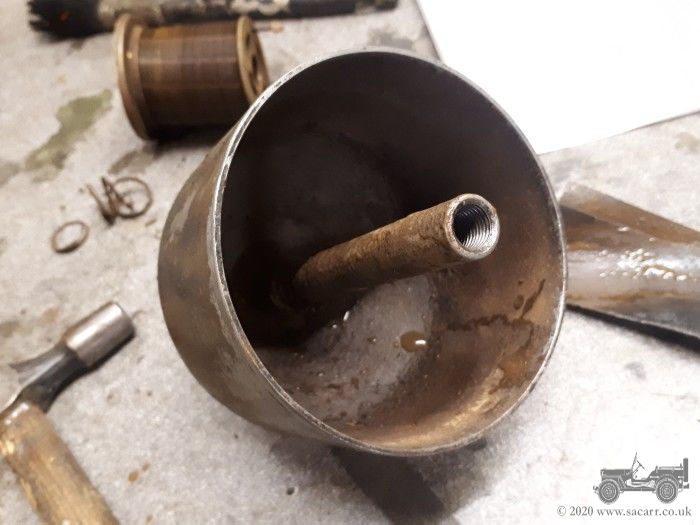
| I got both Jeep fuel filters stripped out for some work today. Both Jeeps got a set of oil/fuel filter decals for Christmas last year, so it was time to make a start on applying them. Both filter bowls were quite scruffy on the outside and the Ford one was a bit corroded on the inside from its time abandoned in Texas before restoration. I'd given it a clean up during the 2012 rebuild, but at the time, I couldn't get the metal filter element out. This limited what I could do at the time. This time around, I managed to free the filter. |
|
|
|
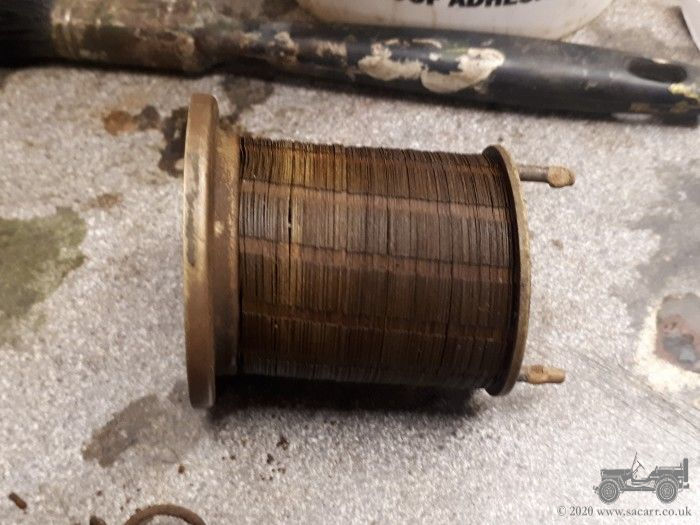
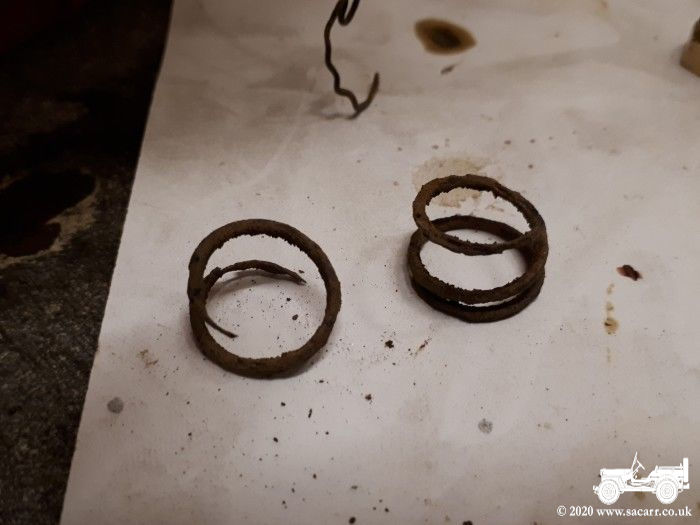
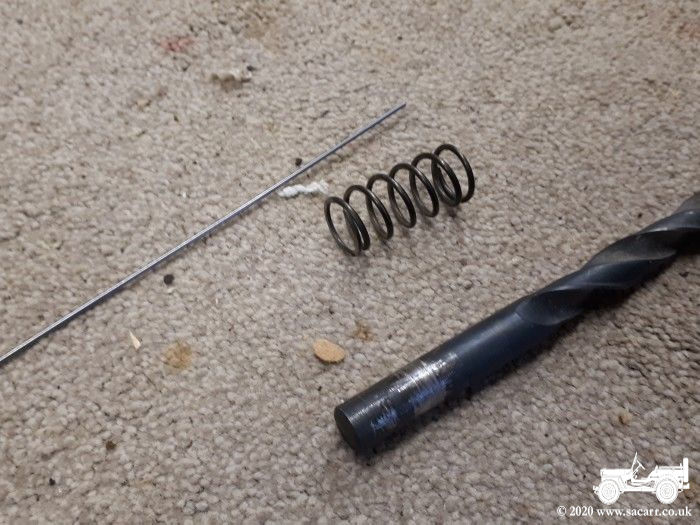
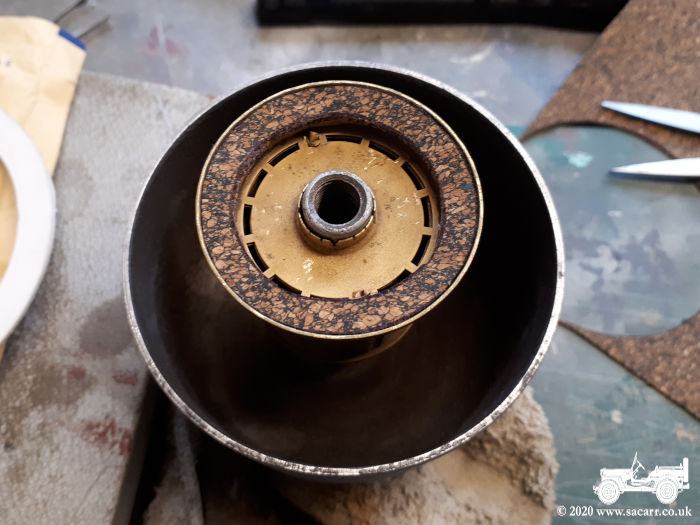
| The filter itself was in reasonable condition, but the spring below it was severely corroded and snapped. This spring keeps pressure on the metal filter elements. Over the last six years, the filter had been corroded in place, so all the metal elements were tight together anyway. The bowl was put in an electrolysis bath to deal with internal corrosion. |
|
|
|
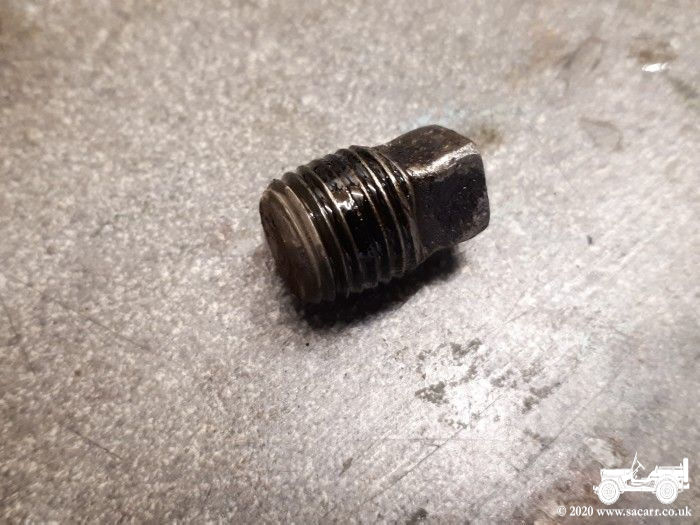
| The drain plug was still in good condition apart from some slight rounding of the corners of the square drive and the threads needed cleaning. I couldn't find any suitable replacement springs in the workshop, so went to the model shop and bought some piano wire to wind my own. |
|
|
|
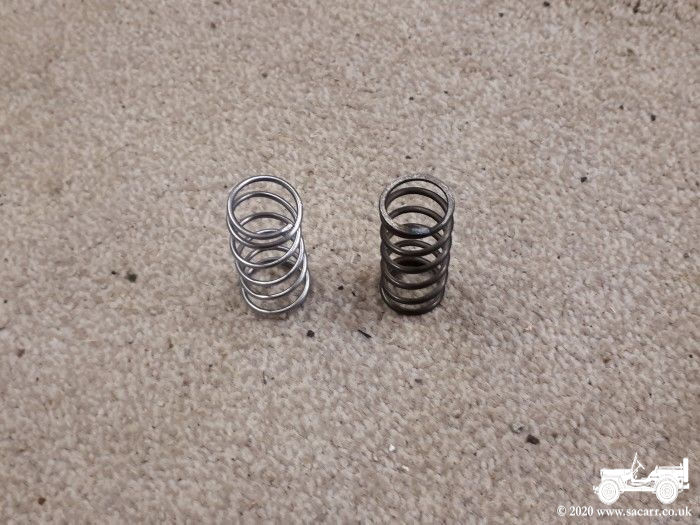
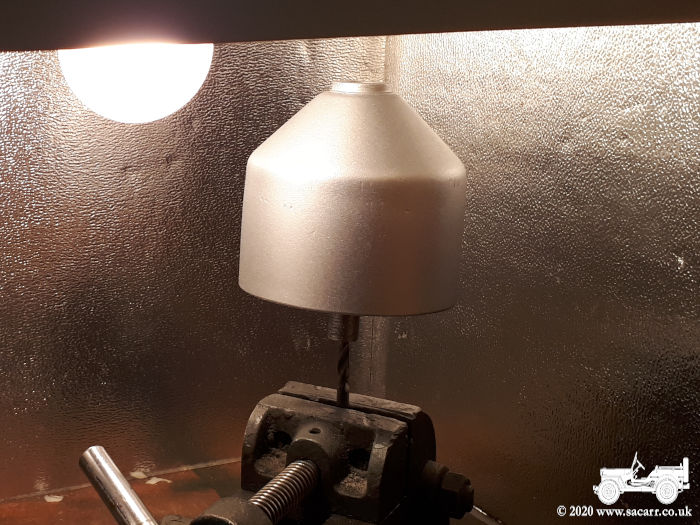
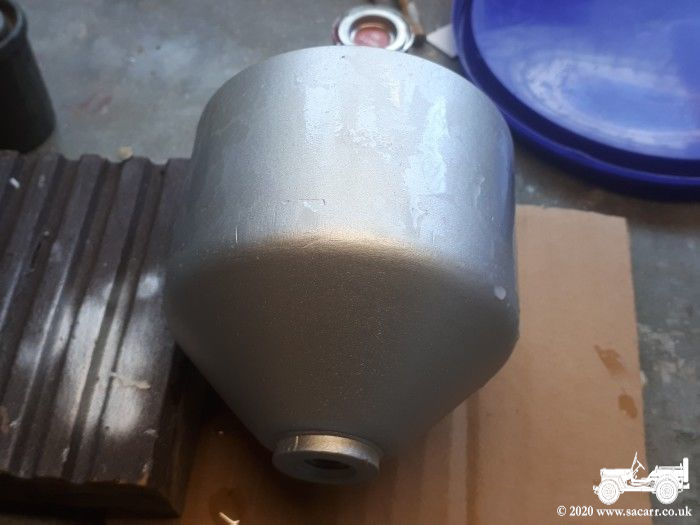
| It was quite a fight to wind the 1.5mm piano wire around a drill bit as a diameter template, but got something moderately presentable at the end. Both bowls were cleaned externally, wet sanded, sprayed silver and left in my curing cabinet to bake the paint hard. They'll then be ready for the decal. The oil filters will be the next job, but the one on "Jessie" will need a repaint first. |
|
|
|
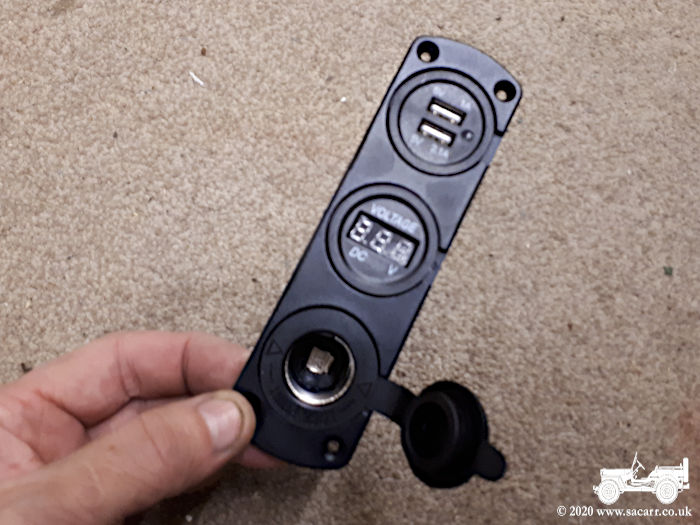
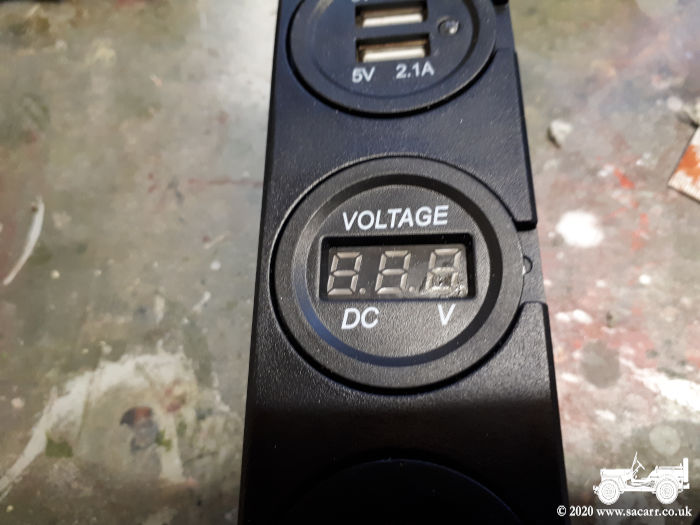
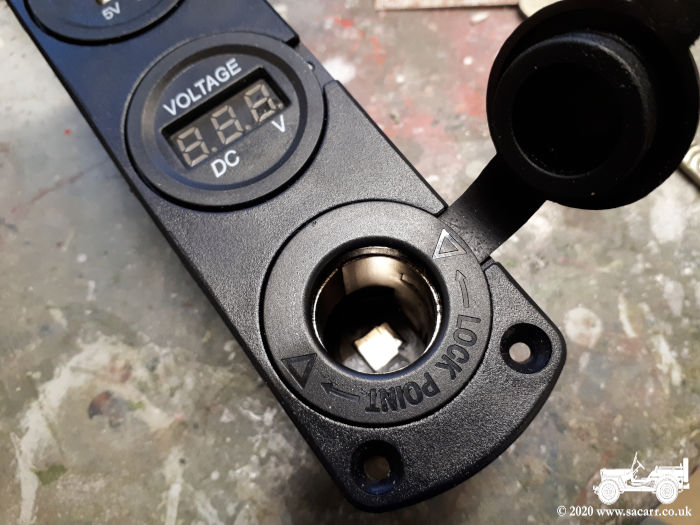
| Power Supply The following pictures are a little gadget I picked up for "Hope" from Ebay. It's a three output power supply and combined volt meter. "Jessie" has already got a 24 volt to 12 volt converter so I can power a sat-nav and charge my phone. "Hope" had nothing, so I got this 12v cigar lighter socket and twin USB output set to mount in the glove box. That will need a mounting box made to both attach the electrics and protect the wiring from other items in the glove box. I'll also want a power cut off switch. |
|
|
|

|
|
| ----- | |
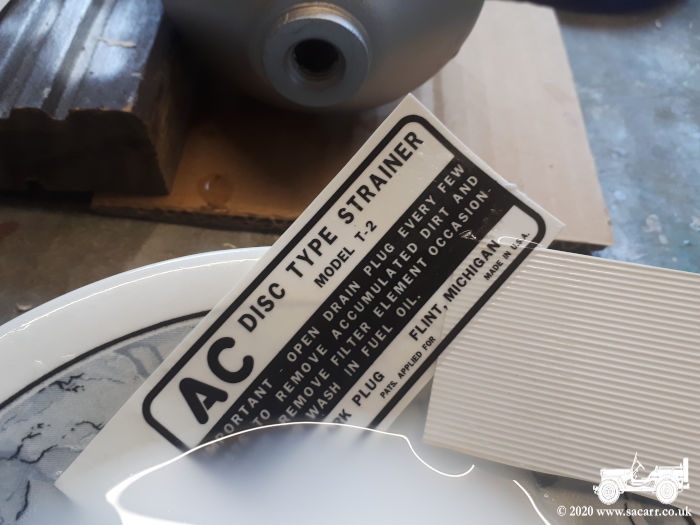
| February 16th
- Fuel Filter
The paint had fully hardened overnight, so it was time to try the decal. I had already applied the Willys set filter decal to the other filter and all went well. I'd mixed a little PVA glue with the water as this helps the decal to adhere to the surface. A little of the solution was also brushed onto the filter. The decal was dipped in the water for the 30 seconds stated on the instructions, but showed no signs of releasing. It was left several more minutes and still didn't release. After half an hour of prodding and poking it began to lift a little around the edges, but not easily. Slowly I worked a thin piece of styrene between the decal and backing paper easing it away from the paper. It took a long time, possibly another 15 minutes and eventually it was free. Some pieces of the backing paper remained attached to the back of the decal. With the handle end of a modelling paint brush, I was able to gently work them free from the decal, leaving it clean and ready to apply. |
|
|
|
|
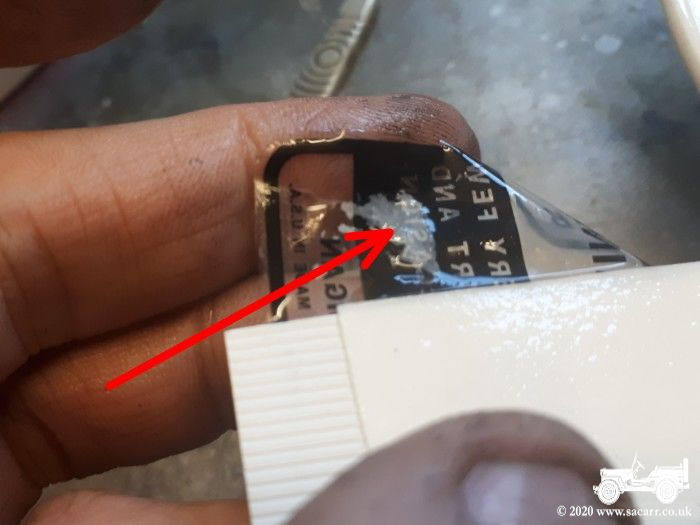
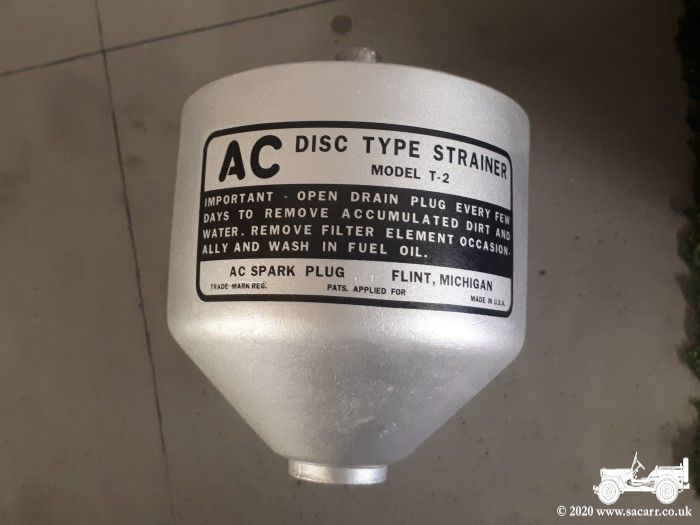
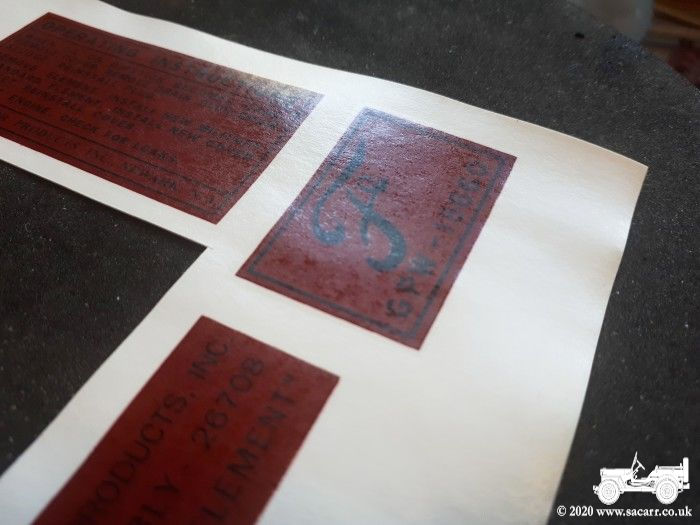
The decal must have stretched a little during my fight to release it and once laid on the filter, had a few small wrinkles around the edges. To fix this, I used a modelling product called Microsol. It is a mild decal solvent which at first wrinkles and softens the decal and then shrinks a little as it dries. Along with a little gentle pressure with a small paint brush, the wrinkles were slowly flattened. Close inspection of the Ford decal sheet showed them to look more matt than the Willys set, as if the ink had soaked through the decal film. While there were no signs of ink on the backing paper for the fuel filter decal, something is stopping it from releasing properly. The paper was also slightly wrinkled as if by damp, even though it arrived in a sealed bag. I have messaged the Ebay seller and sent some photos, so hope to get a replacement set, as I don't want to fight the other three Ford decals for the oil filter. |
|
|
|
|
February 28th - Fuel Filter
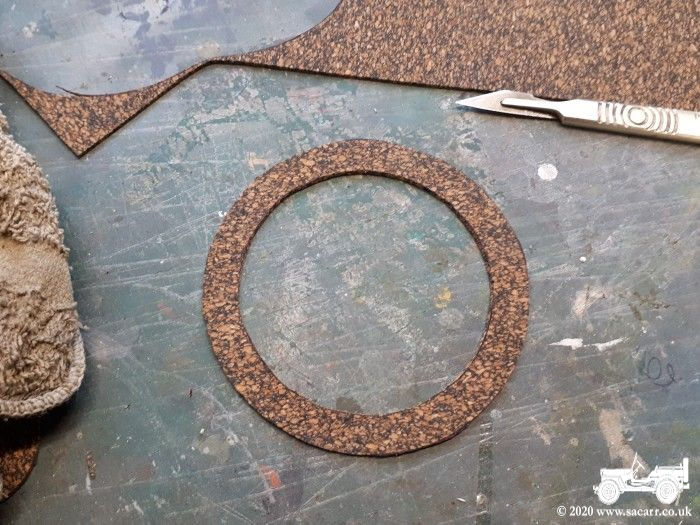
The original main fuel filter gasket had become
hard and after seeing the Hotchkiss filter, I discovered the smaller
gasket was missing. I'd bought some gasket sheet so cut some new ones. The
filter was then refitted to the Jeep and it was given a short test run. |
|
|
|
|
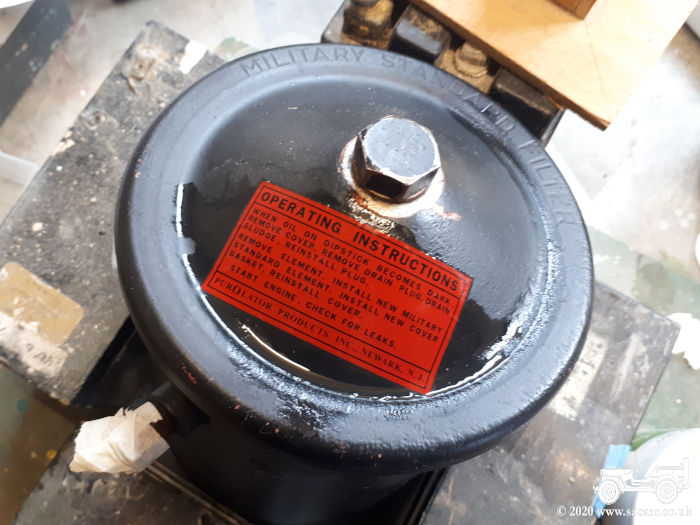
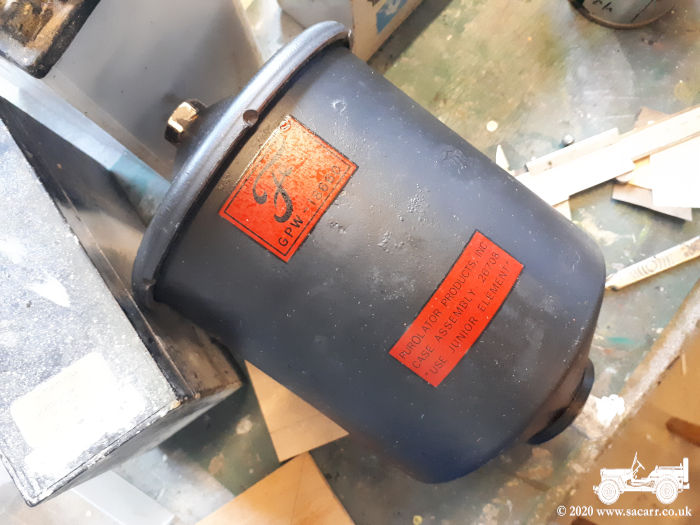
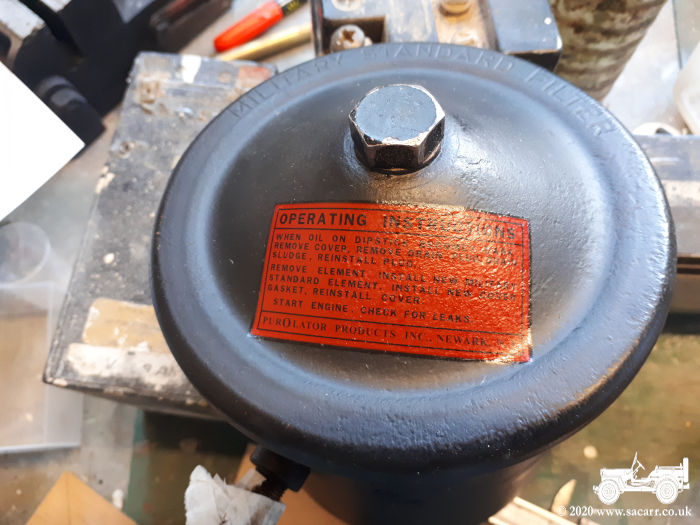
February 29th - Oil Filter Decals
The oil filter on the Ford was still in decent
condition, only needing a few paint touch ups where the mounting rings had
worn through the paint. After trouble with the first set of Ford decals,
the replacement set were behaving themselves. I began with the decal on
the lid. There was only a slight double curvature on the lid and so there
were only a few small wrinkles to treat with Microsol.
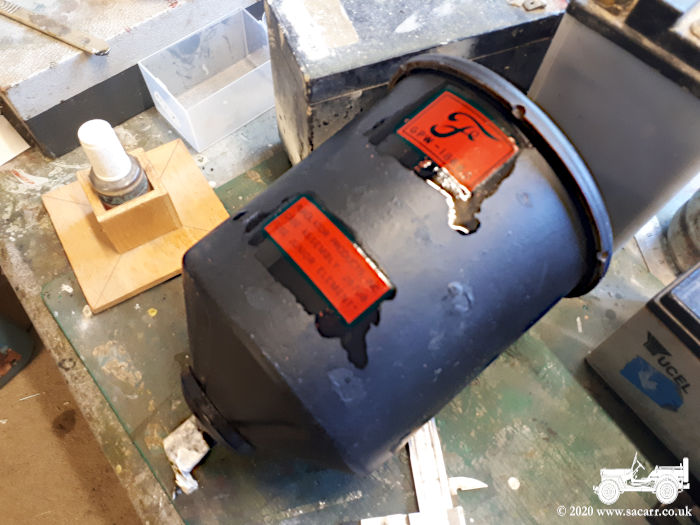
The other two
decals were on a single curvature face and so were applied without
problems, but plenty of Microsol to get them to settle into the painted
surface. |
|
|
|
|
After several applications of Microsol had done its thing and gently rolled out any air bubbles with a cotton bud, they were left to harden overnight. |
|
|
|