|
Two Page Updates - Feb 9th '19 - Feb 23rd '19 |
|
| February
9th - Brake Light System Upgrade - Part 1
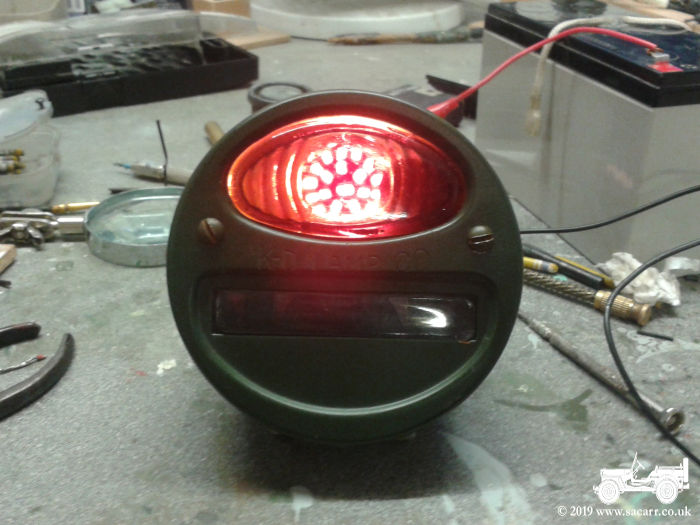
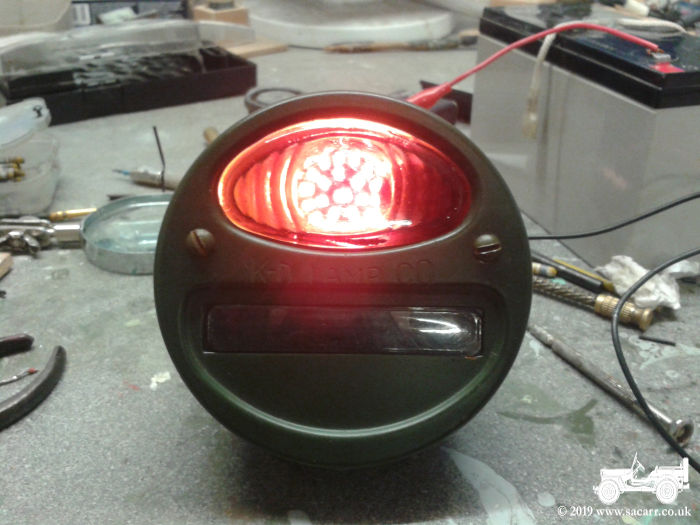
This is the beginning of a brake light system upgrade which will include a new mechanical brake switch. The hydraulic pressure switch requires moderate pressure before the brake lights illuminate, so the stopping warning comes after braking has already started. I will add the mechanical switch as I did on the M201 Jeep so that the lights illuminate as soon as the pedal is pressed, giving warning to other drivers before any actual braking occurs. The original bulbs were wartime sealed units
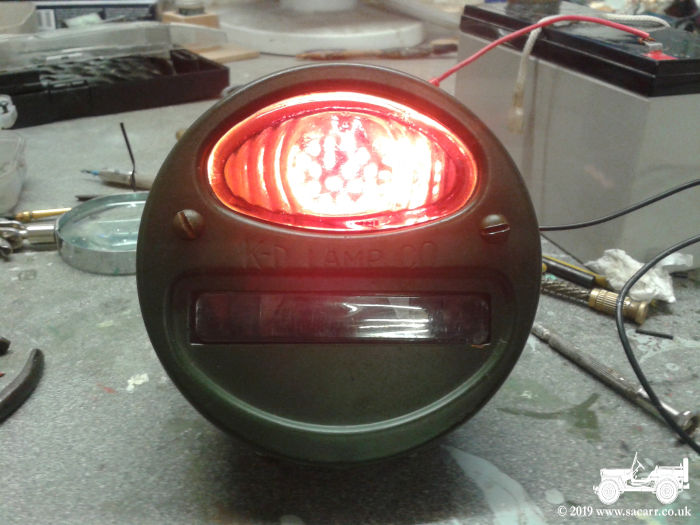
and they were never particularly visible. Last year I opened up the
sealed units and replaced them with LED Brake/Tail light bulbs, and
sealed up the metal case again. While the LED replacement unit was a
dual pole, to have separate brake and tail lighting, the brake LED's
weren't significantly brighter than the tail light, making it hard to
tell if I was braking when the lights were on. This can be seen from the
first two illuminated images below. The difference actually looks
greater in the photo than it does in real life. |
|
|
|
| I wanted to make sure my braking was more obvious to following drivers, so I decided to modify the sealed unit and lamp mounting to accommodate a second LED, wired just into the brake circuit. This posed challenges to get the additional wiring from the second LED to the wiring harness. From the start, I knew it was going to be hard wired as my wiring harness is already damaged from a short several years ago. The short damaged the spring contacts at the end of the harness, so one side was already hard wired. |
|
|
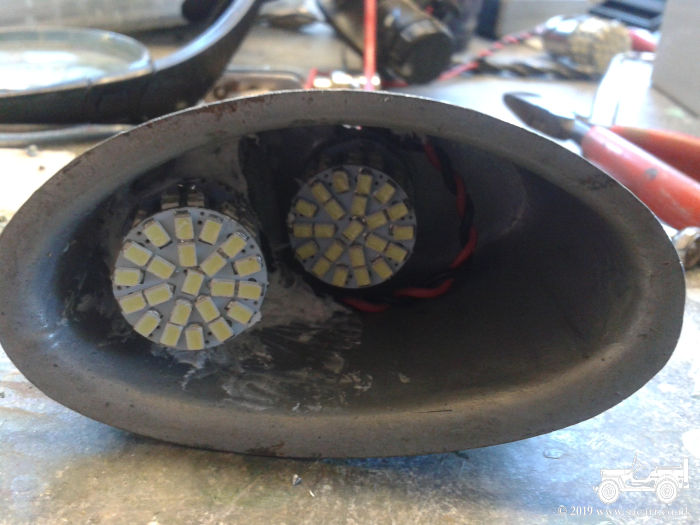
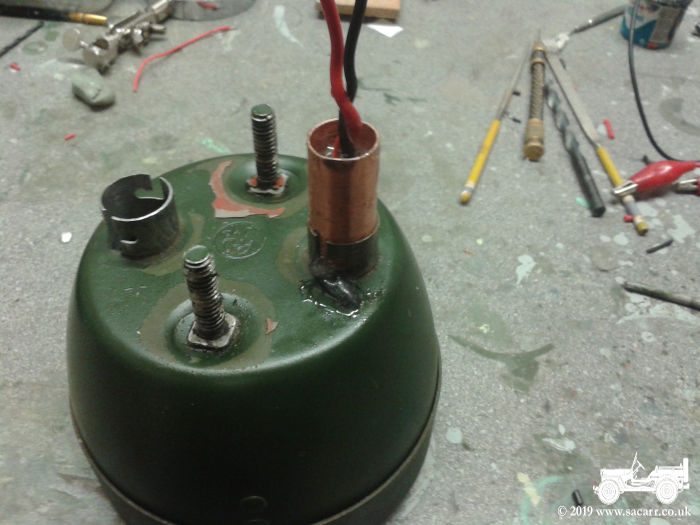
The additional LED
had fly-leads soldered on and it was then glued into the wartime metal
lamp using silicone. The back of the lamp was drilled to allow the earth
and positive wire to exit the rear. The earth wire was cut short and
soldered to a cleaned area on the back of the lamp, near to the central
bulb. To prevent cross feeding of the tail and new brake LED's, I needed
to add a diode to the original brake terminal.
The positive wire from the new brake LED was passed through a hole in the lamp holder and in where the wiring harness bayonet fitting is. From there it was soldered to the wiring harness side of the diode. Fly-leads were then soldered to the original tail contact and to the harness side of the diode. When the tail light is powered, the tail LED turns on. When the brake system is powered, the original brake LED illuminates as well as the new brake LED. The change in location of the brightness within the wartime housing makes braking more obvious, rather than the original slight increase in brightness in the same location. |
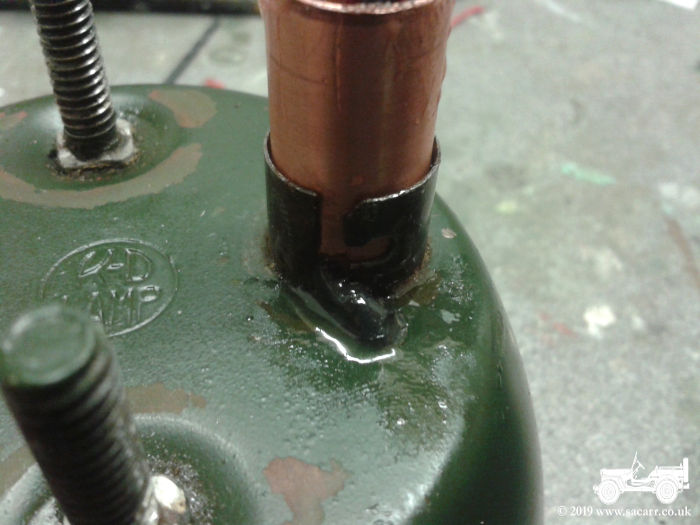
| Having the brake
and tail lights at separate locations within the housing is what
Hotchkiss did on their M201 rear lights, redesigning the housing to
accommodate two separate bulbs.
In the picture to the right, the positive wire from the additional brake LED can be seen passing through the lamp housing and into the original wiring harness bayonet fitting. To protect the soldered joints and the diodes, a short length of copper tube was slipped into the bayonet and the whole assembly potted in epoxy resin. The picture below shows the brake and tail light wires exiting from the copper tube and these will be soldered to the wiring harness. To improve reliability, the lamp case and housing had an earth wire soldered between them. The sealed marker light will also be opened up and an LED fitted and this will also have an earth wire soldered on. These can keep the original bayonet fitting from the wiring harness. The last picture shows the tail/brake and the new brake LED's illuminated. |
|
|
|
| That was as far as I got and I am now waiting for the marker light LED's and brake switch to arrive in the post. - - - - -
|
|
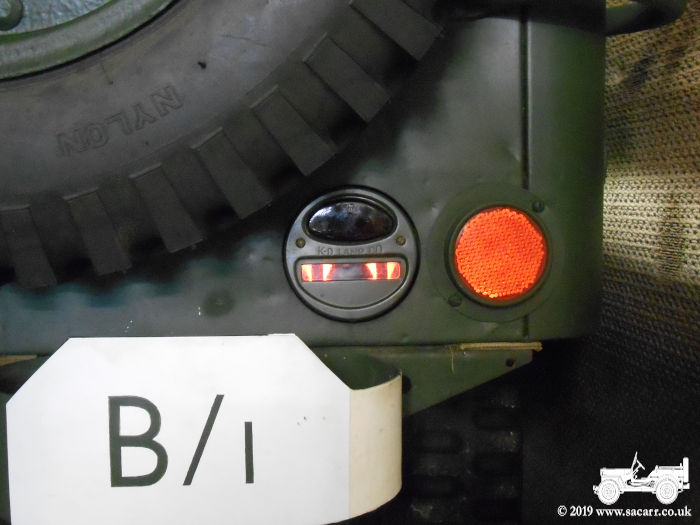
| February
23rd - Brake Light System Upgrade - Part 2 A few days ago, the new LED's were fitted into the marker lights. Today, both rear light assemblies were fitted back on the Jeep. Due to the new brake light wire exiting the back of the lamp housing, the unit needed a thin spacer over the mounting bolts so the wire wouldn't get crushed. The brake and tail light contacts on the wiring harness were hard wired and then the original metal plugs were taped onto the copper tubes. The following GIF shows the marker lights,
then tail lights followed by the new brake lights illuminating. |
|
|
|
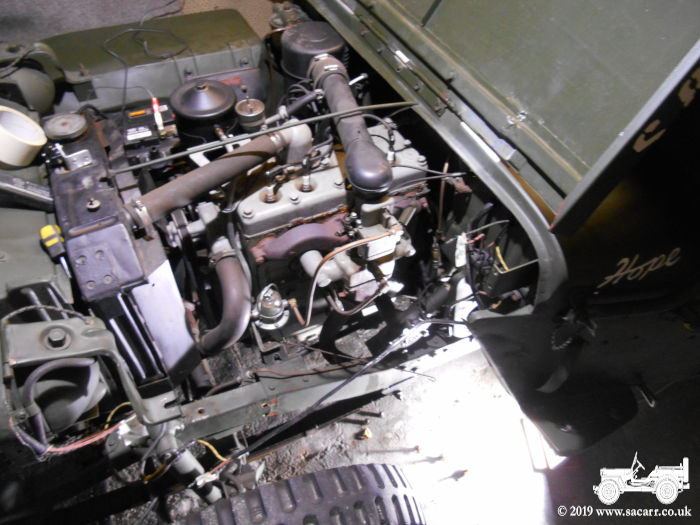
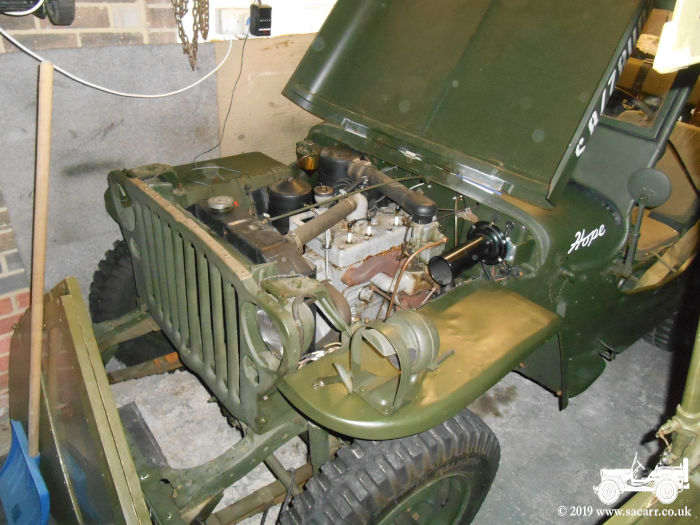
| Once that was done, off to the front end of the Jeep to add a mechanical brake light switch to replace the poor designed hydraulic unit. I did the same mod to the other Jeep some time ago. This job needed the front left fender off, which also required the horn removed and wiring harness disconnected. It's never easy!
The hydraulic design required reasonable brake pressure before the brake lights came on, even when new. This meant I was slowing down before any warning lights illuminated at the back. |
|
|
|
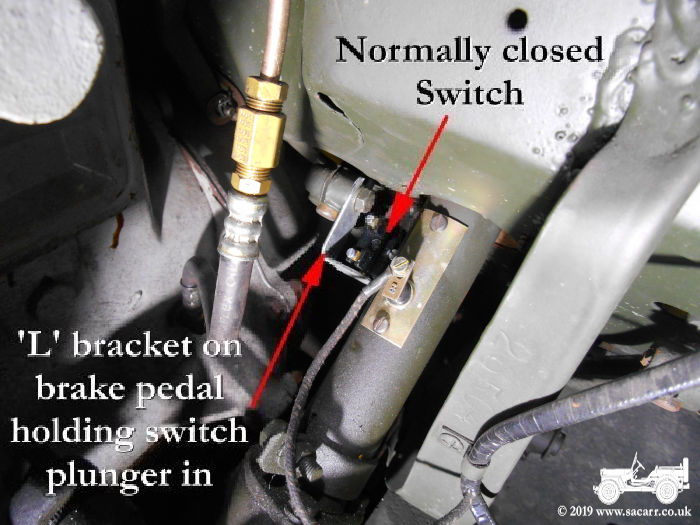
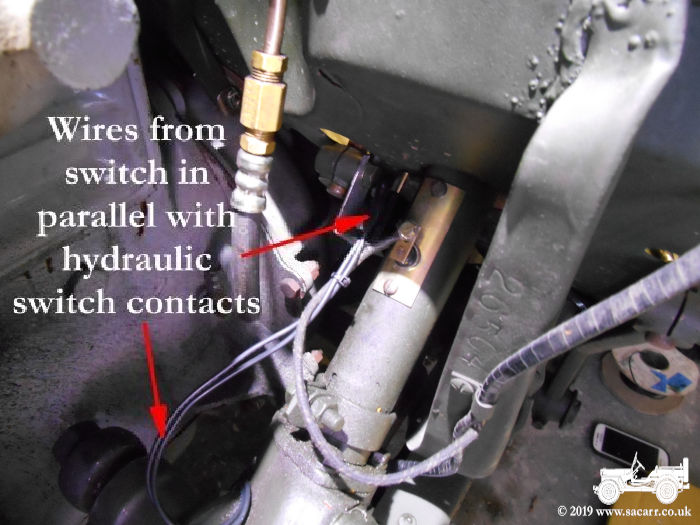
| The new mechanical switch is on the firewall with a bracket on the brake pedal to depress it. As soon as the brake pedal is touched, the switch is released and the lights come on, well before any braking occurs. So now other drivers get an extra bright brake warning before the Jeep starts to slow. Of course none of the fender holes would line up when it came to re-fitting it, so that took some fighting! Then with everything back together, the headlights wouldn't work!!
Argggggg!!! |
|
|
|