|
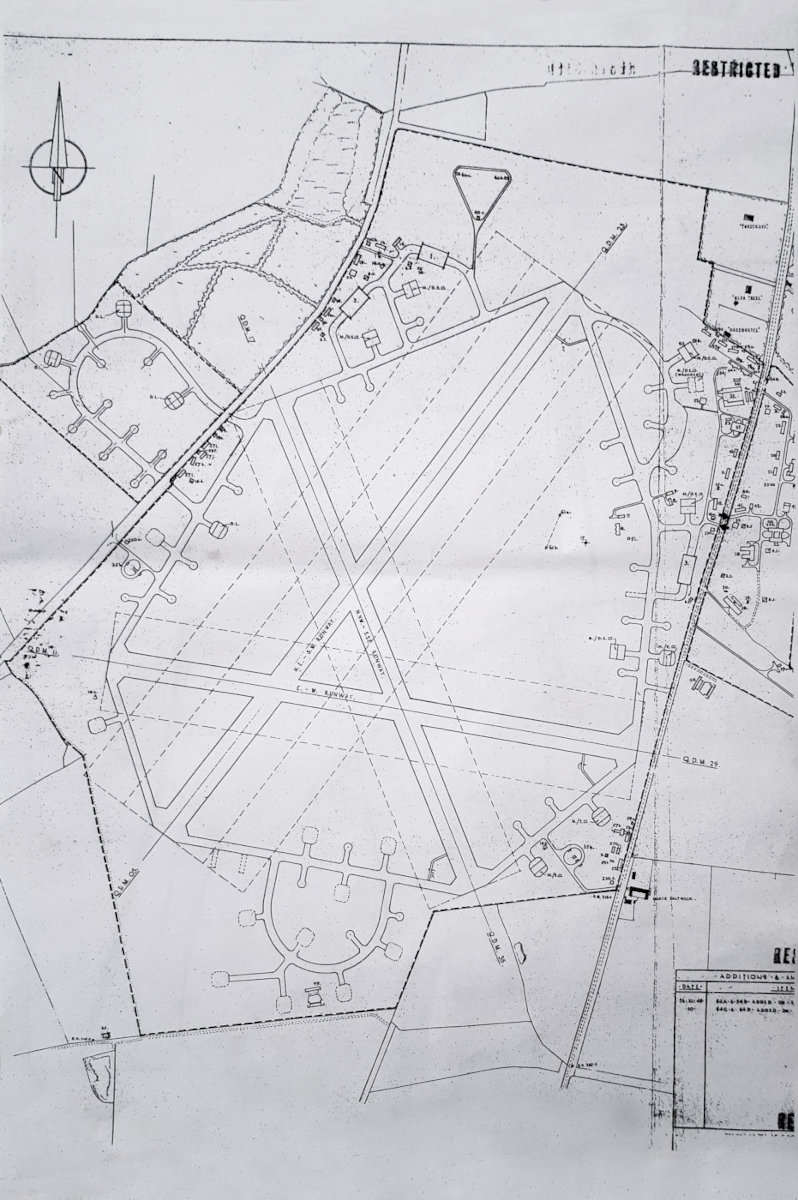
RAF Morpeth was built in 1941 and opened in
April 1942. It was home to No.4 Air Gunnery School and trained around 4,000
gunners. Training began at the end of May 1942. Blackburn Bothas and Westland
Lysanders were based there initially. The Botha was very underpowered and much
disliked. They were involved in a number of accidents. Miles Martinets and
Avro Ansons eventually replaced them. When the demand for air gunners reduced,
late in the war, the base was equipped with Spitfires, training Free French
pilots. The airfield closed in 1948. |
|||
|
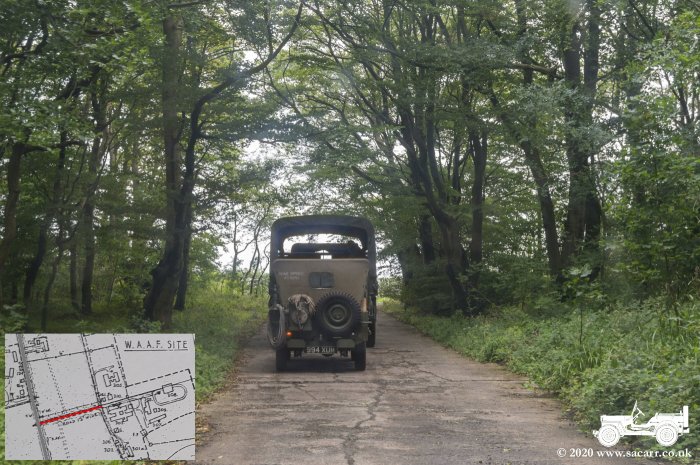
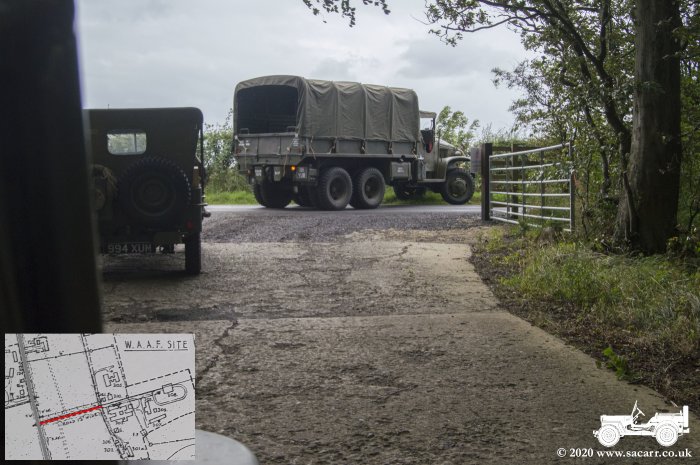
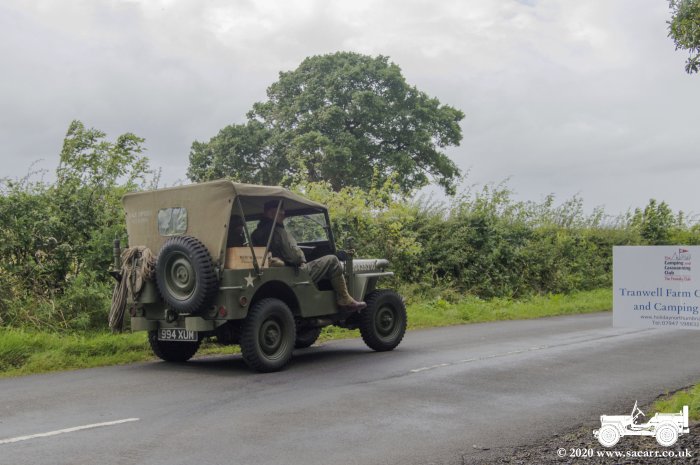
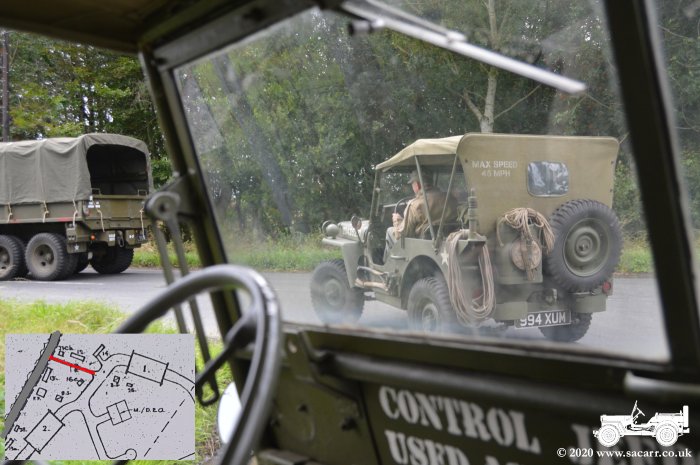
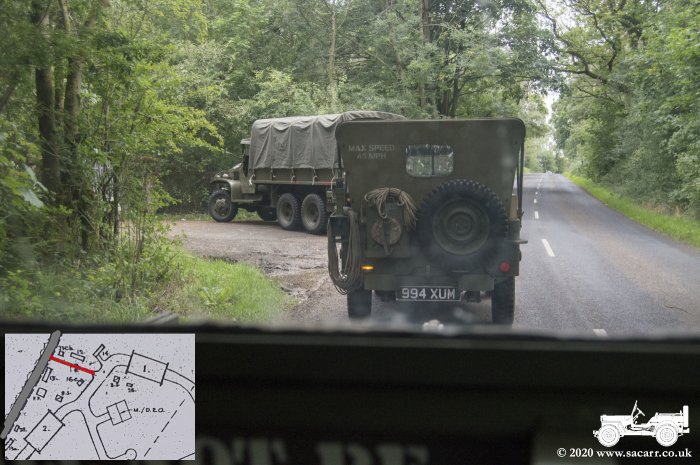
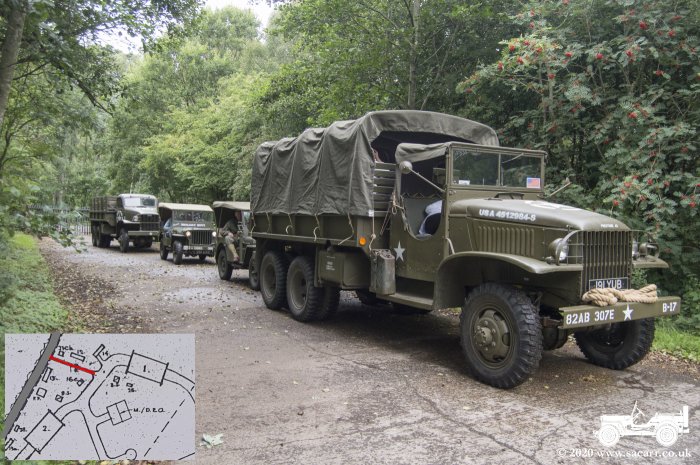
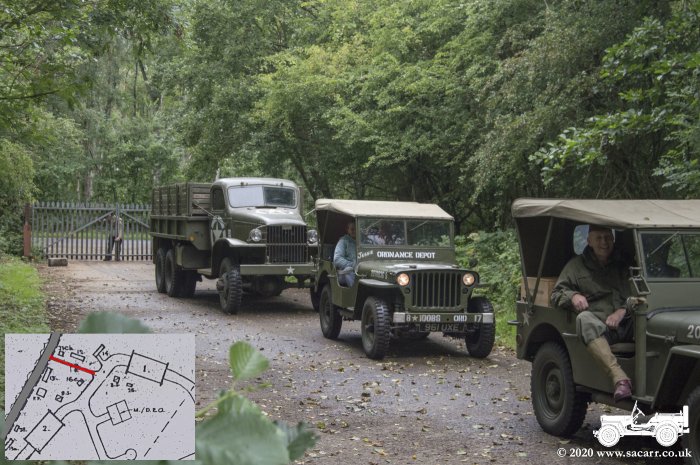
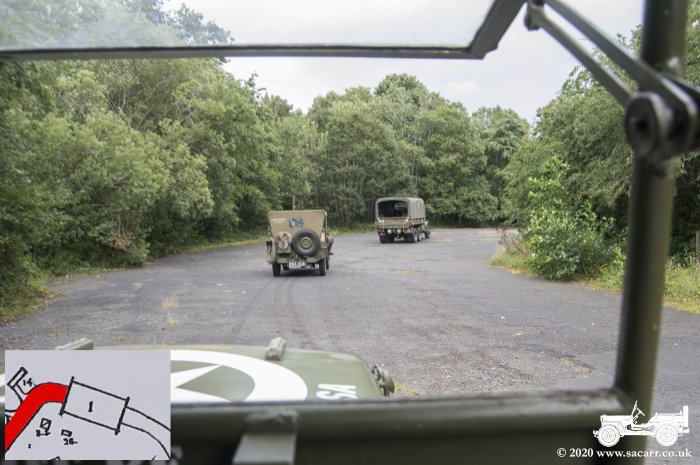
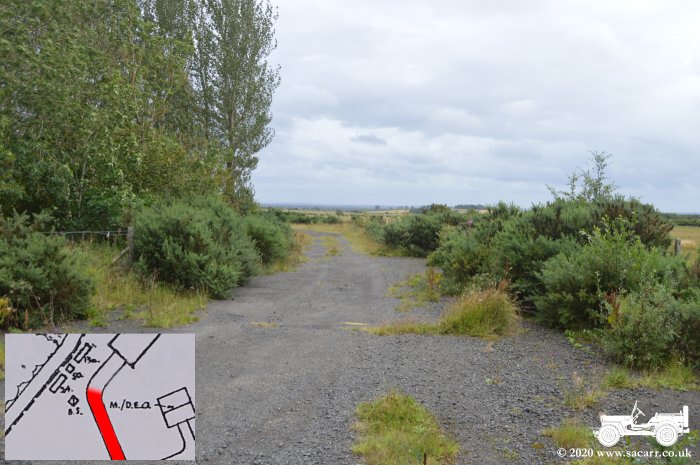
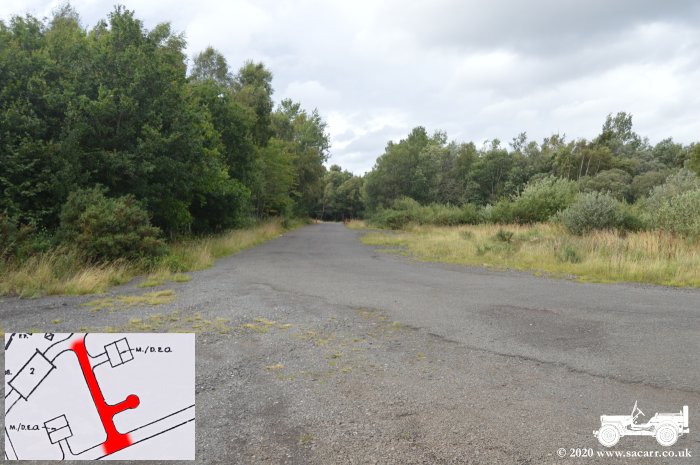
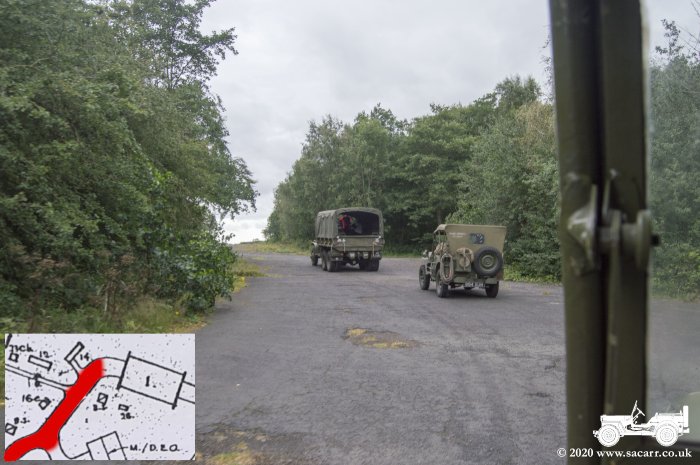
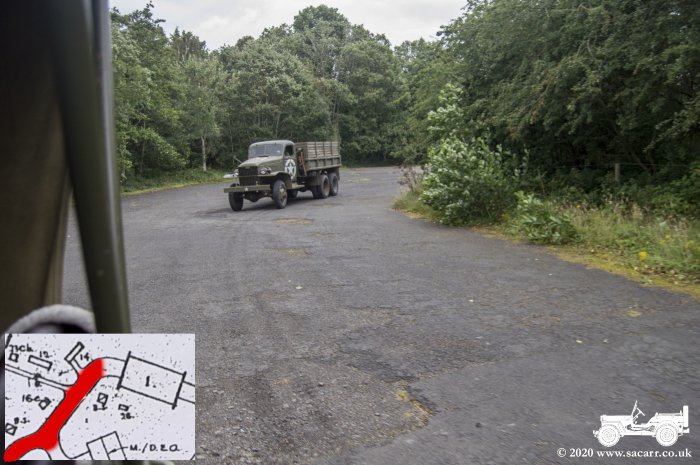
Later on Friday afternoon, our first full convoy headed out of Camp Tranwell, for the short drive around to the flying site of RAF Morpeth. The trip was a little over a mile to the gate at the old technical site. Neil had the gate key, to took the lead. Derek and myself were in the middle with Chris bringing up the rear. We stopped briefly on the entrance road while Neil locked up the gates behind us. This entrance road is near the top of the airfield plan, between the two hangars. |
|
|
|

|
|
|
|
|
|
|
|
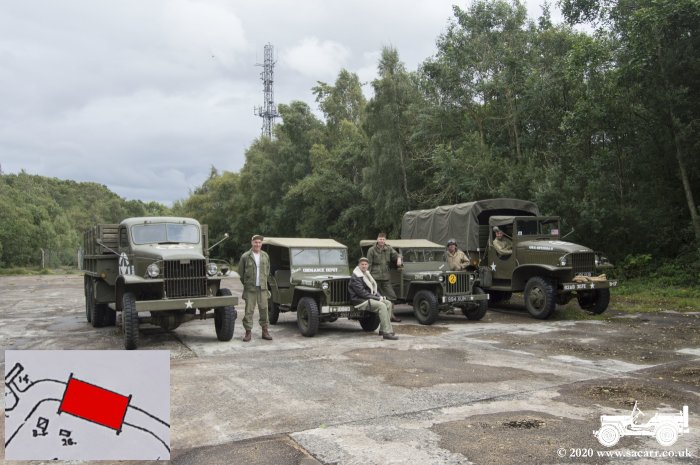
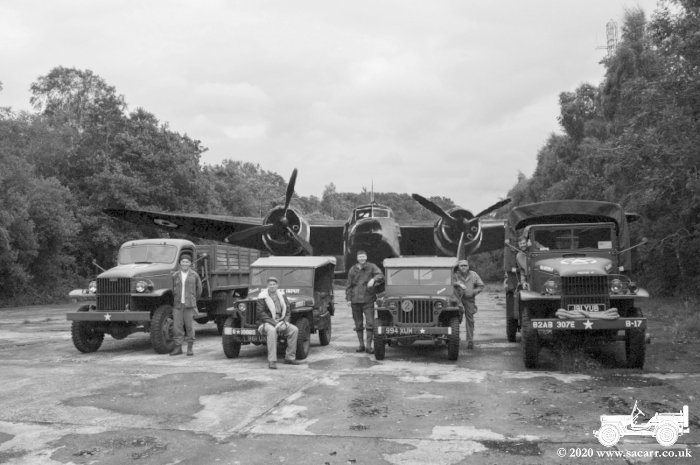
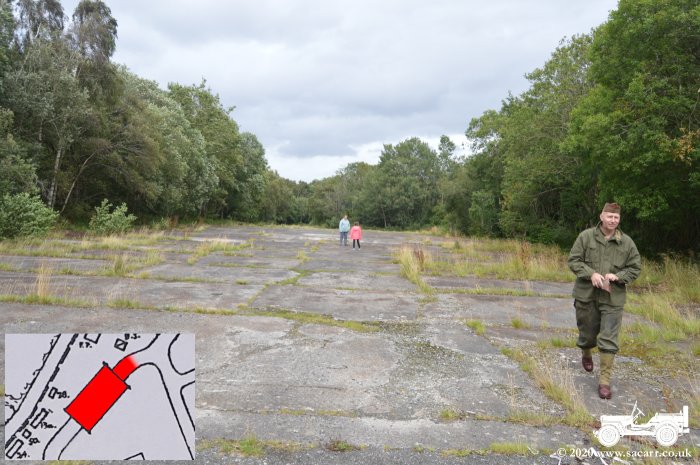
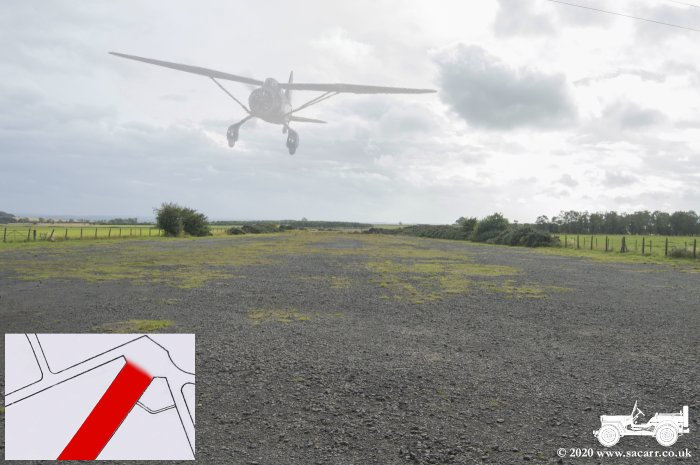
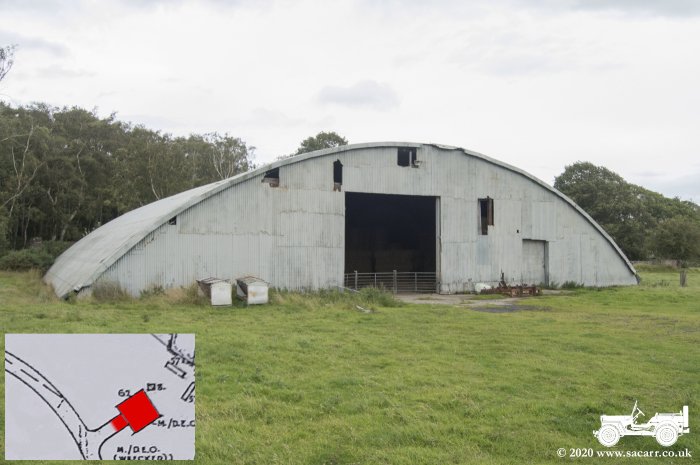
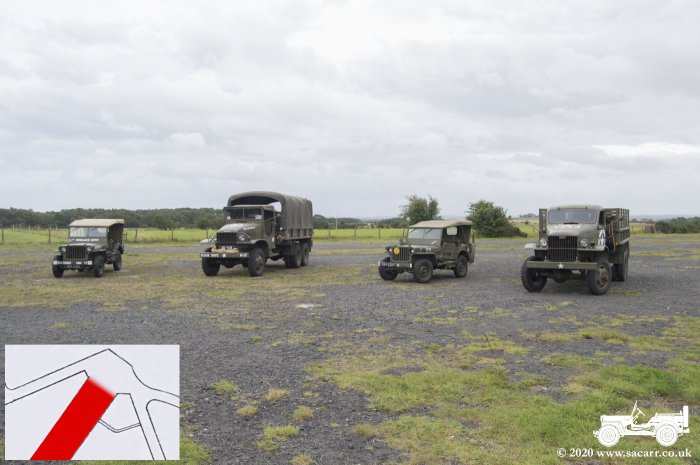
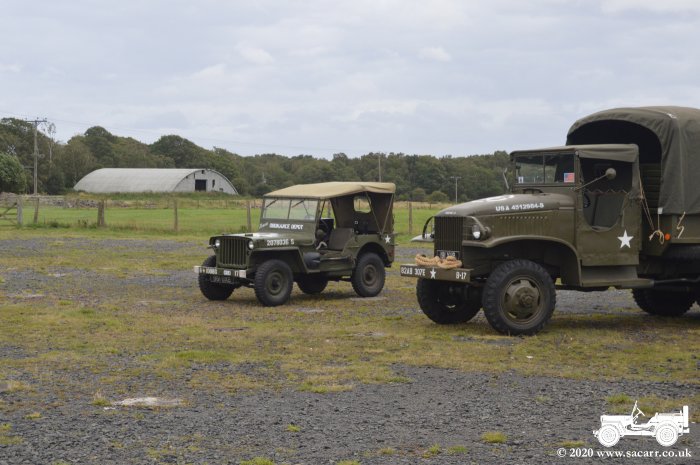
After entering the site we followed the road around to the left which led to the concrete hangar base of hangar 1. It was 32 years since I last stood on this spot. Back in 1988, the aviation company I worked for bought and dismantled this hangar with the intention of rebuilding it at Newcastle airport. We parked up and got some group photos before heading off on foot to start exploring the site. The forth picture has a Blackburn Botha edited into the picture. These aircraft were underpowered and were quickly withdrawn from frontline use. Instead they were given to training units and some converted to target tugs. |
|||
|

|
|
|

|
Heading back around the taxiway between the two hangars, the first find was what appeared to be a fire hydrant in the ground. There was a connection to attach a hose and what looked to be a square drive on top of a valve. |
|
A little further around the taxiway, walking South West, we approached the second hangar base. I don't know when this hangar was dismantled. It was already gone by the time of my 1988 visit. |
| Onto the hangar base, looking North East, back towards hangar 1. The door runners are still buried in the concrete at each end of the hangar base. There were no trees at all when I was last here. |
|
At the South West end of the hangar, the taxiway turns to the South East and meets up with the main perimeter track that runs along side the technical site. |
|
|
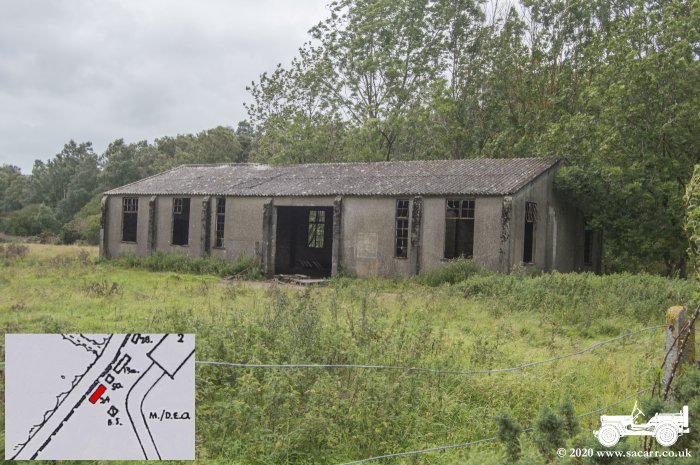
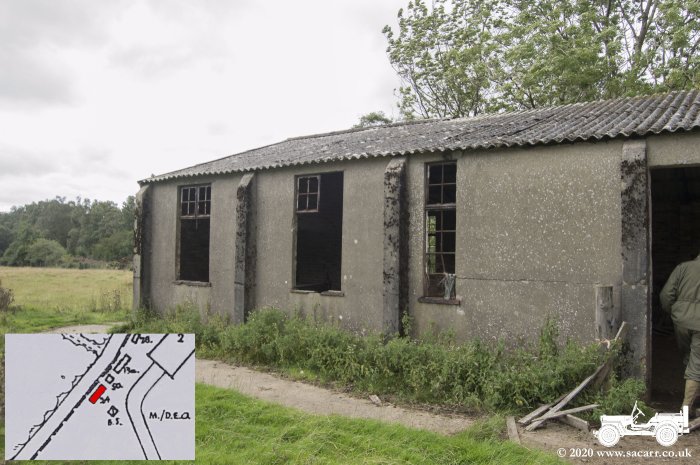
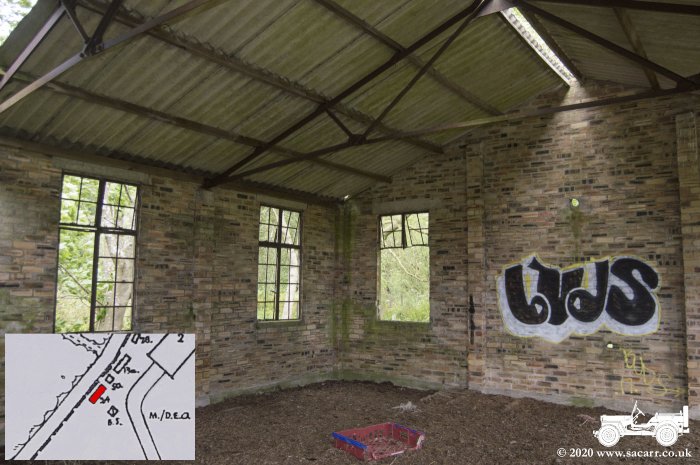
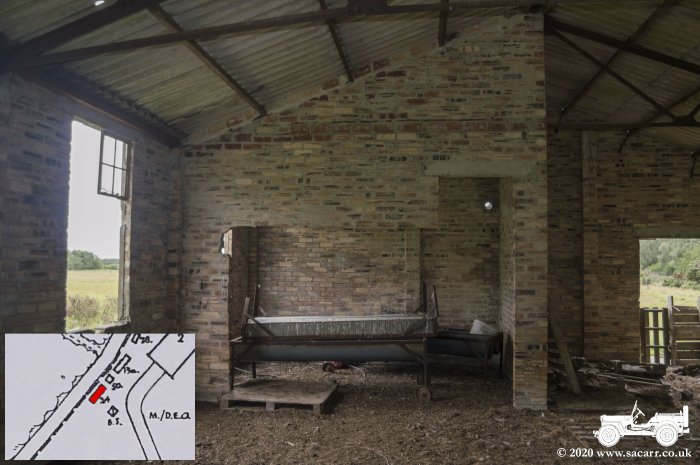
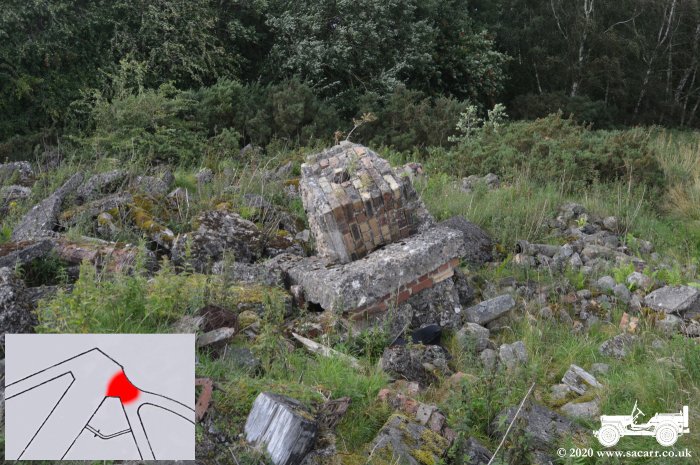
Not far from hangar 2, stands a large brick hut. Listed as building 24 on the site map, it is described as the Towed Target Store. Since RAF Morpeth was a gunnery school targets were needed for gunners to practice on. These windsock like targets were towed behind Blackburn Bothas until they were replaced by Westland Lysanders as a stop gap measure. Eventually the Miles Martinet replaced the Lysanders as the target tugs. |
|||
|
|
|
|
| Not far from the Towed Target Store is a brick built blast shelter. The double sided structure resembles two letter T's with the cross pieces back to back. In the shelter, the upright of the 'T' is short and forms the entrance. The crosspiece forms the shelter. Earth banks were made against the brick walls, protecting the walls and occupants and deflecting any nearby blast. This example was severely overgrown. |
|

|
|
|
These two views show the perimeter track that runs along side the technical site. On the left is the track running North East linking the three taxiways from the ends of hangar 1 & 2. A little way along on the left was a blister hangar. The picture to the right is from the same spot, looking South West. There's signs that the perimeter track is still there under the grass, especially on Google Earth. |
|
|
|
Following the perimeter track North East, it brings you to the central taxiway between hangars 1 & 2. A frying pan dispersal and blister hangar were located on its right side. The pan dispersal is still there, the blister hangar long gone. |
|
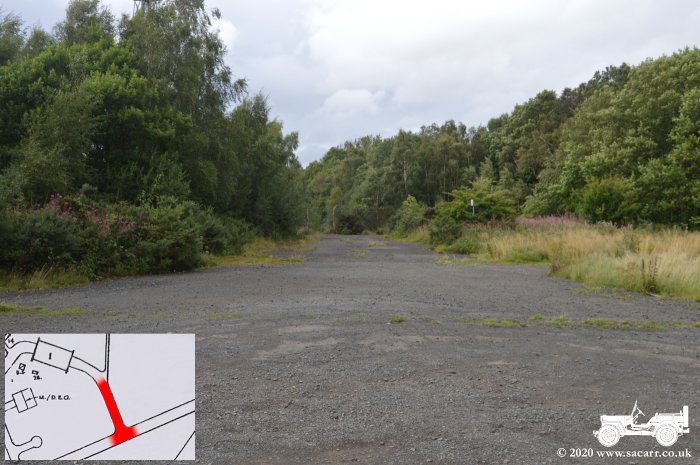
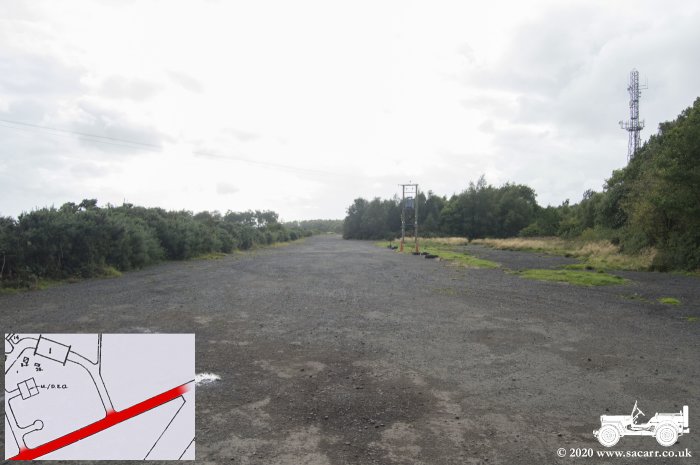
Further North East along the perimeter track is the taxiway to the other end of hangar 1. This taxiway is now blocked by a fenced compound surrounding a mobile phone tower. A road off to the right led to the ammunition dump. |
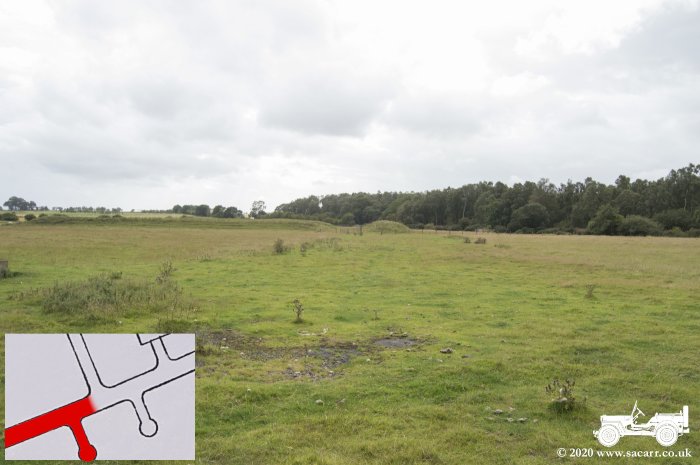
| This picture is taken where the perimeter track meets the main runway. It looks back along the perimeter track to the South West. |
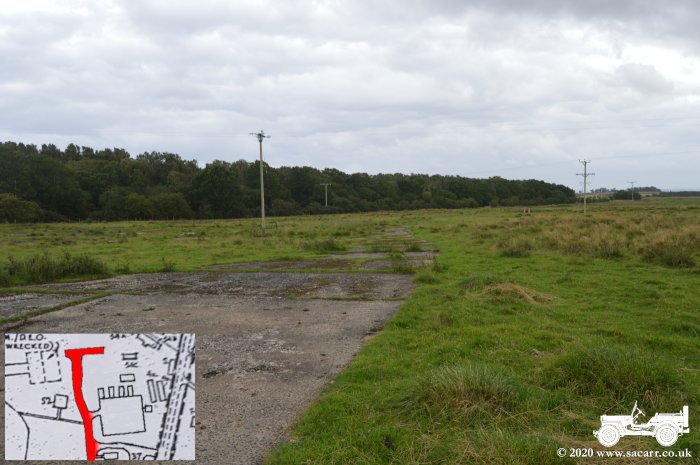
|
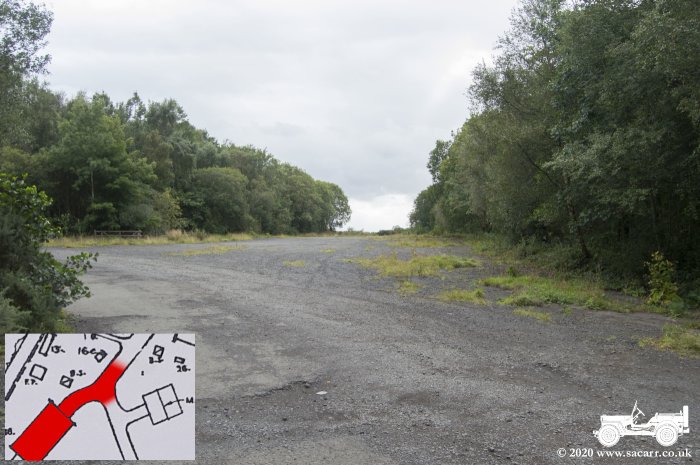
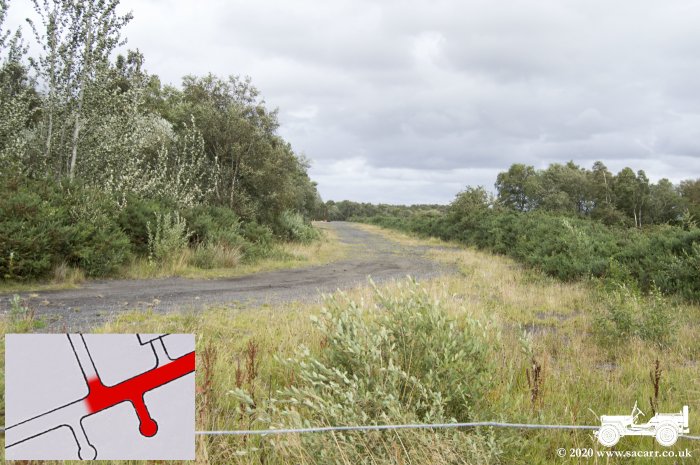
This is a view along the main runway, looking South West. Only about one quarter of the main runway survives. The tarmac surface is very broken up and is overgrown in some places. |
|
|
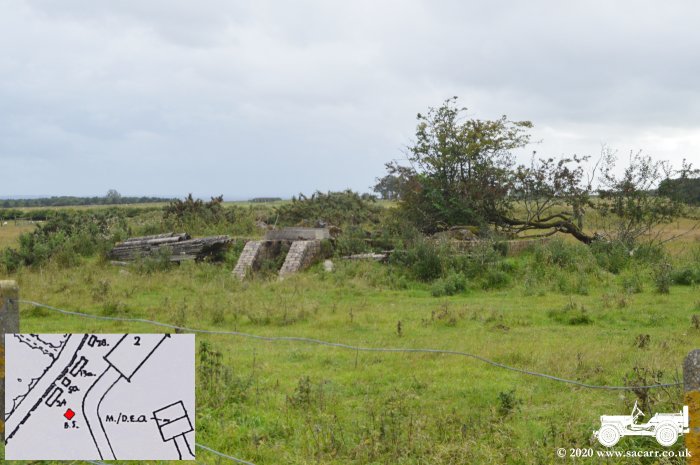
At the North East end of the runway, off to the side, there are piles of broken concrete and building remains. Most of the runways became hardcore for roads, but a few pieces remained on site. |
|
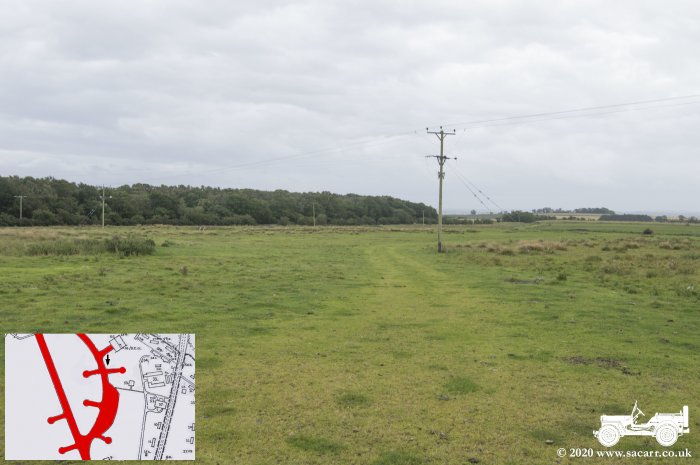
From the end of the runway, the perimeter track splits in two. One runs straight while the other curves past the single surviving blister hangar. While grassed over, its path is still clear to see. |
|
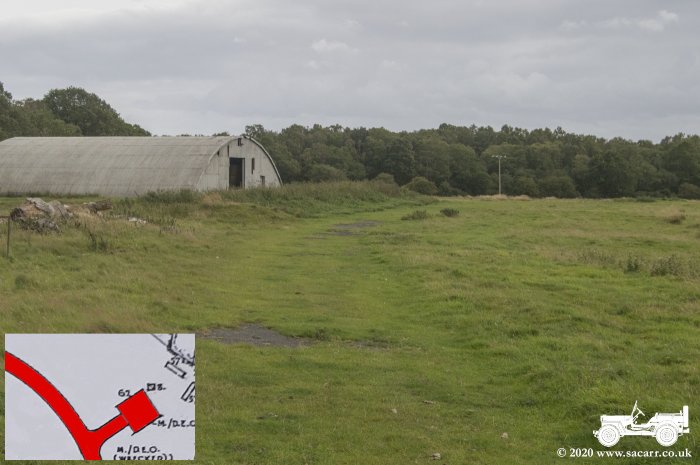
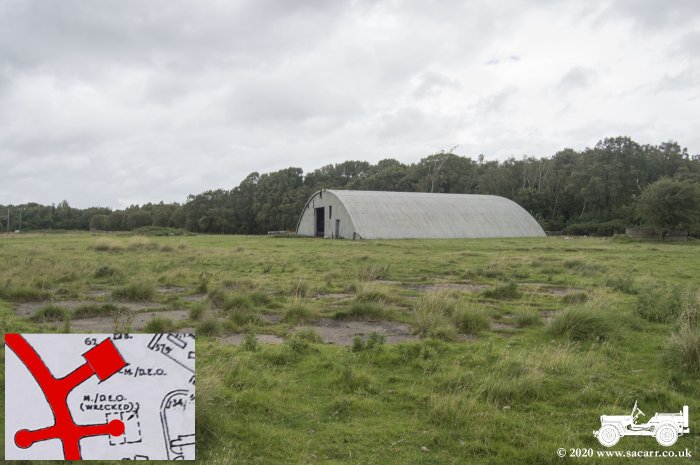
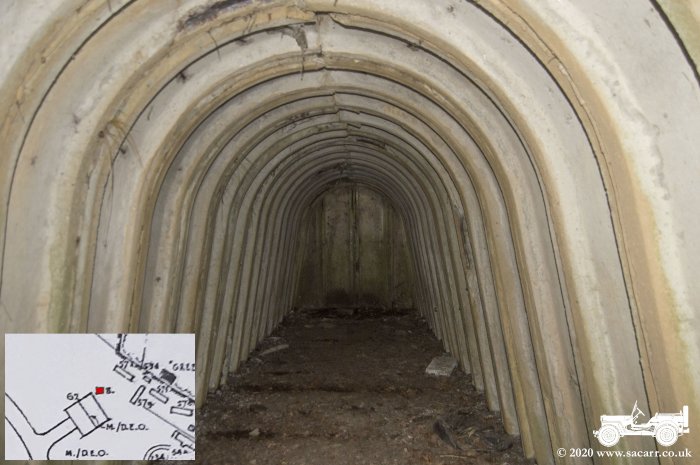
The surviving hangar is a Miskins Blister hangar. The light welded steel truss structure was clad in corrugated iron sheets. This type of hangar had no foundations, being anchored into the ground by 'T' spikes. Quick release canvas curtains formed conical tent coverings for the ends of the hangar, giving more covered floor space. The standard type was 45 feet span and 25 feet deep. Larger 65ft and 69ft span versions were also made with 45ft
lengths.
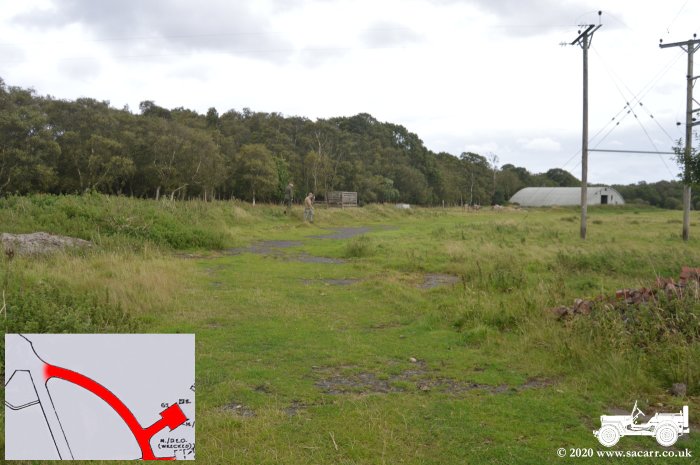
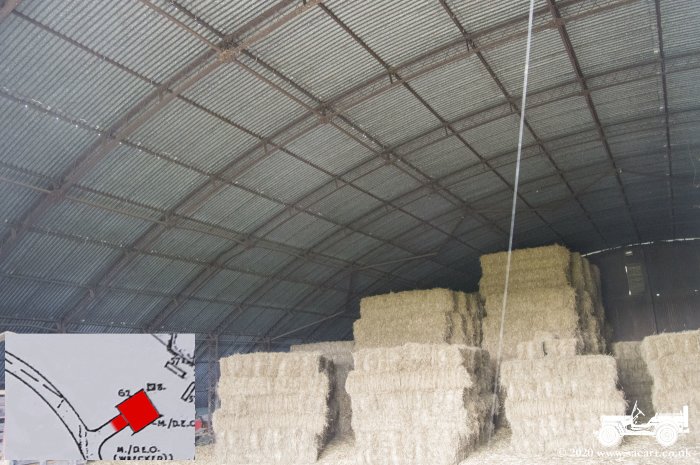
Inside the Miskins hangar, the picture shows that one of the welded trusses shows signs bracing wire weld failure and buckling of the outer truss members. To the right, this view is looking over a frying pan dispersal towards the Miskins hangar. The site plan describes this frying pan dispersal location as having a blister hangar which is "wrecked". |
|
|
|
|
||
|
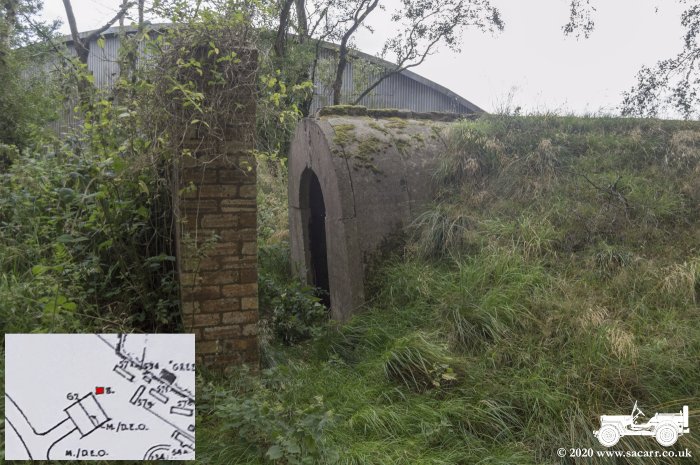
Around the back of the Blister hangar, over a
small ditch, there is another type of air raid shelter. Unlike the brick
shelters already shown, this shelter is made from pre-cast concrete sections.
The foundations must have moved as the concrete sections are starting to fall to the left. |
|
|
|
Looking South South East, along the loop perimeter track leading from the blister hangar. The track is still there and can be seen in the photo, though now it is overgrown. |
|
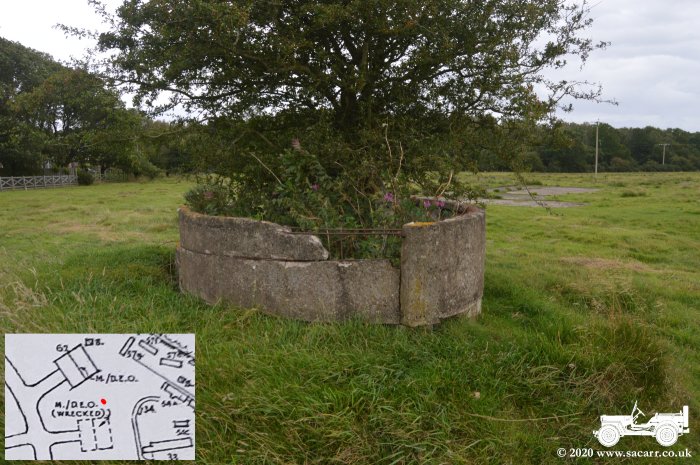
Near to the hangar is this concrete tank. It is not shown on the airfield site plan. I don't know it was to contain a liquid or a supply point with the concrete wall to contain spills. |

|
This site differs from the Air Ministry plan. I've redrawn it here to show how it is now, but the plan at the top of the page is the original. This hut base isn't shown on the plan, so I can't be sure what it is. To the North are two hut bases that were Contractors Paint Stores. To the South of this base was the Motor Transport shed and office. Close by are the Camouflage Paint Stores. None help to identify it. |
|
|
|
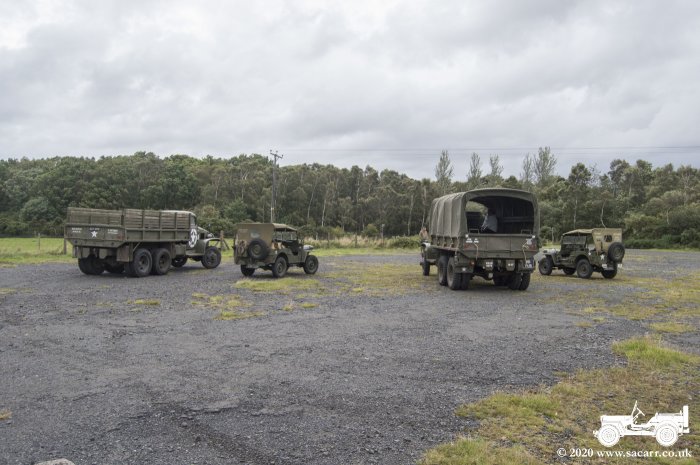
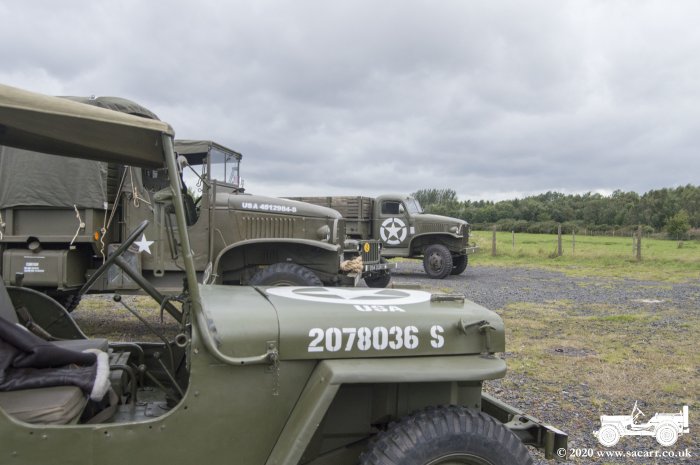
From here we walked back to the vehicles at hangar 1 to go for a drive around the site. We left hangar 1 and drove over hangar 2, then left around to the perimeter track leading to the main runway. There were parked up for some photos. While it may not look like it in the pictures, it was blowing a huge gale with 20 to 25mph winds. |
|||
|
|
|

|
|
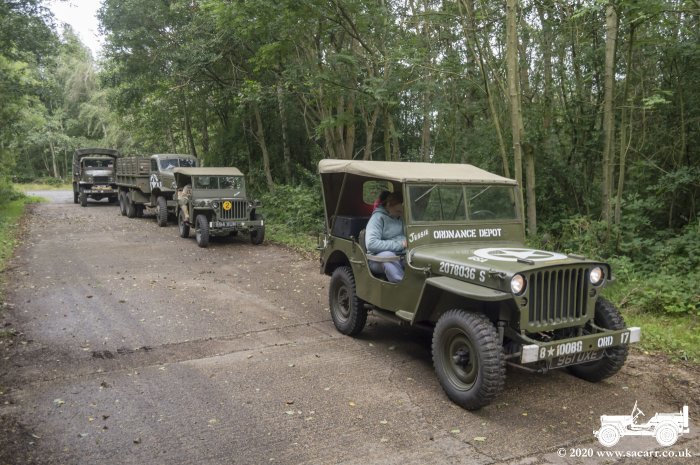
Eventually it was time to go, so we set off back towards the technical site gate. Since Neil had to lock up after we left, he took up position at the back of the convoy as there wasn't space for the whole convoy just outside the airfield gate. The rest followed me back to the camp site. |
|||
|
|
|
|