|
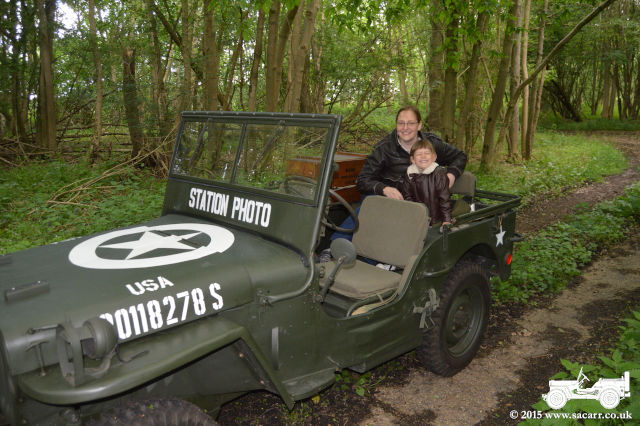
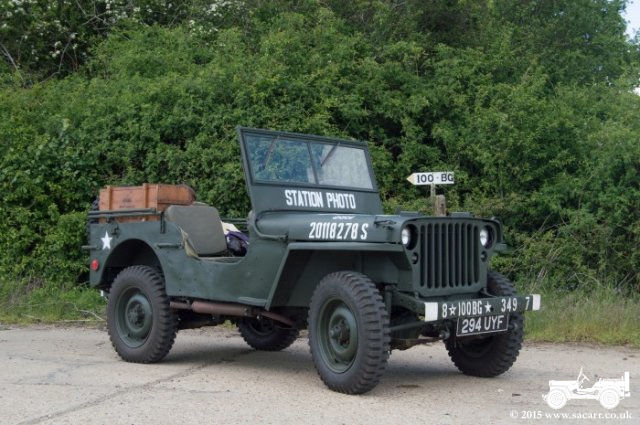
The visit to the 100th Bomb Group Museum at Thorpe
Abbotts was the main reason for taking "Hope" on the trip. When I
was looking for a paint scheme for the GPW, I had found several pictures of
the Station Photo Jeep as reference. Like I had done with "Jessie"
eight years before, I wanted to take "Hope" to the same places as
the wartime photos were taken and recreate the scenes. This was going to be
"Hope's" longest trip, having only clocked up 100 miles during 2014
in short drives. Thorpe Abbotts was about 30 miles away, but we set off on the
smaller 'B' roads to avoid the fast traffic of the A140. It was a lovely sunny
day, ideal for photos.
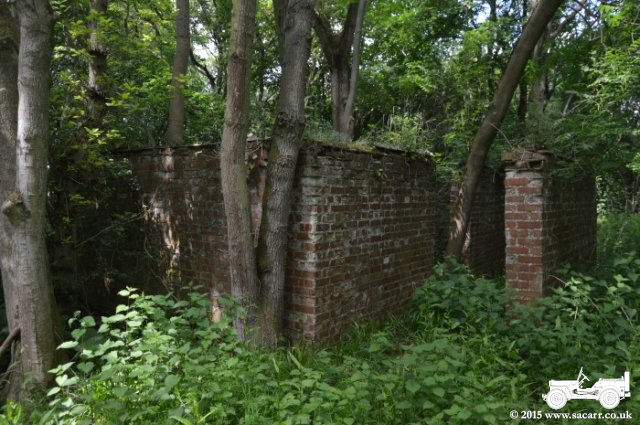
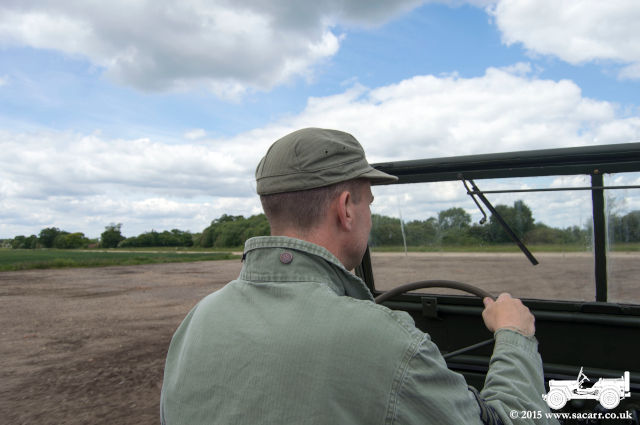
The first scene was located by the Photo Lab
building in the Technical Site. Unfortunately, this part of the site isn't
used by farm vehicles and so was too overgrown to take the Jeep there.
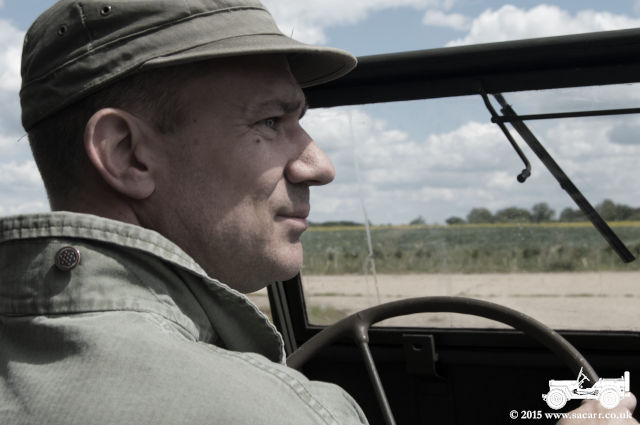
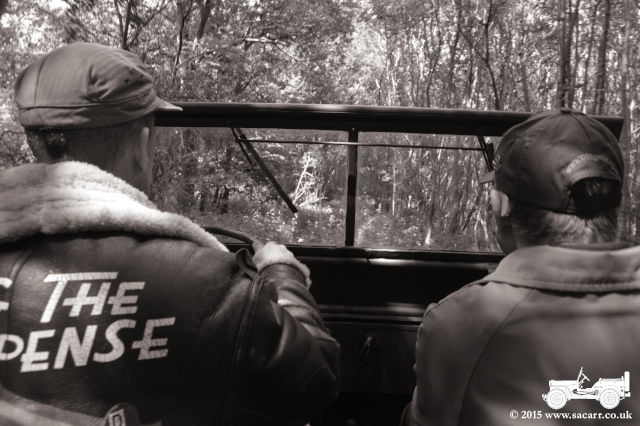
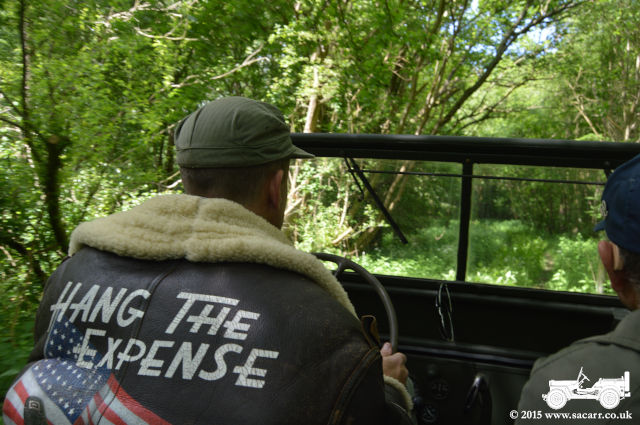
However, we set off to get as close as we could, intending to go the rest of
the way on foot. The first few pictures show the drive across the airfield and
into the Technical Site. |
|||
|
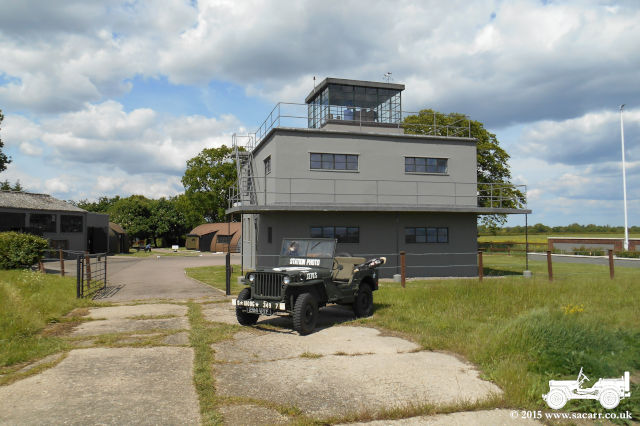
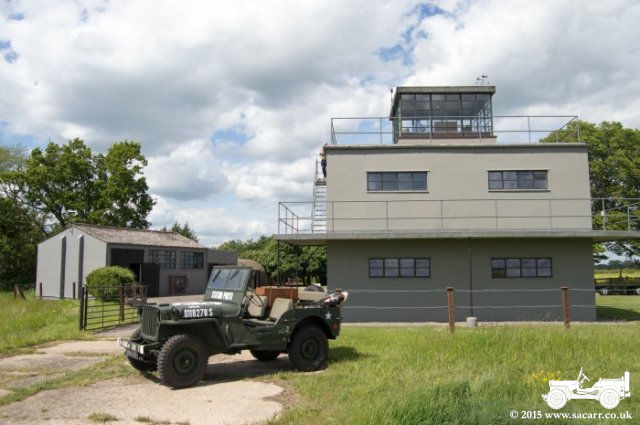
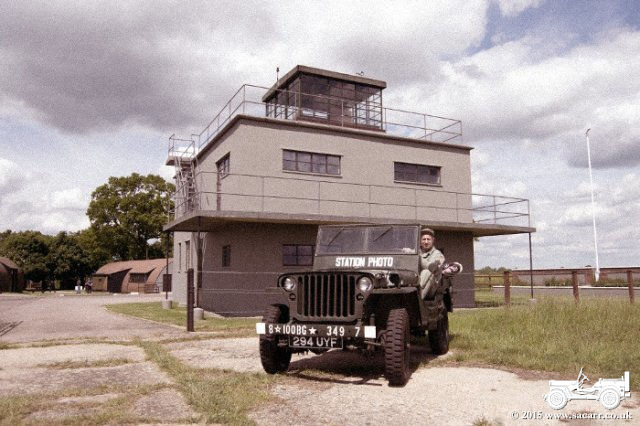
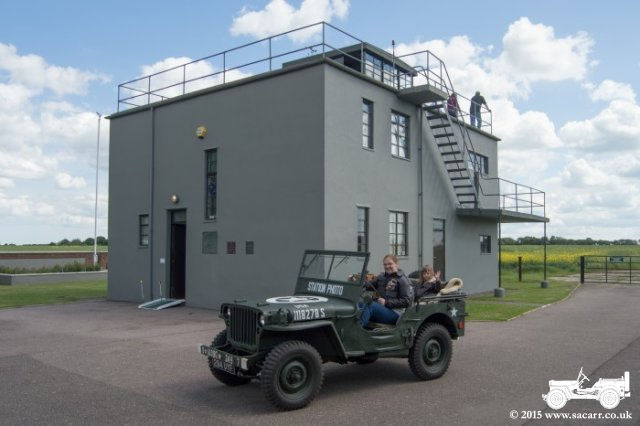
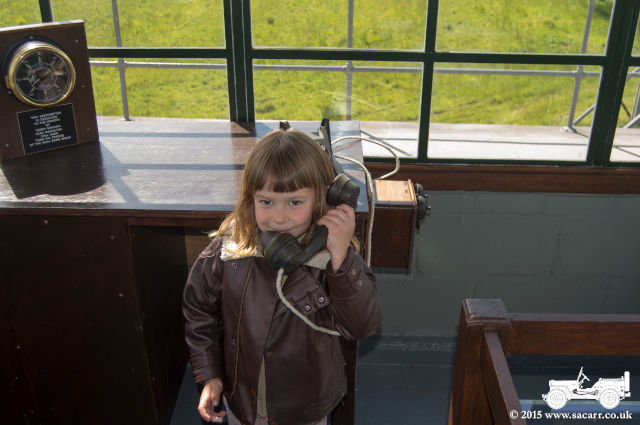
100th Bomb Group Museum Control Tower at Thorpe
Abbotts
|
|
|
|
|
|
||
|
|
||
|
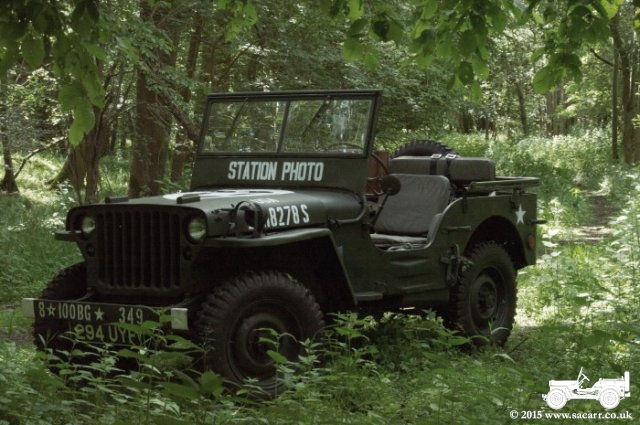
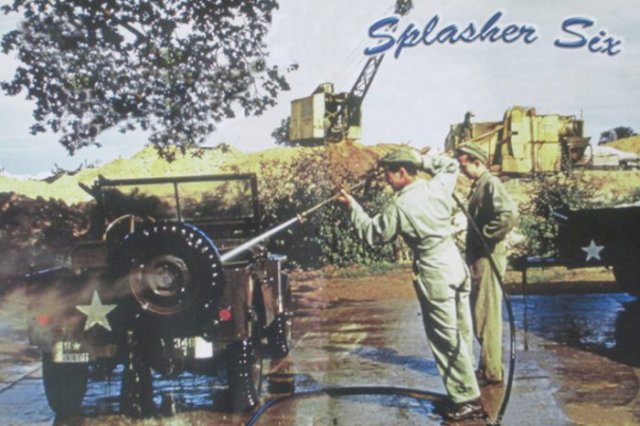
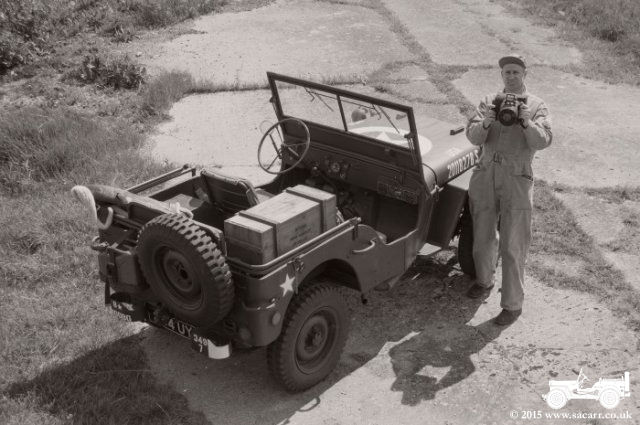
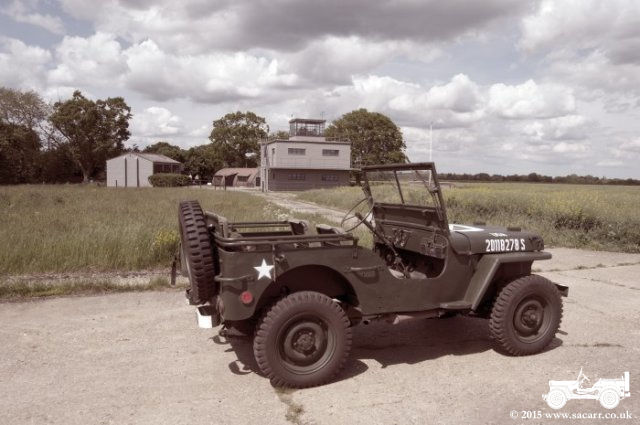
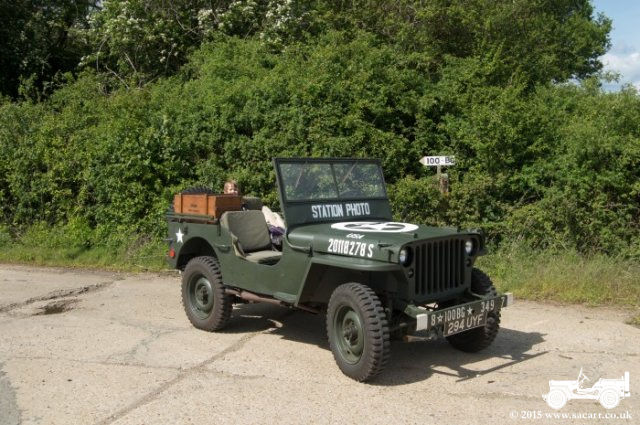
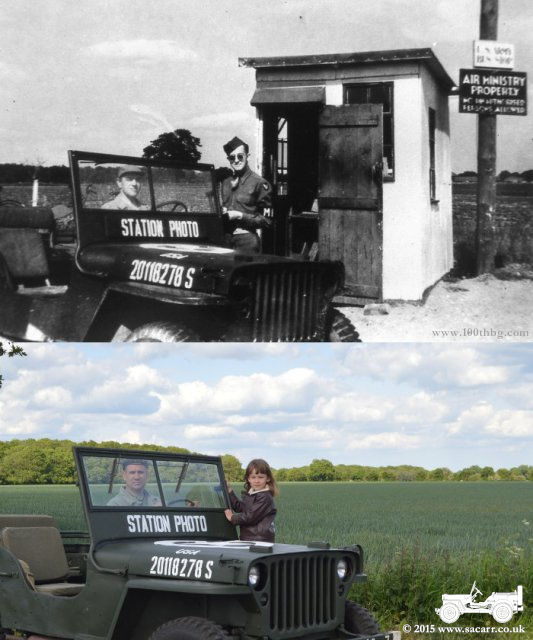
The map to the right shows the Photo block and the
small red rectangle shows the position of the Jeep in the original colour
photo below.
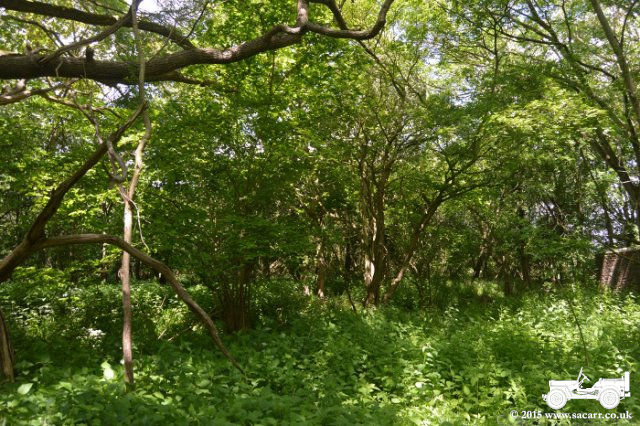
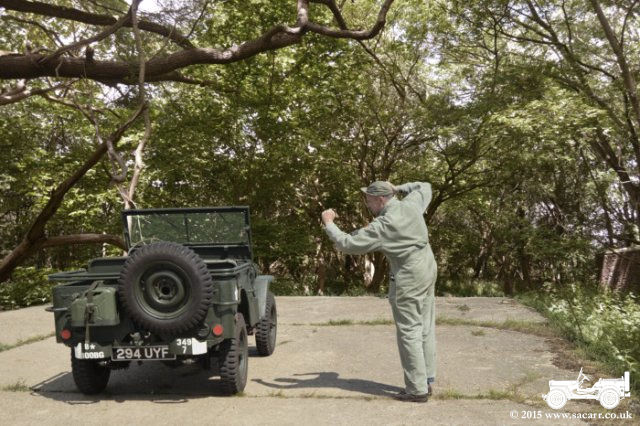
In the background of that picture, two B-17's can be seen on the dispersals shown in the upper left of the site plan. The overhanging oak tree is still there in the wood, while the concrete hardstand is completely overgrown. To recreate the picture, I took a photo of the
wood, with the overhanging oak branch, in the position which seemed to match
most closely. I took another picture of myself and the Jeep on the perimeter
track beside the control tower, and then blended the two images to create the
final reproduction. |

|
||
|
|
|
|
|
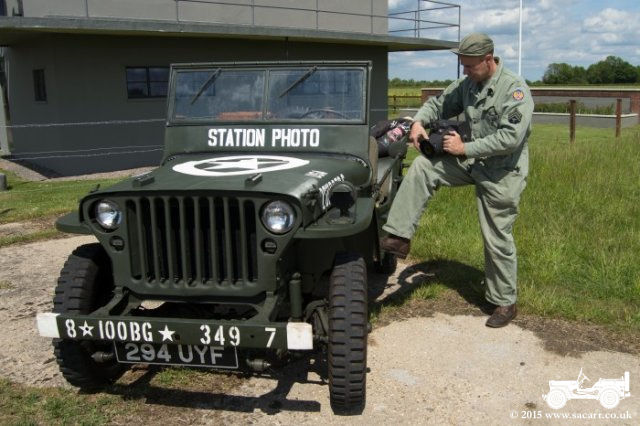
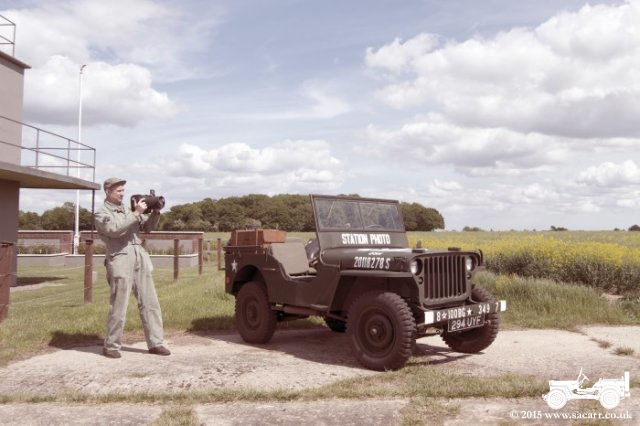
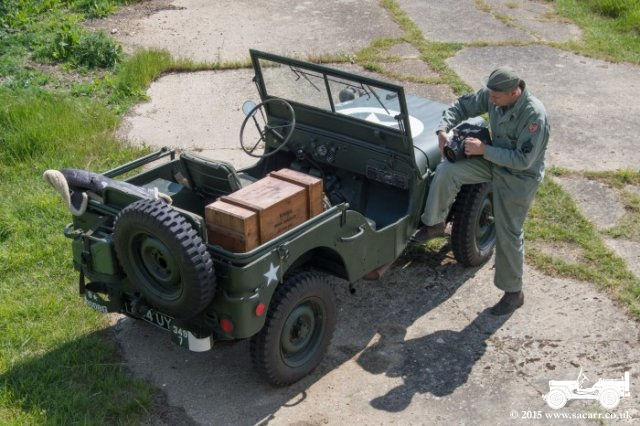
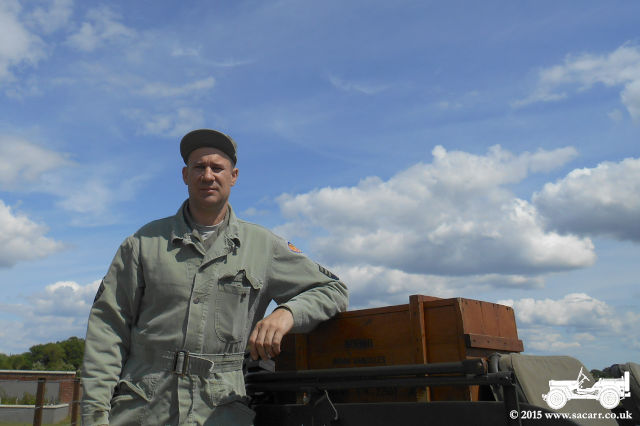
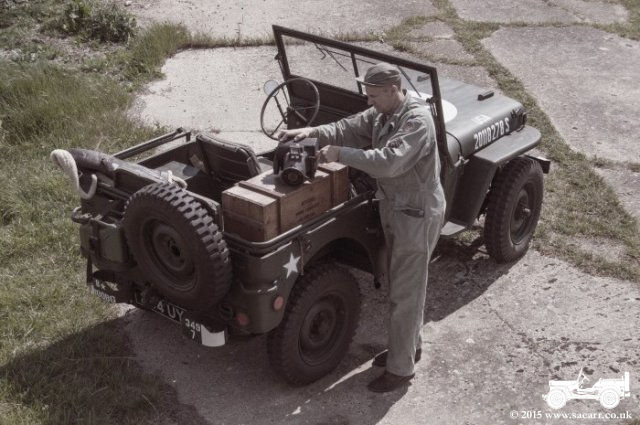
From there, we headed back across the airfield to the
museum, and then on to the Half Moon pub at Rushall for some lunch, a
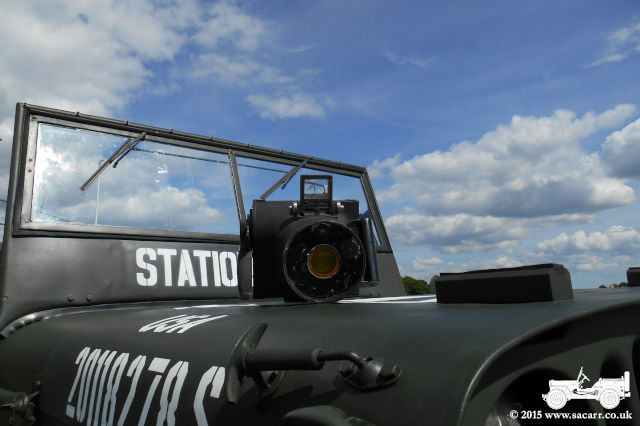
favourite haunt of the 100th BG airmen. After lunch, we returned to the museum
for a look around, and to take some additional photos in front of the Control
Tower, with the Jeep and my new K-20 Aerial Camera. |
|||
|
|
|
|
|
|
|
|

|
|
||
|
|
|
|
|
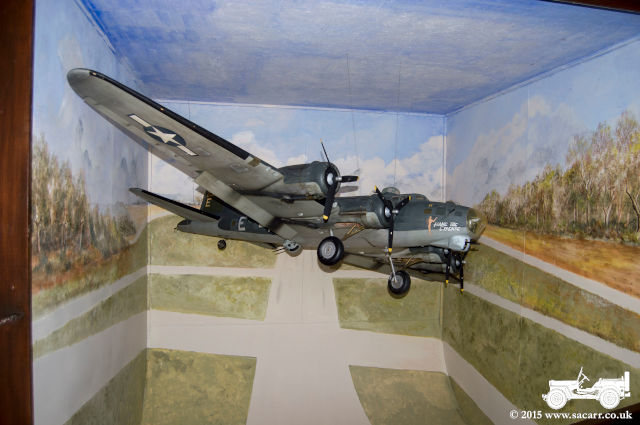
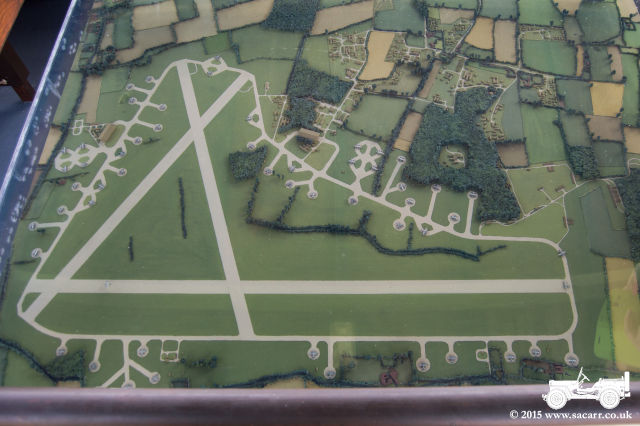
The B-17 below is my 1/10 scale radio controlled
model, the first flying B-17 I built between 1988 and 1993. It spans a little
over 10 feet and weighed 36 pounds at take off. It paved the way for the
larger 17 feet span 1/6 scale version built in 1994/95. The model shows the
airfield as it was during the war, with the 'Spectacle' type hardstand next to
the Photo Lab just right of centre in the upper part of the image. The opening
in the wood to the right was the site of the base hospital. The bomb dump was
to the right of the hospital in another wood off the right of this picture.
The Control Tower is positioned towards the left of the long straight 351st
Squadron dispersals along the bottom of the image. |
|||
|
|
|
|
|
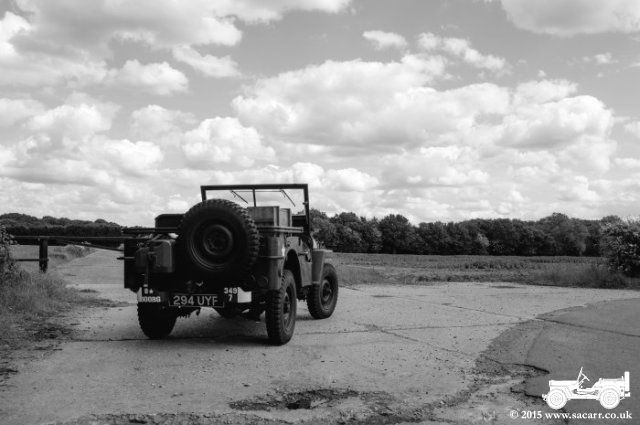
We still had additional comparison photos to
take, but they were on the South side of the airfield, and planned to get them
on the way home. The pictures below were taken on the junction between the
perimeter track and the hedge lined road South past the 'Spectacle' hardstand
( up past the hospital wood in the model photo ). |
|||
|
|
|
|
|
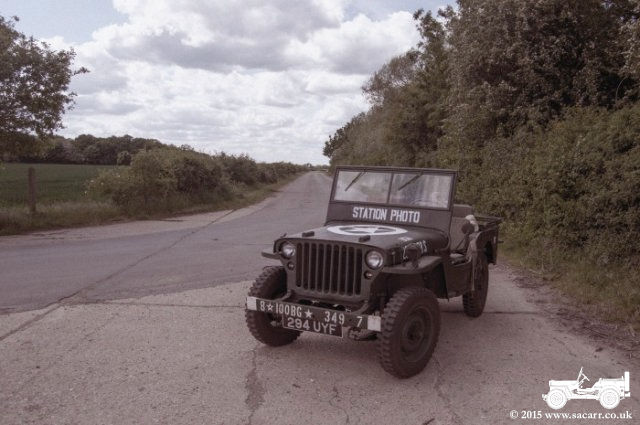
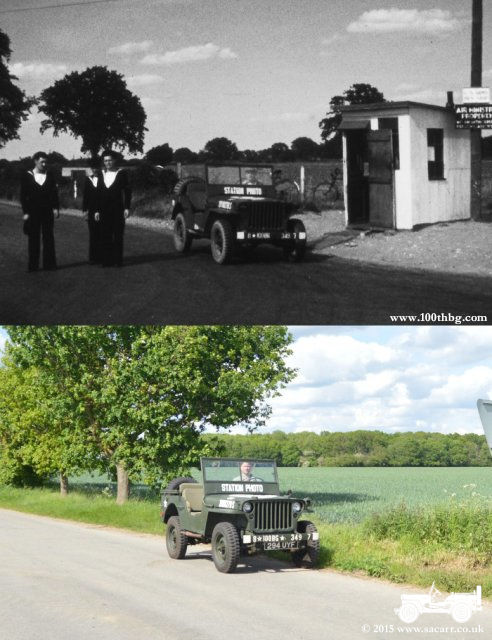
The final two recreation photos were taken on the
junction between the road from the Technical site and the East/West A143 to
Diss. The position of the original A143 has been moved North slightly, and now
probably covers the site of the picket post, but we parked as close as
possible to the location to take the comparison photos. |
|||
|
|
||
| From there we called in to Diss for some food shopping, before making the 30 mile trip back to Debach airfield, just in time to have a look around Richard's collection of MV's at the Debach museum. | |||