|
August 14th~17th
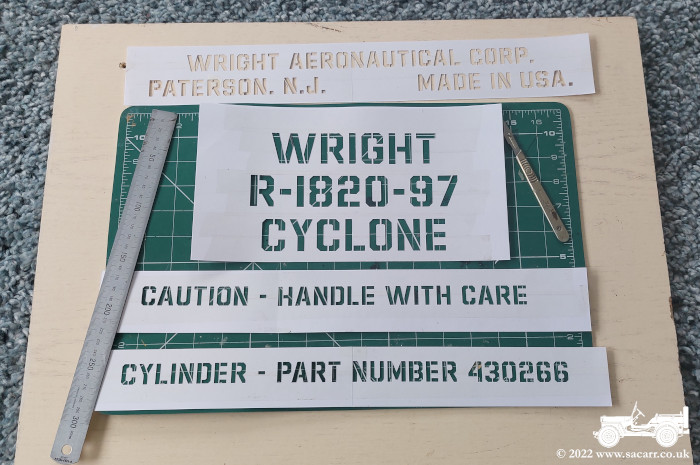
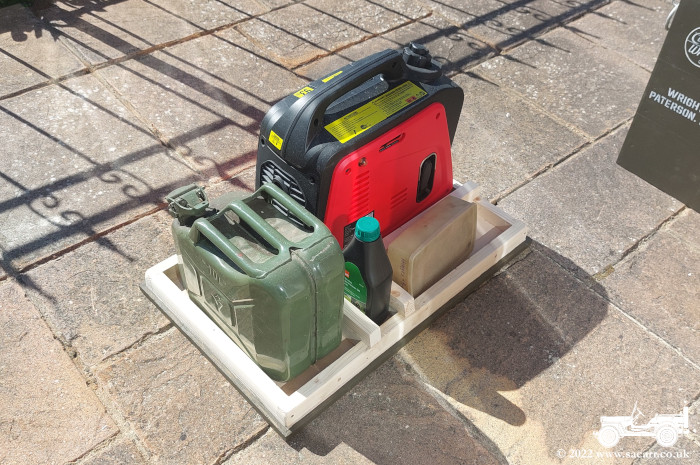
I needed another crate! No, it's not my OCD kicking in, but another requirement for 1940s camping. We recently bought a 240v generator for events like Beamish, where we are away for a longer than a weekend. During the day at events, I wanted to hide it away, but also be able to keep fuel and accessories with it in a self-contained package. The original plan was to make a dummy Jeep
engine crate, until I realised just how big that would be. It was also going to
be made from recycled shipping pallets, as we had four spare. These proved very
hard to dismantle on a hot day; much harder than the one used for my 50 cal
crate a few months ago. They would have also added a lot more weight to the
box. |
|||
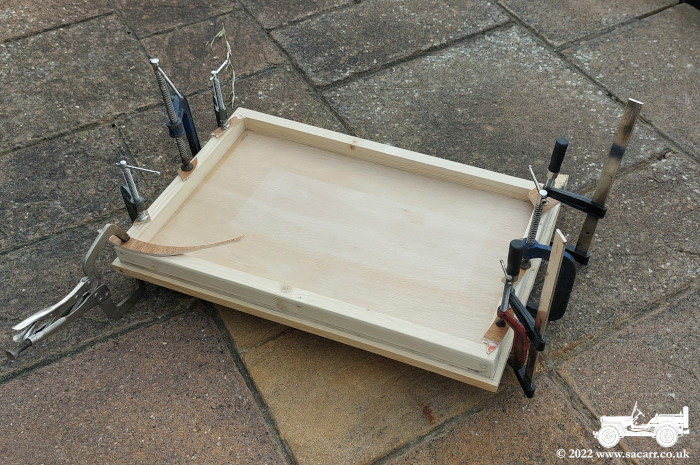
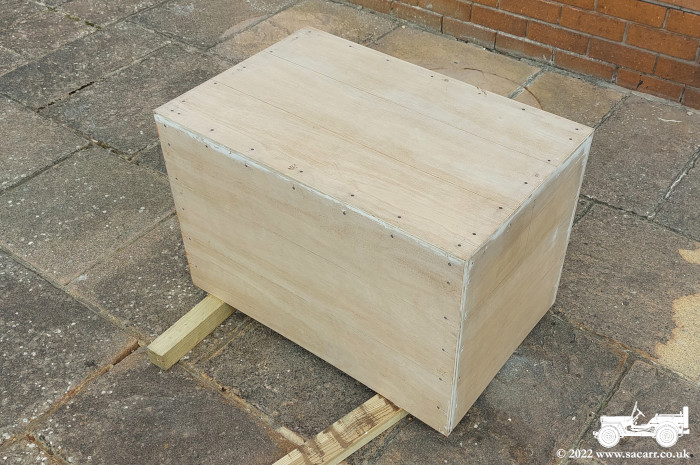
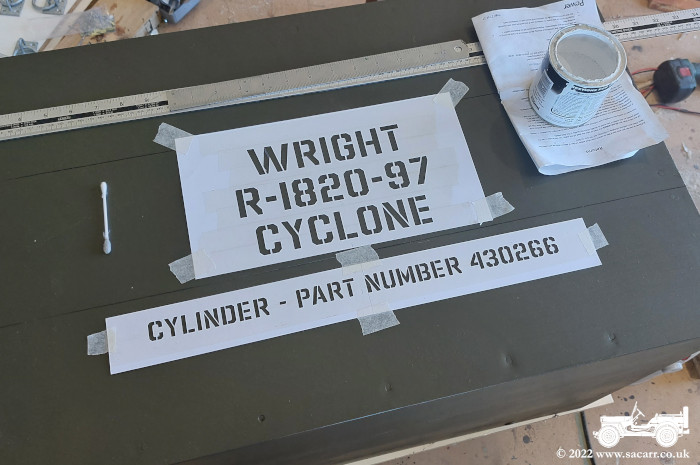
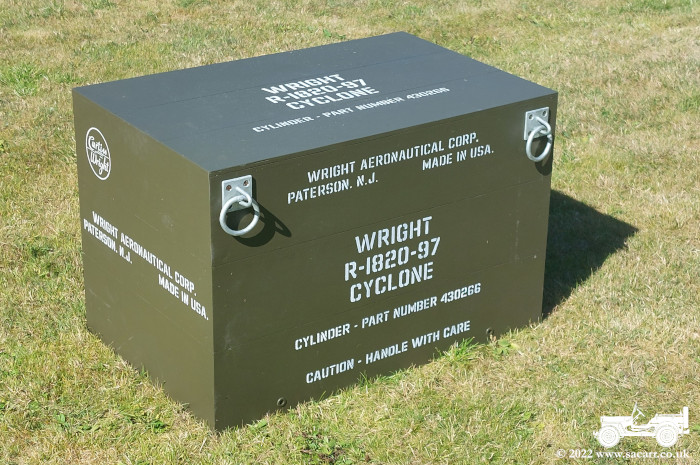
| In the end, I bought some plywood and strip wood from B&Q as an easier, but more expensive option. The basic ply box is 28 x 18 x 18 inches, with a 3/4 inch thick timber base. The base is only a couple of inches high, with the whole box lifting off the top. This gives easy access to the generator and accessories. |
|
|
|
|
|
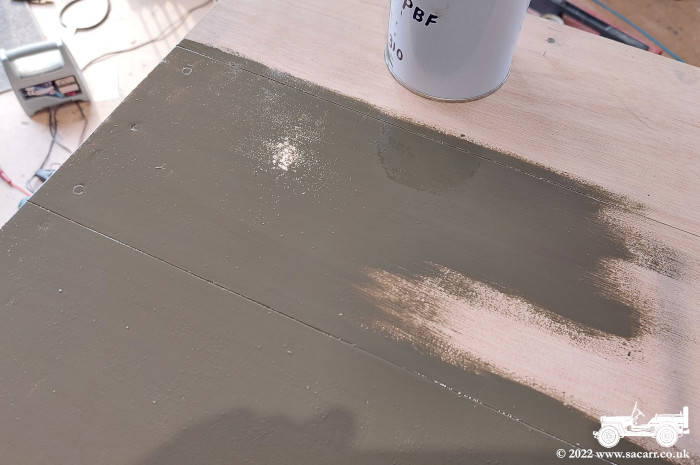
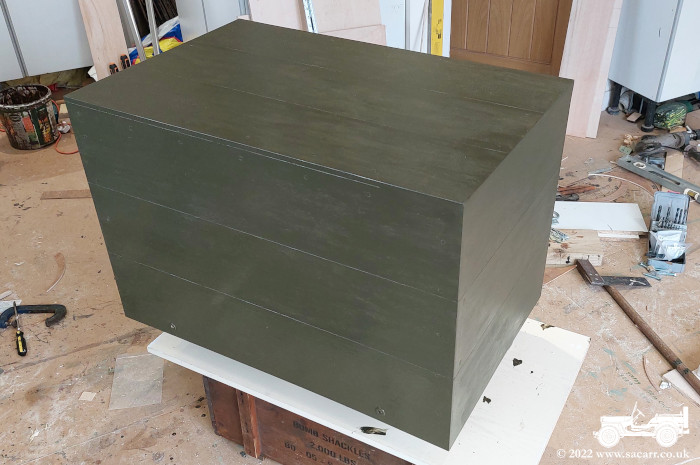
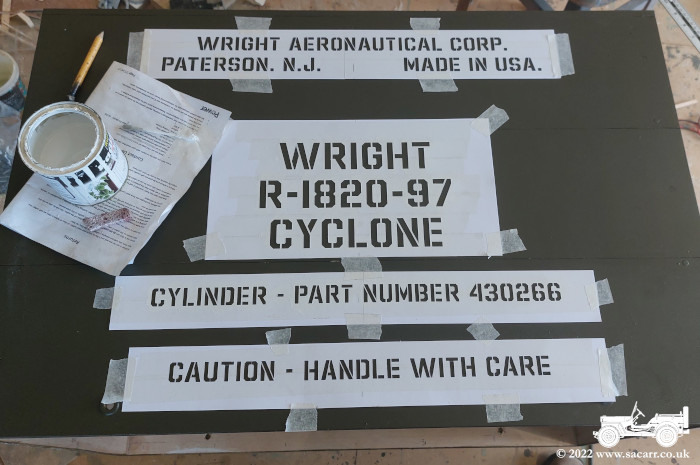
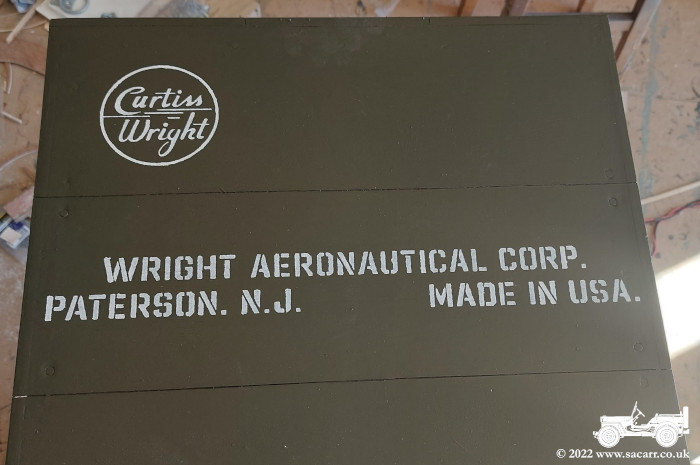
The box was both nailed and glued together, though the nails were really for cosmetic value. I cut grooves into the plywood panels to simulate 6 inch planks. The box was primed with a couple of coats of dilute waterproof PVA glue and then given two coats of olive drab; the remains of the first batch of paint bought for the Dodge. | |
|
|
|||
|
|
|
|
|
|
|||
|
|
|
|