| May 21st~23rd | |
| Just
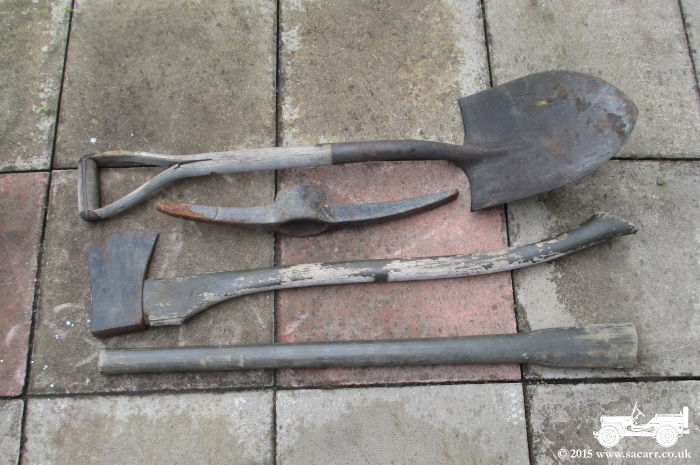
before I took the Dodge back into storage, I noticed that the shovel,
axe and pick axe were looking a little worse for wear. In the five years
that I've had the Dodge, I've not done anything to them, other than to
use the pick when re-working the garden.
The wooden shovel handle has been cracked since I got it, and the other handles have shakes in them. The metal work on the tools is rusting in places, and it looks like the pick head has been damaged and repaired. This may also need some attention. So I decided that it was time to do a little work on them, and removed the tools before the Dodge was taken back. Two of the handles have been painted at some point and much of the paint is flaking off. So the first stage was to give the woodwork a good sand down to remove the paint and odd splinters. |
|
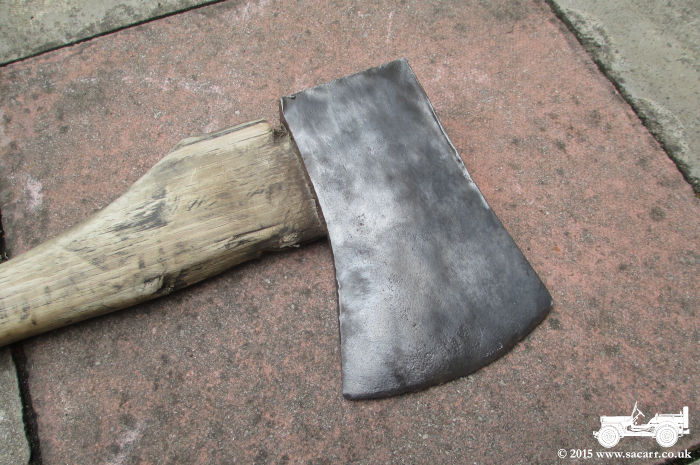
| The axe and shovel heads were cleaned up with a rotary wire brush. | |
|
|
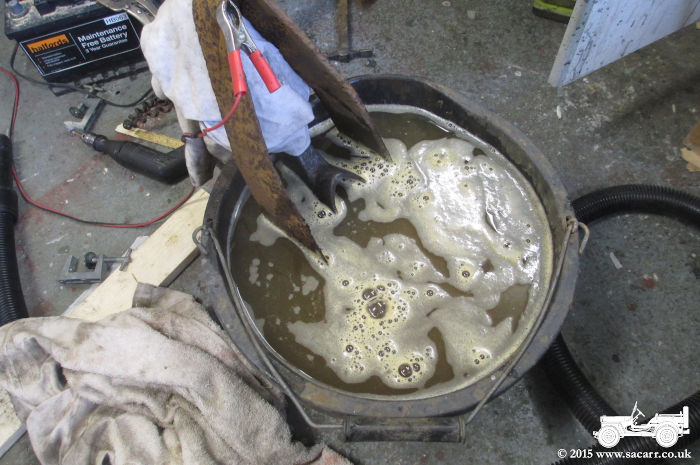
| The axe head painted in satin black. The pick was placed in a bucket and electrolysis used to remove surface rust. | |
|
|
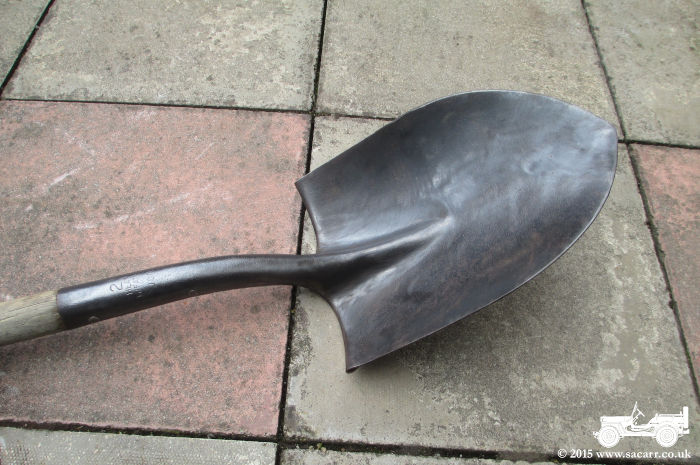
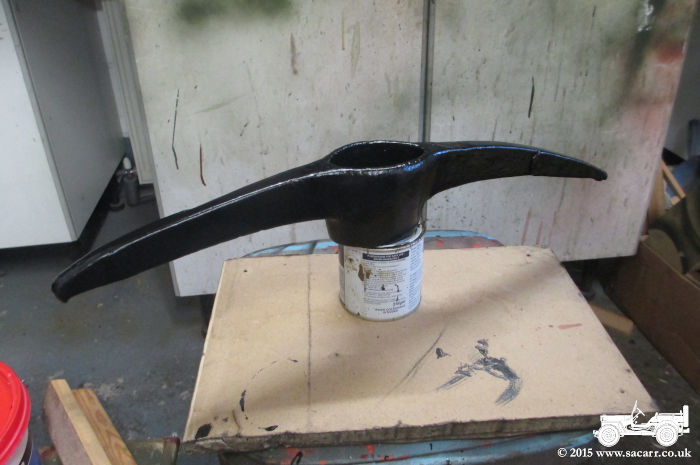
| Shovel handle metalwork painted along with the pick head. | |
|
|
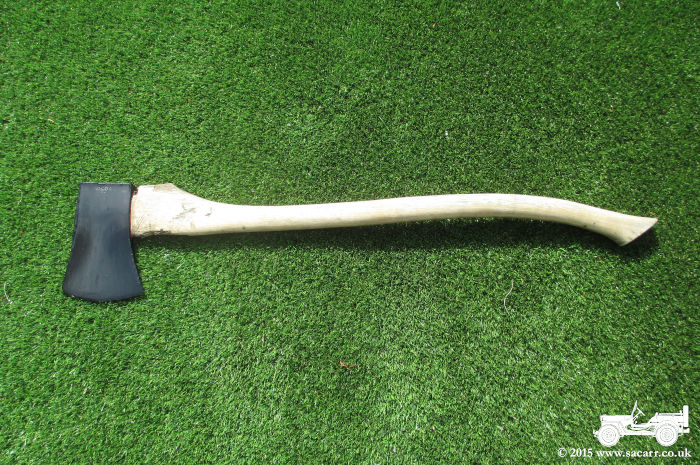
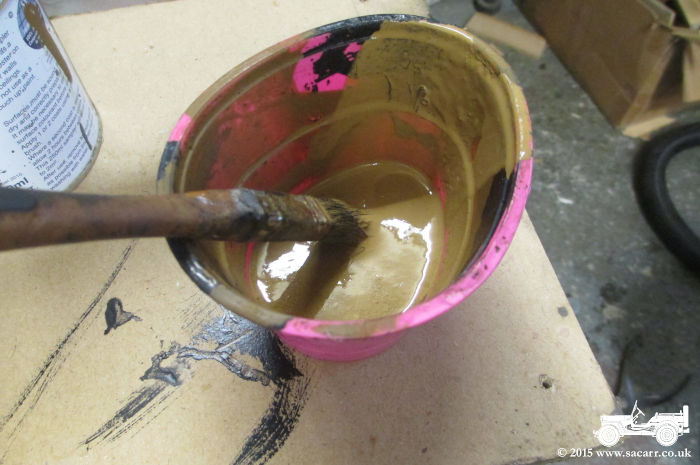
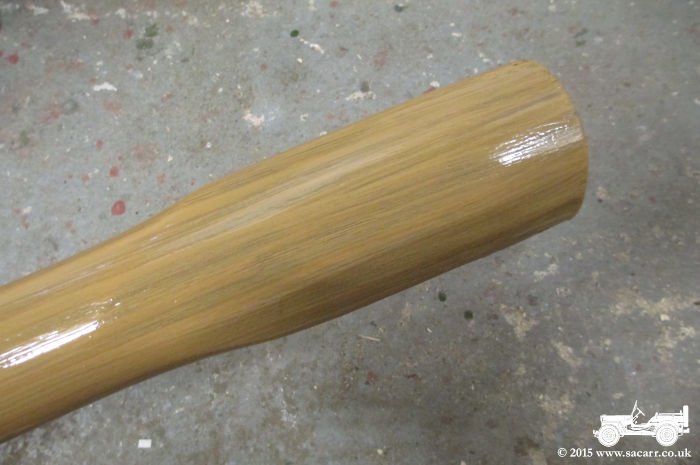
| I wanted the tool handles to remain wood finish, but because some green paint remained in difficult to remove places, they needed something other than just varnishing. I opted for a dilute mix of waterproof PVA adhesive, water and some earth brown emulsion paint. The handles were painted with a coarse bristle brush, leaving a grain effect in the translucent paint. The original wood grain also still showed, but it helped to mask the areas which still had traces of olive drab paint. After each coat had dried, they were given a rub down with fine wet and dry paper, giving a more sun-bleached, used look. The PVA in the mix also helped to bind damaged areas of the wood and fill shakes in the grain. | |
|
|
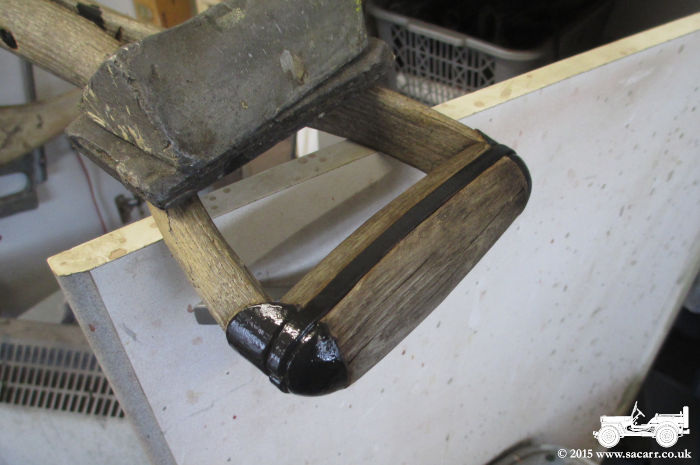
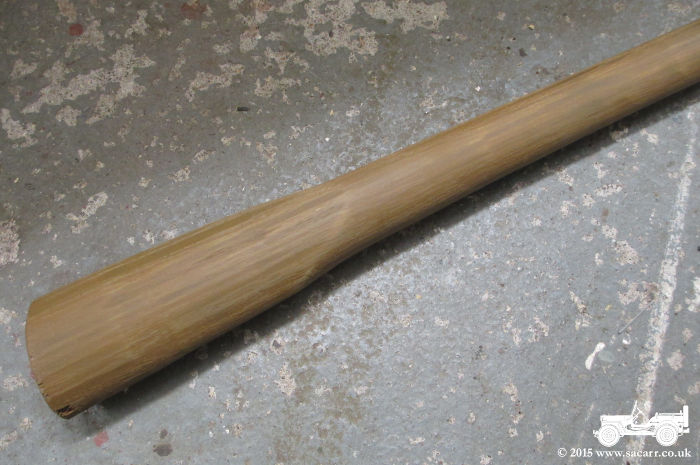
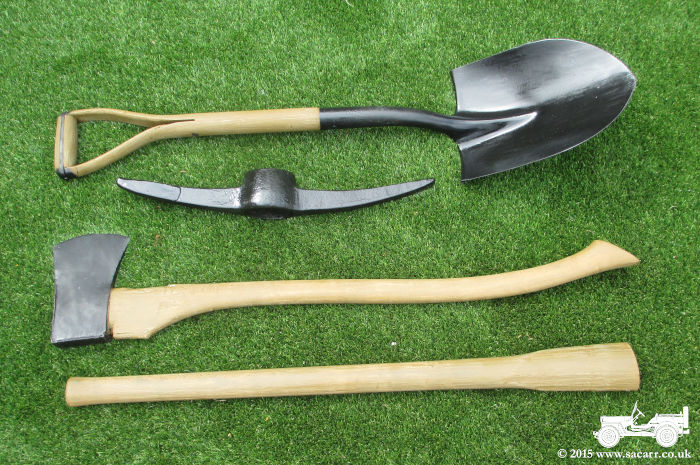
| Below left is the pick handle, with three coats of paint/glue, and rubbed down between each one, with a final rub down to dull off and slightly distress the finish. The last picture shows all the tools in the back garden, baking in the afternoon Sun. The bright sunlight makes the woodwork look a bit more pale than it actually is. | |
|
|
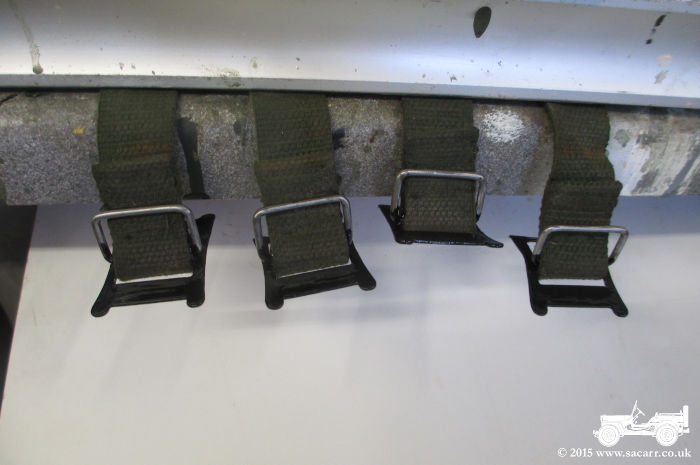
| The last jobs for now are the straps that hold the tools onto the rack. The strap material was treated with some canvas waterproofing solution. The buckles were a bit rusted, so I used a mini wire brush in a drill to clean off the surface rust. The first parts of the buckles have been painted satin black. Once dry, I'll do the small silver loop. I didn't want both parts wet in case the loop dropped down and stuck to the buckle as the paint hardened. | |

|
|
| May 14/15th |
|
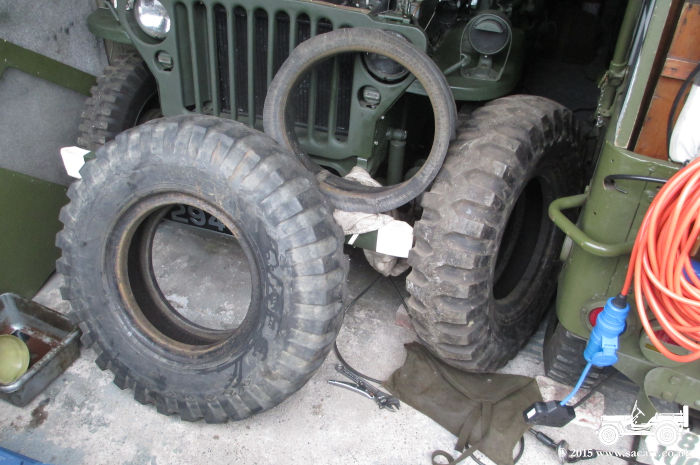
| What a fun afternoon that was. I was doing a little more of the Spring maintenance on the Dodge, and after inflating the tyres, decided that cracking in the side wall of one tyre was too bad to be safe. Not to worry, I had a spare tyre, though not on a rim. I took the iffy wheel off, and put the spare on. After taking the valve out, and removing the split rim nuts, it didn't show any signs of the bead wanting to let go of the rim. So I tried taking it back to the local garage that split the wheel five years ago. However, their machine couldn't shift the tyre off the rim this time, so they suggested a truck garage in Philadelphia. These tyres have been on the wheels since around 2009, and a bit of rusting on the seat where the bead sits was enough to stop it moving. After collecting Lyta from school, we headed down there; and for a tenner, they finally managed to get the tyre off. I would have still been cursing in a weeks time if I'd tried to get it off with tyre levers. By the end of the day, it had been primed, and had the top coat on one side. |
|
Cracking in the side wall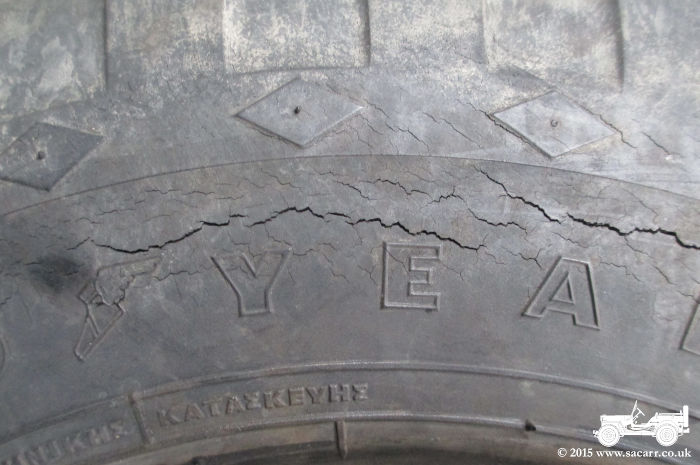
|
The
wire brushed wheel, ready for paint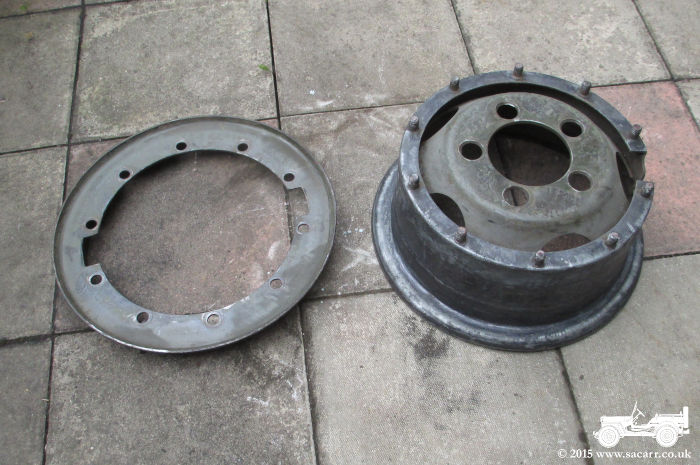
|
| Because
of time constraints, I needed the wheel back together again quickly.
After the rust and loose paint were wire brushed off the rim, the first
side of the two rim parts were brush painted in red oxide primer.
The rim parts were then left next to heaters, late into the evening of the 14th, in order to speed up the drying time. They were still a bit tacky the following morning, but were turned over and the second side painted olive drab. The rim parts were then left outside as it was a moderately sunny day, and the warmth and IR/UV light should help to speed up the drying time. Because of the heating, the normally matt paint, despite being well stirred, had self levelled, leaving a more glossy/satin finish. As this wheel becomes the spare, I'm not too worried as the wheels will probably get a repaint when I get two new tyres later in the year. |
Red
oxide primer first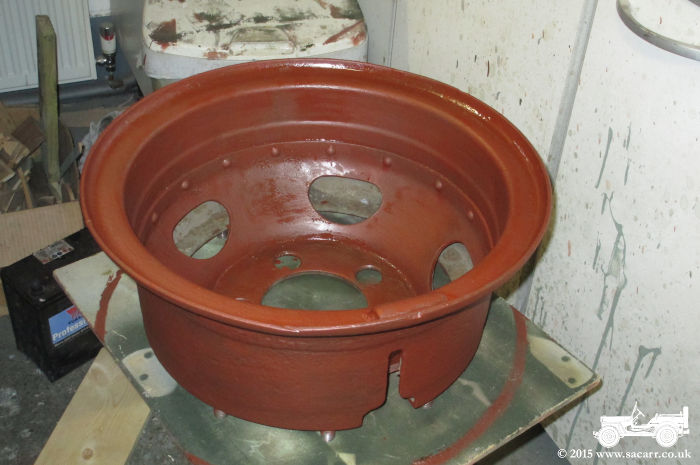
|
The
red oxide and olive drab were force dried with heaters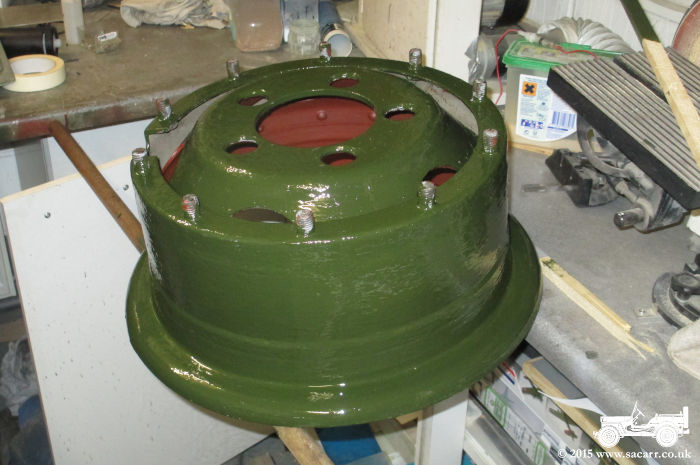
|
The
second side was painted on the morning of the 15th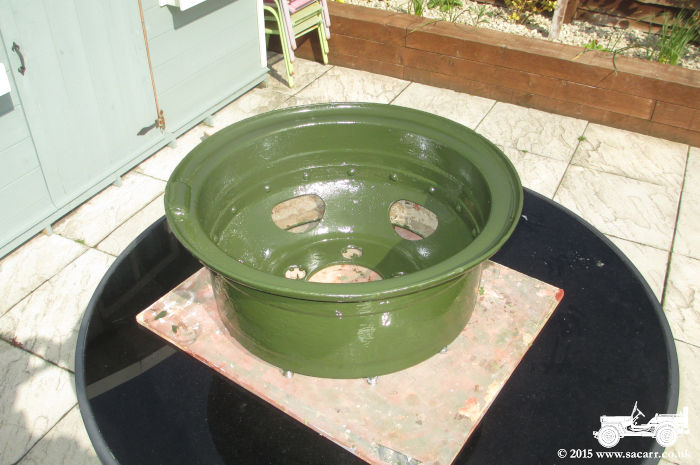
|
Late
on the 15th, the tube was fitted into the replacement tyre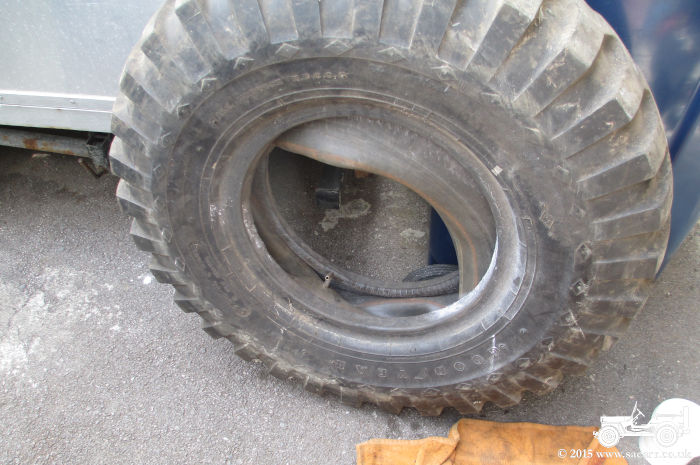
|
The
flap was fitted next to protect the tube
|
The
tyre was fitted over the large part of the rim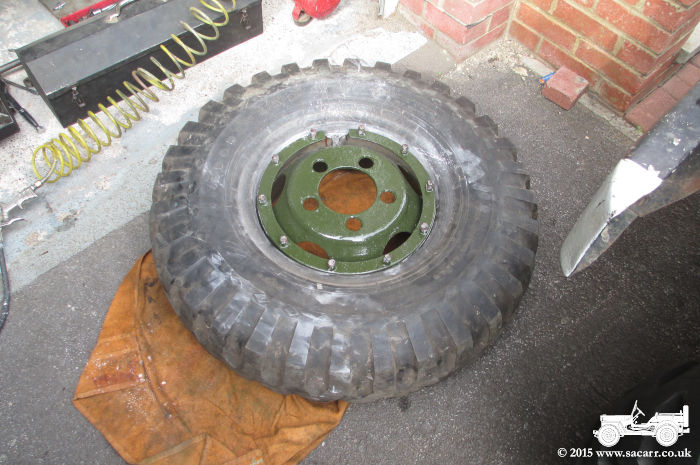
|
The
second rim half is fitted and bolted down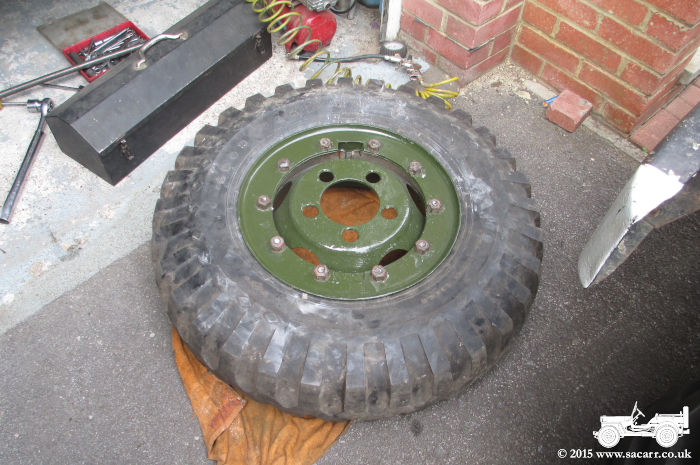
|
|
|
|
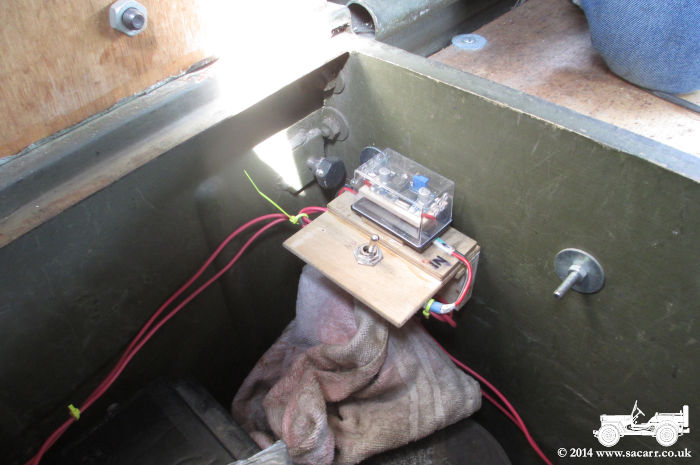
| Step
Up Voltage Converter Fitting
Back in August last year, I bought a voltage converter, to charge the 12 volt radio, clock and amplifier battery. This was fitted to the Dodge today. The converter steps up the voltage from the Dodges 6 volt system to around 13 volts and gives a 1/2 to 1 AH charge rate. Wires from the engine bay bring 6v power to the unit. These are wired into the ignition switch, so it can only provide power when the engine is running. An On/Off switch is mounted next to the converter preventing power to it unless required. The output has diodes to make sure the 12v battery can't feed power back into the converter, in case it doesn't have its own internal protection. The output from the converter passes through another switch before reaching the 12v battery as a second form of isolation. |
|