| June 30th Pyro Pistol holder, Anemometer Parts Stowage and Stencilling |
|
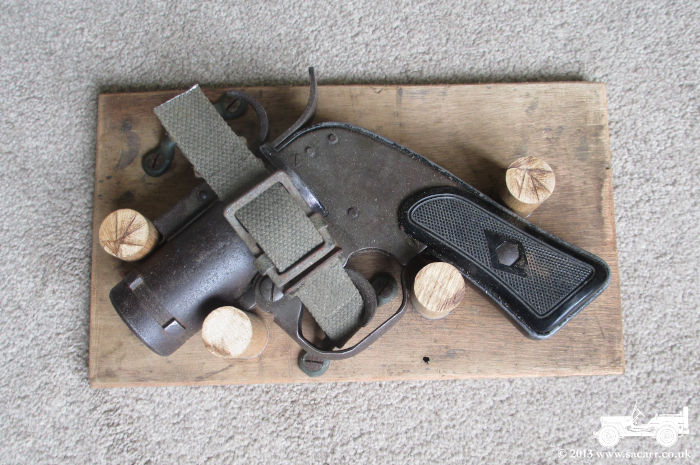
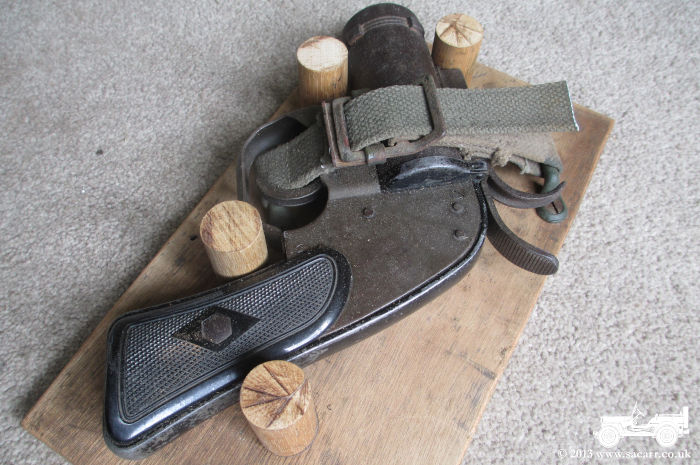
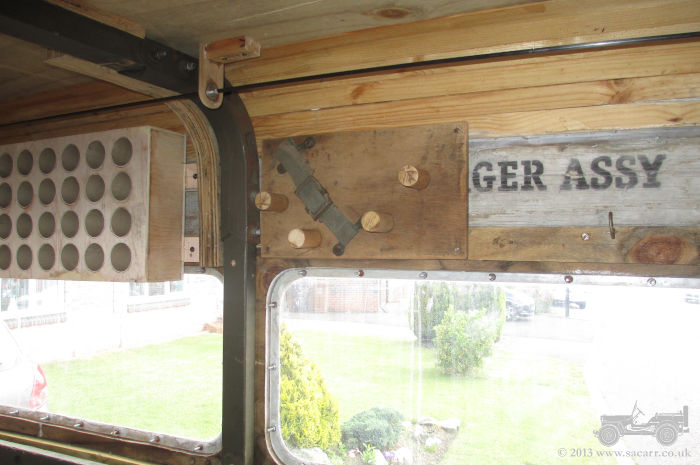
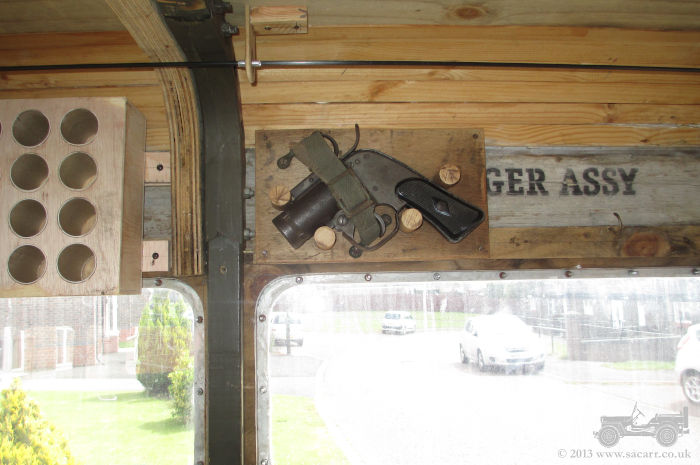
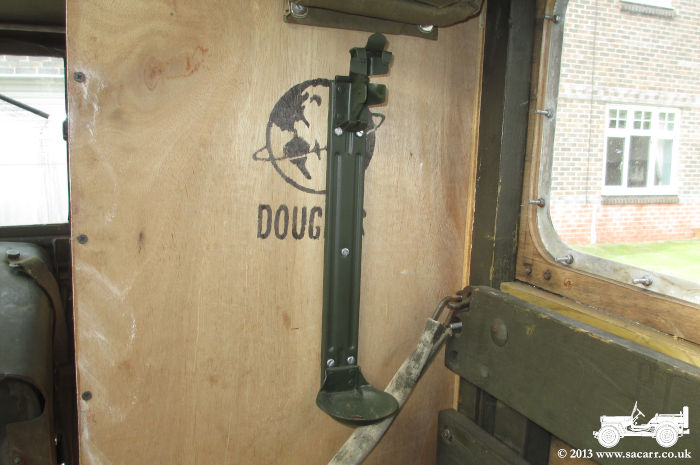
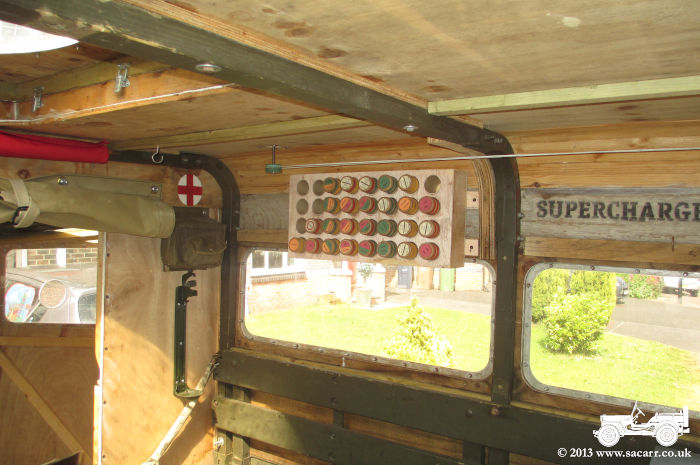
| This morning, I made and fitted the rack to store the M8 Pyro pistol. The wooden dowels locate it in place, and then a webbing strap fastened to two footman loops holds the pistol into the rack. It has been mounted just behind the flare cartridge rack, so it's nicely visible from the back of the truck, but far enough out of reach of envious fingers! | |
|
|
|
|
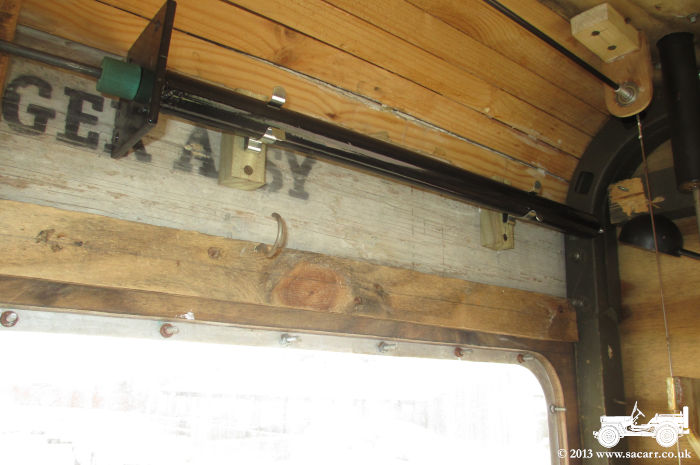
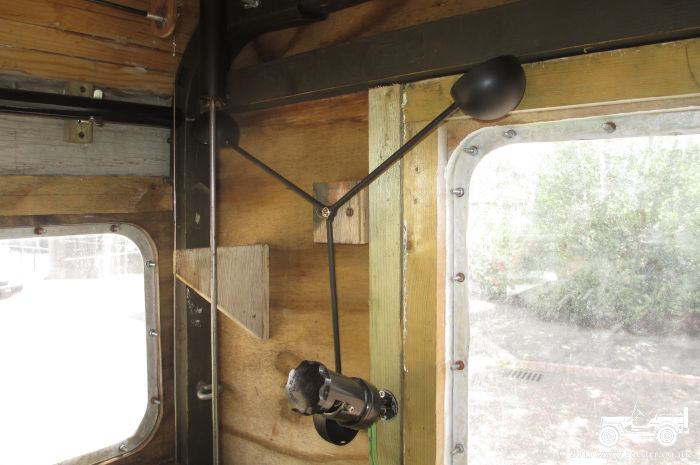
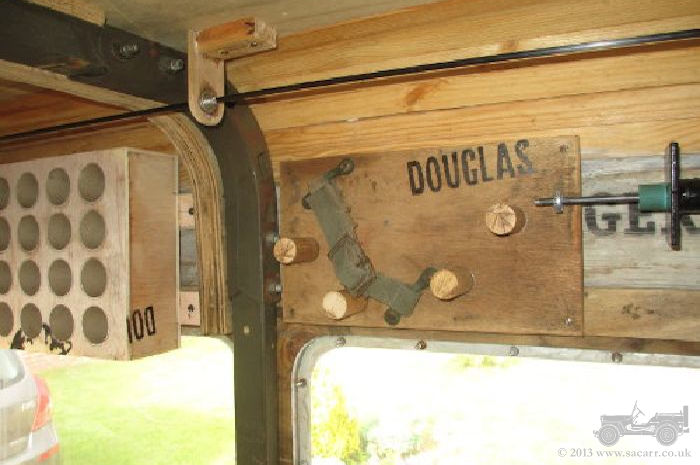
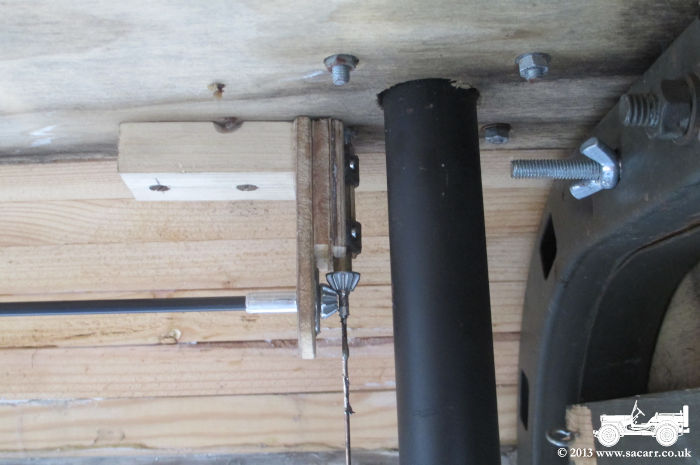
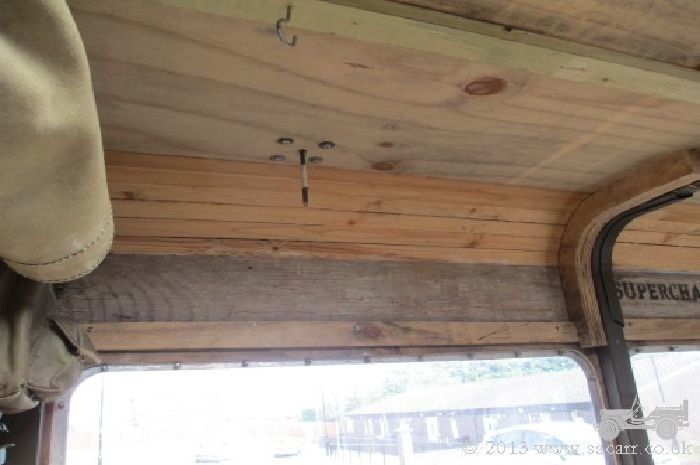
| The mast and head of the anemometer also found homes this morning, allowing them to be neatly stored during travelling, without taking up luggage and camping equipment space. | |
|
|
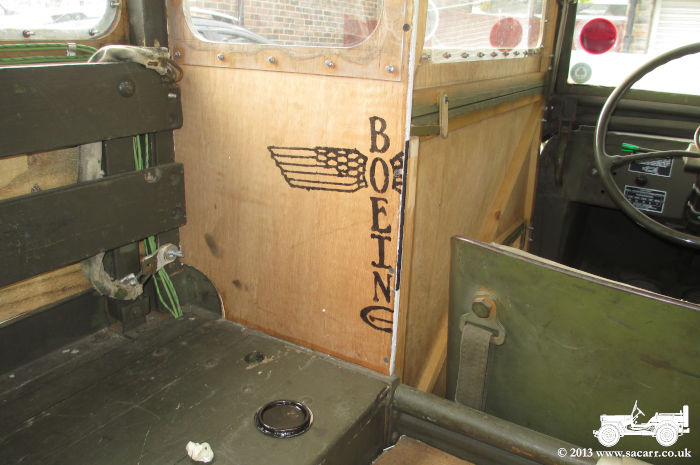
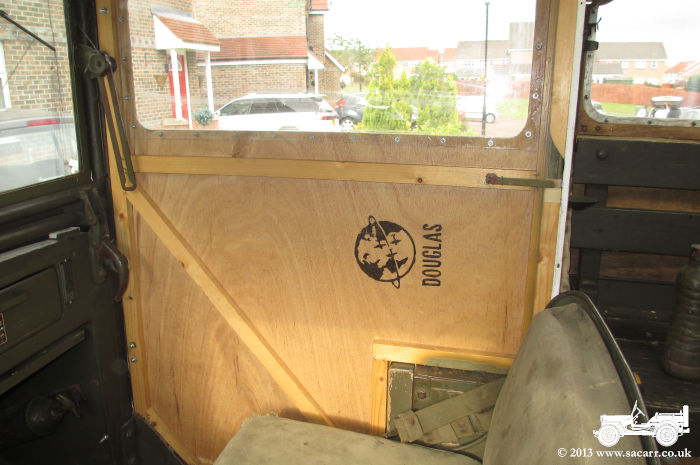
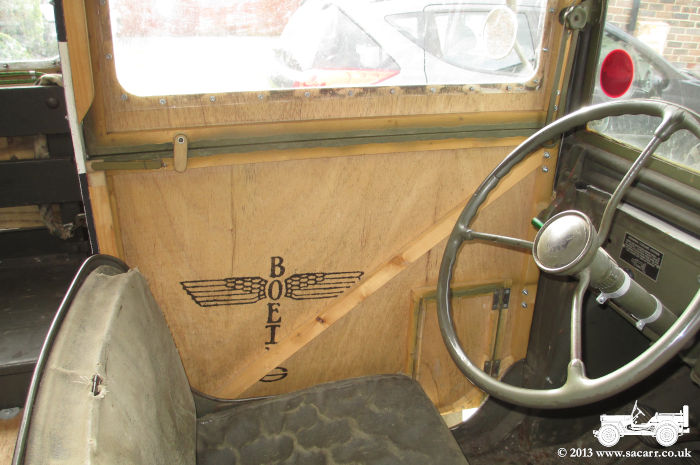
| Later in the day, I added some additional stencilling to various parts of the truck body to replace a number of the originals which have gradually been covered up with the permanent installation of various pieces of equipment. | |
|
|
|
|
|
|
|
|
|
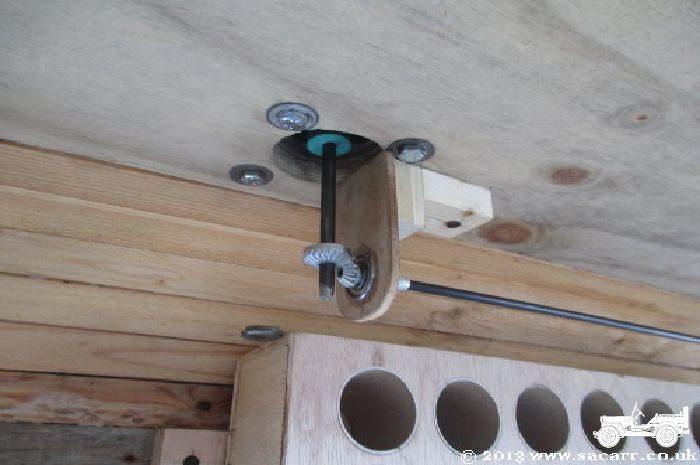
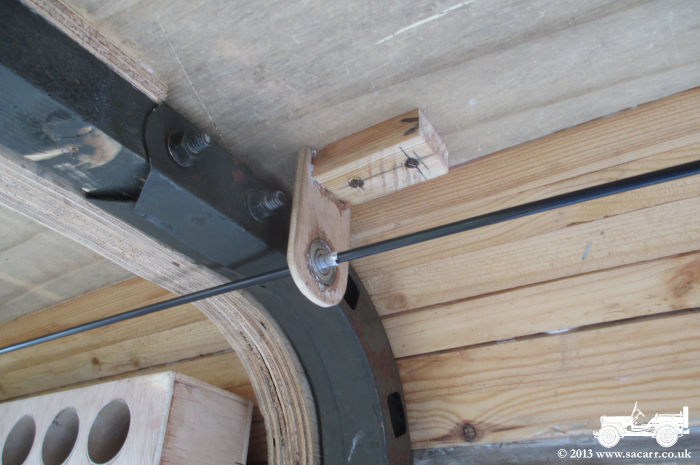
| The new gear drive was installed today. Even with the bearings, there's still some friction in the system, a little from the grease in the bearings, but mostly from the flexi-drive cable bending around into the back of the windspeed gauge. The new system is fairly neat, but another day with little wind in the street means it is untested, except by hand. The street is surrounded by tall trees, and being at the lower end of the street, it is fairly sheltered, even when there's a gale blowing. | |
|
|
|

|
| June 28th |
|
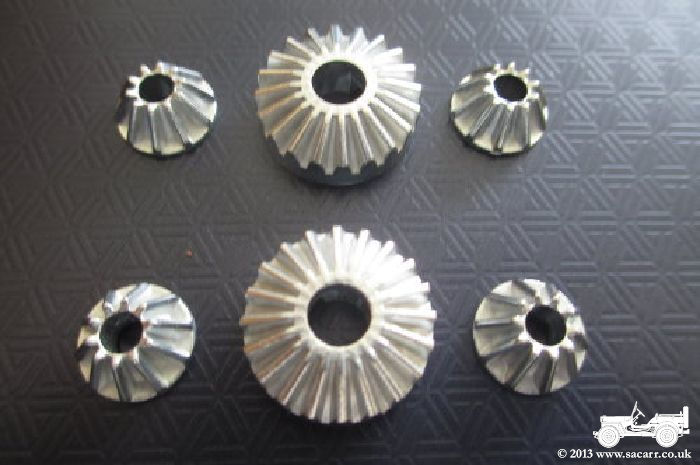
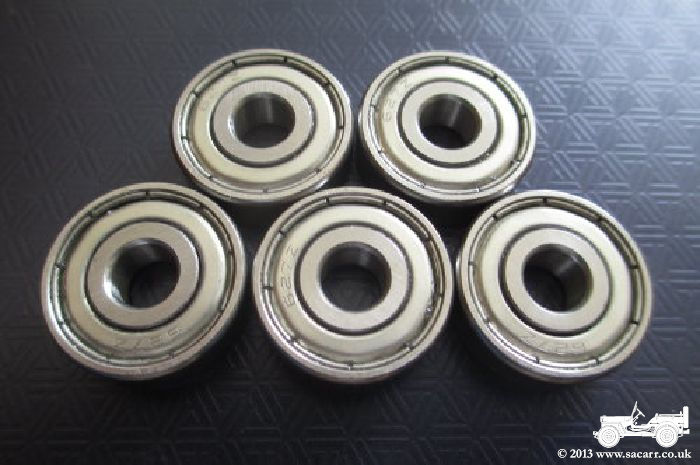
| The temporary belt drive for the anemometer ( seen in pictures further down the page ) was to try and establish a gearing ratio to drive the dial at the correct speed. The belt itself was applying too much sidewards pressure on the drive shafts, creating too much friction to turn reliably and smoothly. The drive will now be gear operated. The bevel gear set is from the transmission of an R/C car. The bearings should help to reduce friction on both the new horizontal drive shaft and the vertical drive down to the dial. | |
|
|
| June 22nd |
|
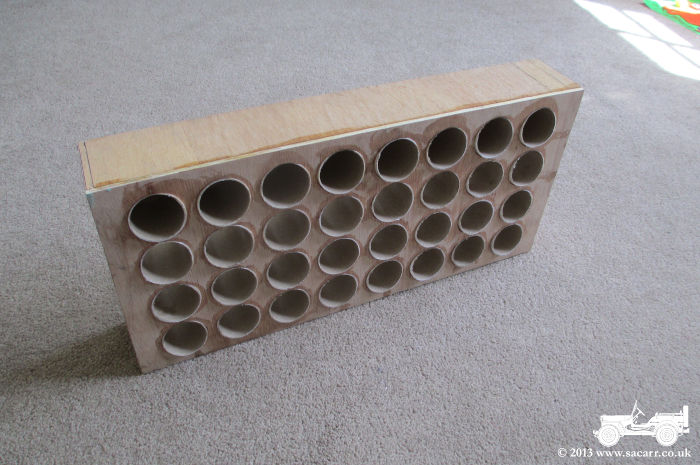
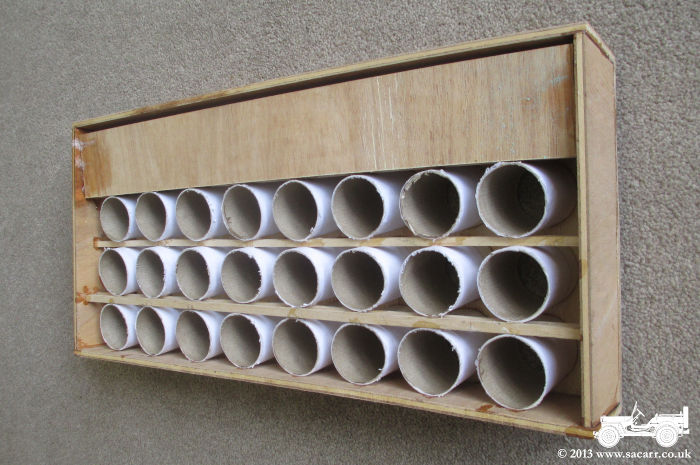
| With a load of flares now made, they needed somewhere to go. I'd made some more paper tubes, like the cartridges, which would hold the cartridges in the rack. Fortunately I found a hole saw exactly the same size as the paper tubes. The tubes were glued into the wooden front of the rack at a slight upward angle so the flares wouldn't slide out. The bottom front of the tubes was a little proud of the surface due to the angle they were mounted at, so these were trimmed and sanded flush once dry. | |

|
|
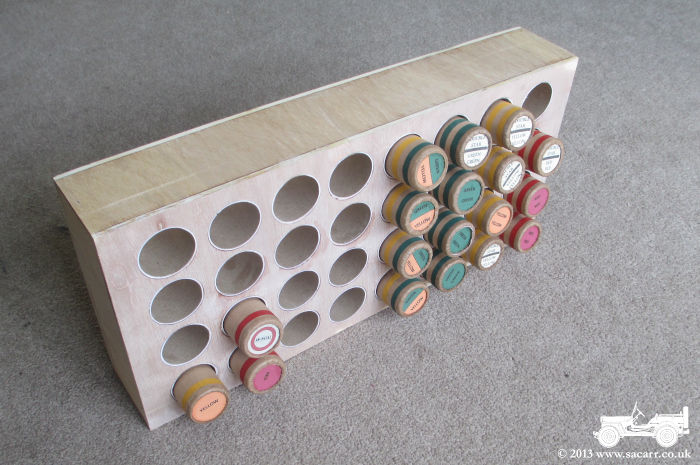
| Inside the rack, some 1/4 inch square strip held the rear of the tubes at the correct height and some 1/4 ply formed a back to the tubes. The flares stick out of the front of the rack by about 1 inch to allow the coloured bands to be seen, and to give something to hold to allow them to be removed. | |
|
|
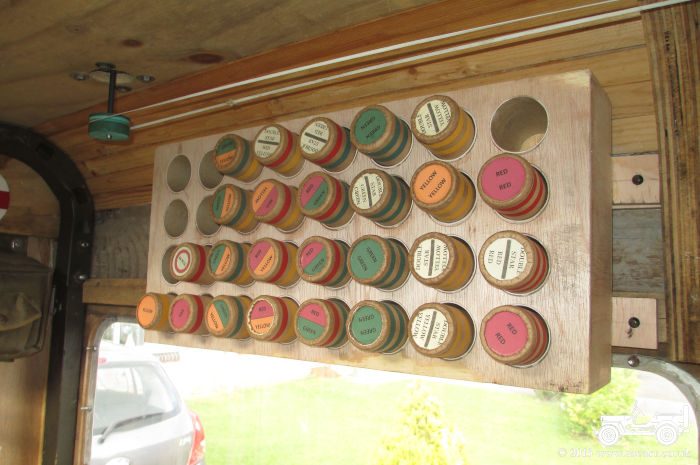
| Once the edges had been sanded, some 1/2 inch ply brackets were added to the read of the rack to allow it to be screwed to the side of the truck. I still need to make a small rack to hold the flare pistol. | |
|
|
|
|
|
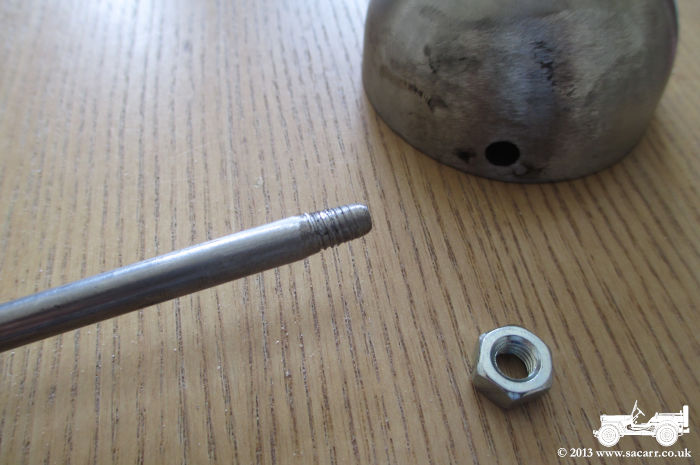
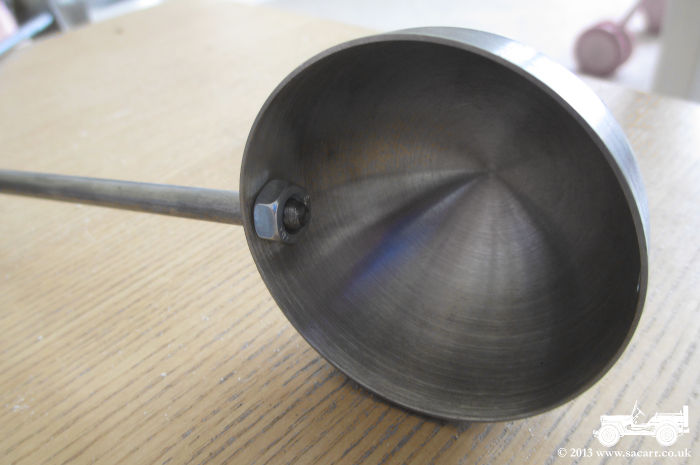
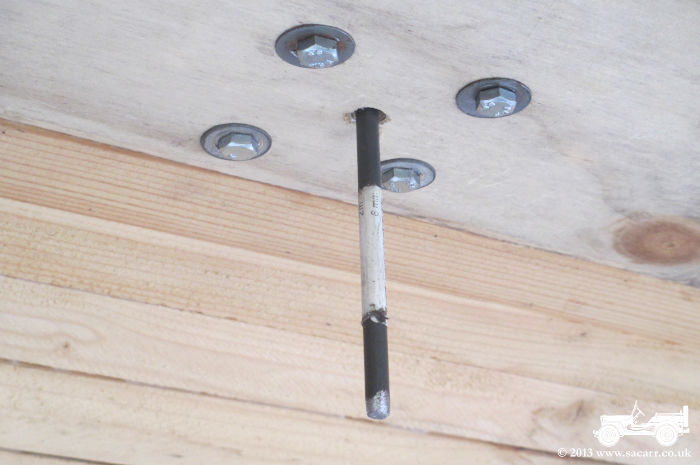
| It's time for a final push on the Anemometer, and today was the day. Some 6mm steel bar had a thread tapped on the end for a retaining nut which will hold the cup in place. | |
|
|
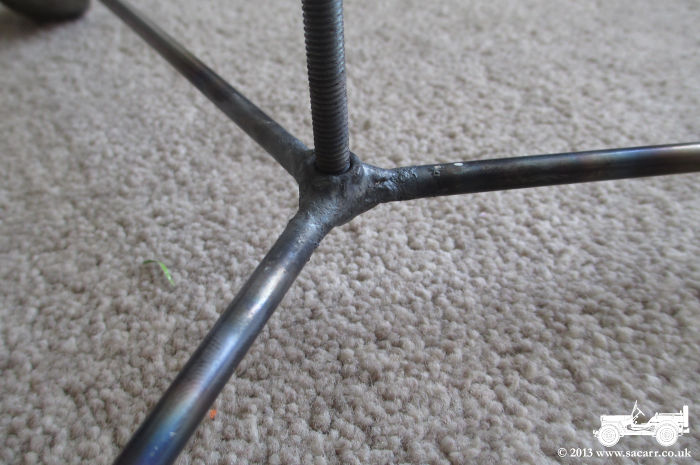
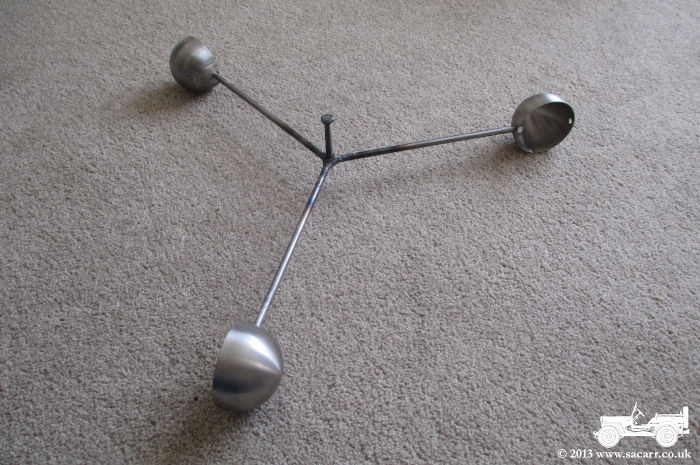
| Each of the three arms was welded to two central nuts, forming the hub of the anemometer head. The nuts in the hub allow the head to be screwed onto the mast allowing easy storage inside the truck during transport. | |
|
|
|
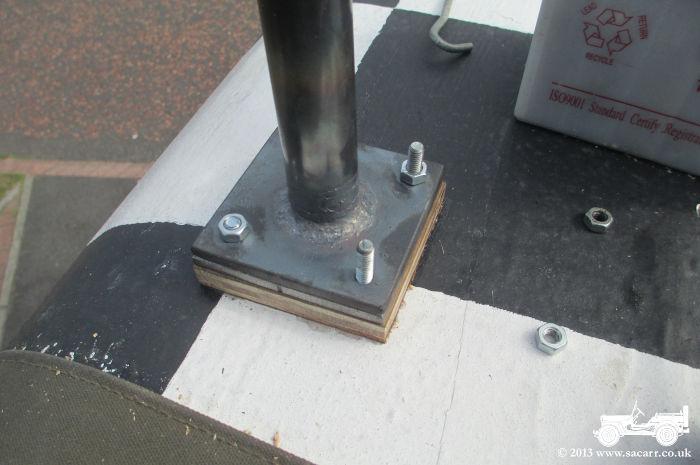
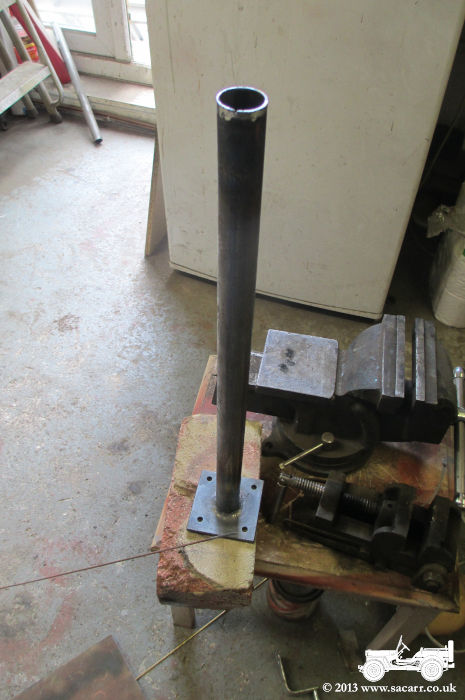
The mast is a 1 inch steel tube, high enough
that the astro-dome shouldn't interfere with airflow to the anemometer. It
bolts down to a fixing plate on the truck roof.
|
|
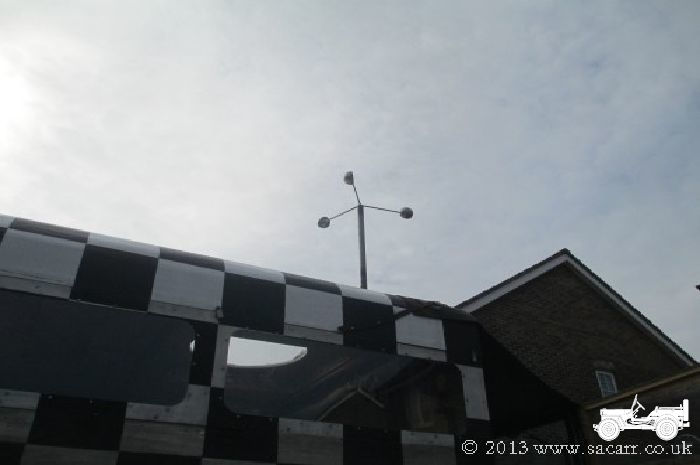
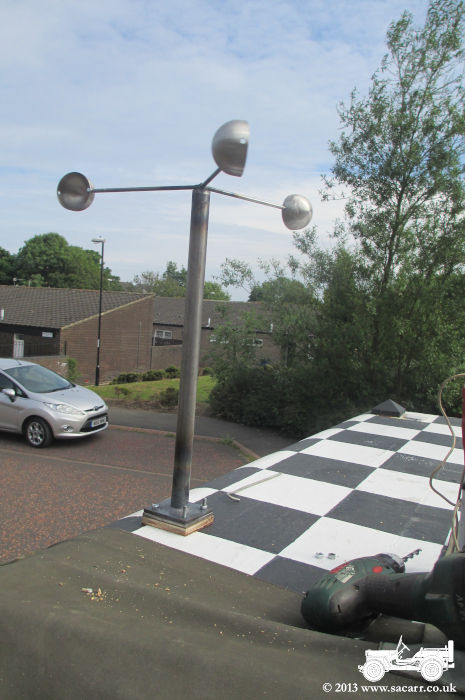
The anemometer almost complete, and just
needing painting and connecting up to the instrument on the meteorological
panel.
|
|
|
| The bottom of the mast protrudes through the truck roof and will have a connection to the instruments. | |
|
|