| May 29th - Door Manufacture | |
|
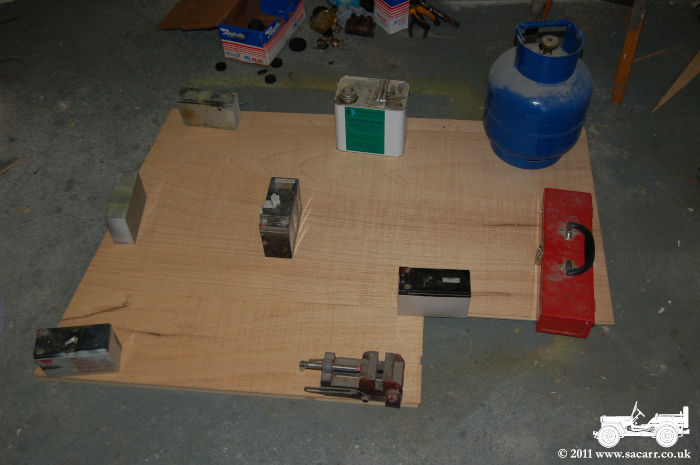
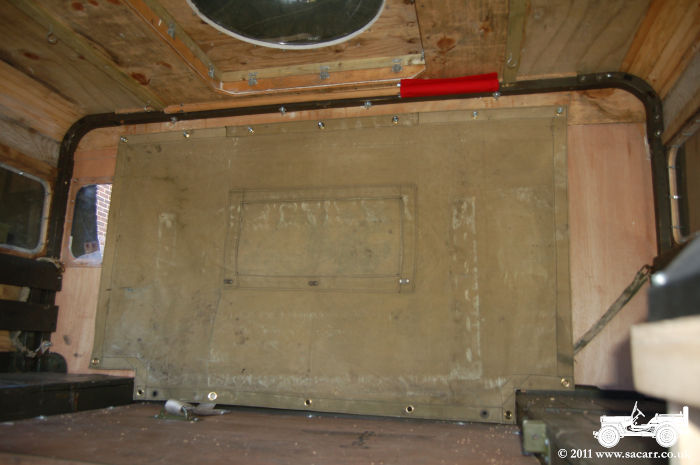
I've started making the doors for the Dodge,
following similar lines to the Norwegian doors which are too small. The first
picture shows the right side door, weighted down while the framing dries. The
bottom of the door is to the right of the picture, with the cut out to clear
the body where the Jerry can bracket was fitted.
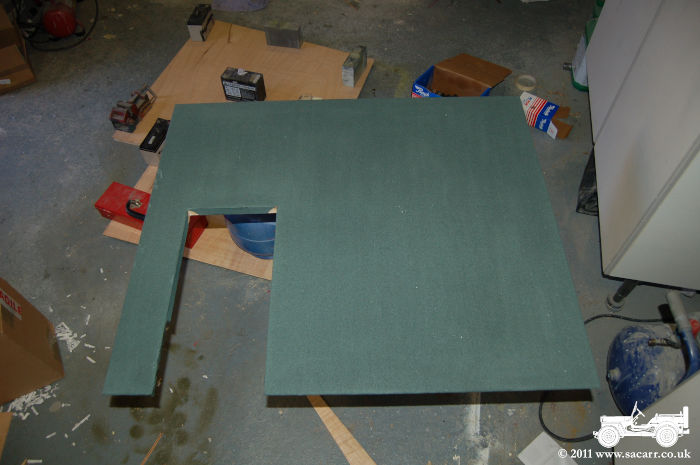
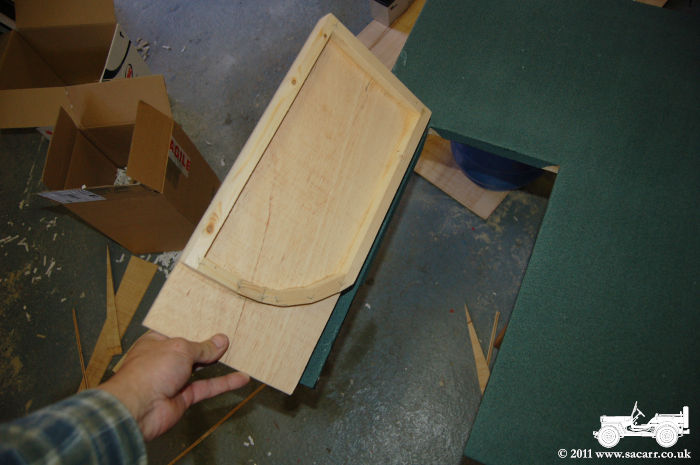
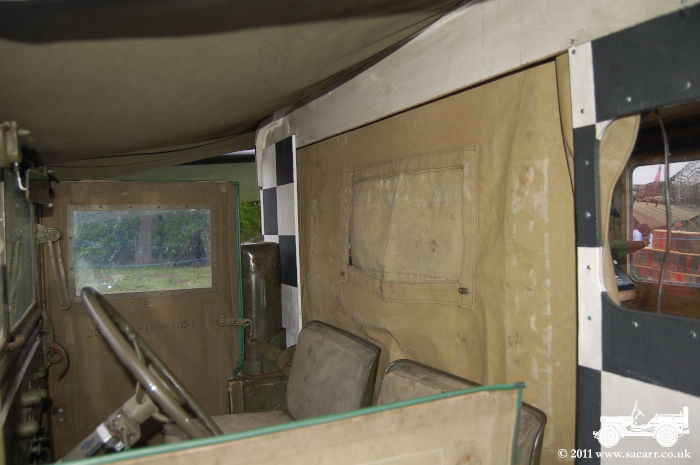
The second picture shows the bottom half of the two part drivers side door. The cut out in this door will have a smaller door in it, which will open to clear the spare wheel bracket as the main door opens. This small door can be seen in picture three. I didn't want the doors to be wood painted checkered, as I quite like the look of the current doors, so decided a canvas finish was the way to go. The door is covered in a thin canvas, stapled onto the frame, and then glued down with dilute PVA glue. This will be painted a more appropriate canvas colour once the doors are complete. |
|
|
|
| Picture four shows the top of the drivers side door, with the canvas stretched over and glued in place. The window opening has already been cut out of the wood. Once dry, the canvas will be cut out of the window area, and glazing fitted. | |
|

|
| May 27th - Brakes Refit |
|
|
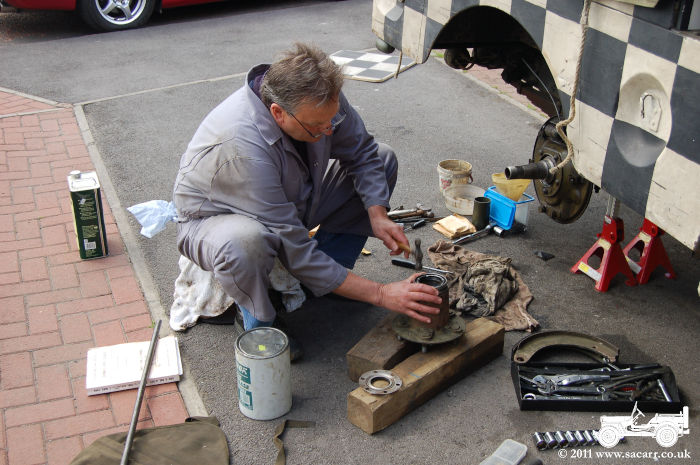
Today, Mike came back with the skimmed
front brake drum to assist with the re-fit and adjustment of the brakes. The
re-lined shoes were picked up last week. The bonded on lining giving more use
out of the shoes than the riveted originals.
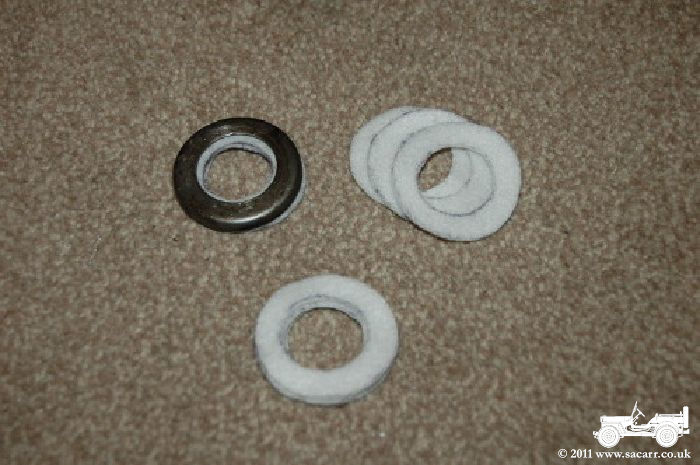
We suspected that last time, the wheel cylinder seals had been slightly scored by over compression when fitting the spring to the shoes. With new seals fitted, the cams were adjusted to prevent the shoes being forced in too far, then the shoes and springs were fitted before the brake pipe bolt was screwed into the cylinder, in case the end of the bolt caused the damage. New felt washers were cut to replace the dried out hard and brittle originals at the bottom pivot of the shoes. I couldn't find felt the correct thickness, so three layers of thinner felt was used. After much fiddling and adjusting of the shoes and master cylinder linkage, we think we've got it working without any binding. A short road test seemed ok, but I'll monitor everything on the next long run. |
|
|
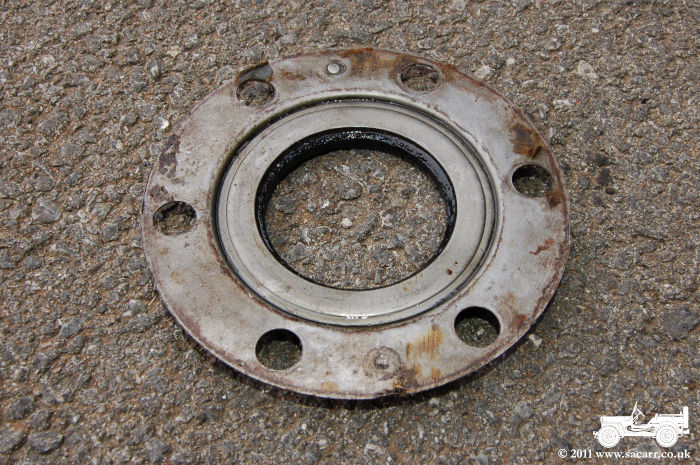
Also shown below is the old rear axle oil seals, The poor condition of the rubber seals can be seen in these photos. |
|
|
|
|
| May 14th - Rear Axle Oil Seal and Cab Canvas |
|
|
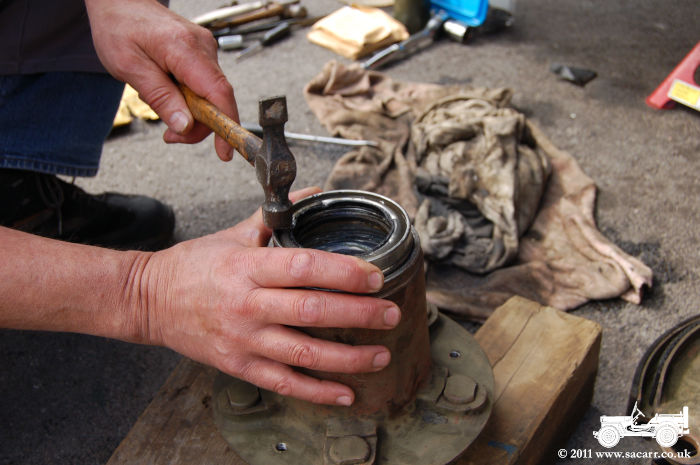
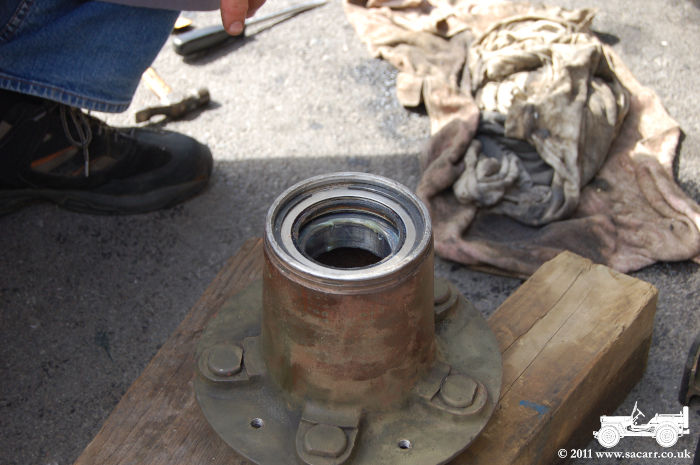
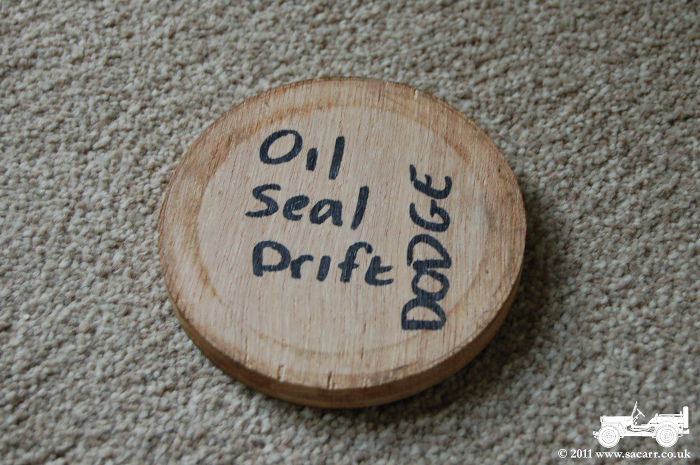
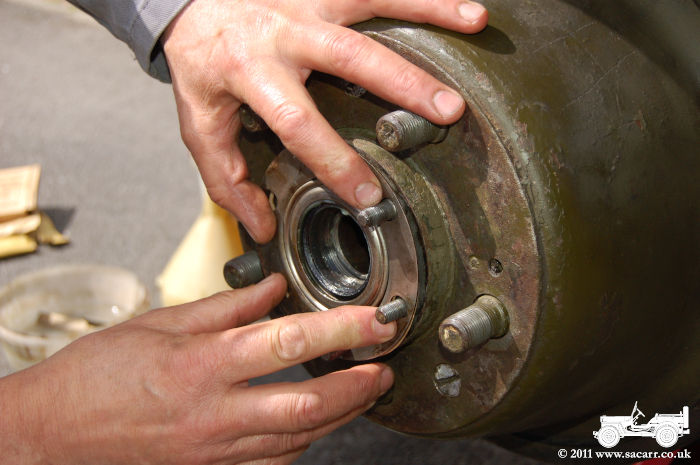
While at the Wheels & Wings show at the weekend, I noticed the rear axle oil seal on the right side was leaking badly, so ordered spares for both sides when I got home. The parts came mid week, so today Mike and myself got on with the job of changing the leaking one. Because rain was forecast, we just got the leaking one changed. It did however go very easily. After using the old seal as a drift to get the seal started into the hole, I made a 1/2 inch ply drift so it could be knocked all the way in without risk of damage. From the marks on the old seal, it appears it was knocked in with a screwdriver. The front left hub was also removed as that is slightly oval and has been binding. That has gone away to be skimmed, and the front four shoes have been removed to be relined. |
|
|
|
|
|
|
|
|
Later in the day I got some bolts from B&Q and got the canvas fitted to the rear body. I just need some footman loops and straps now to roll it and tie it up out of the way for driving. |
|
|
|
|
| May 7th - Cab Rear Canvas |
|
|
While at the Wheels & Wings show at the
weekend, I picked up the modified GMC canvas that a friend altered to fit the
Dodges modified rear body. For the weekend it was hung from the red warning
flag clips, but will have some proper fixings added soon. |
|
|
|
|
| May 2nd - Radio Installation Continued |
|
|
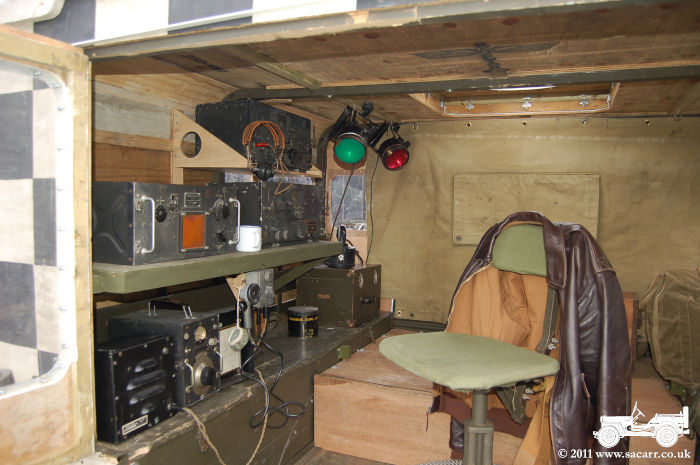
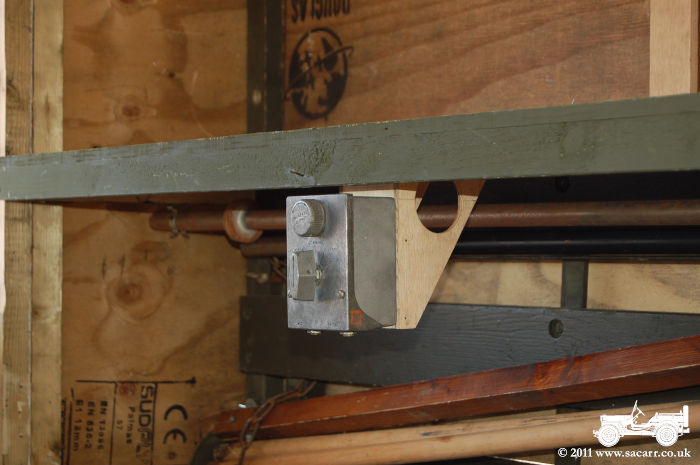
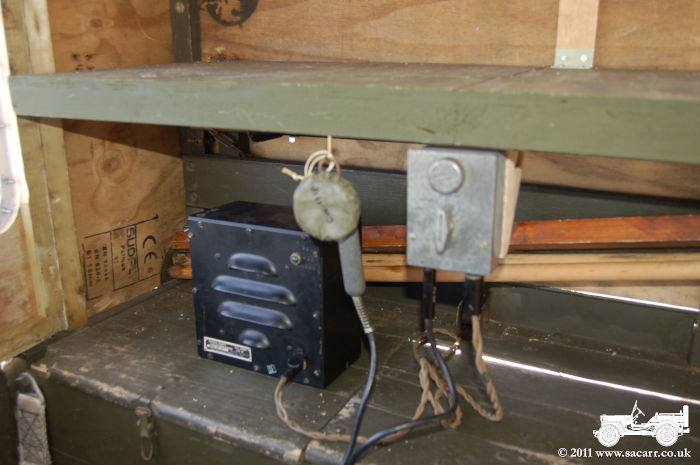
Now that the new radio tray is installed, I've
moved on to other parts of the installation. The BC-366 switchbox has now been
mounted on a bracket under the radio table. To the left, a hook has been fitted
for hanging the T-17 Microphone. A cable has also been made to connect the
'Phones' socket of the switchbox to the LS-3 Loudspeaker input jack. With the
Wheels & Wings event shortly, I'll be getting some photos of the whole set
up. |
|
|
|
|