Sept 23rd - Anemometer, Instruments and Stencil |
| I
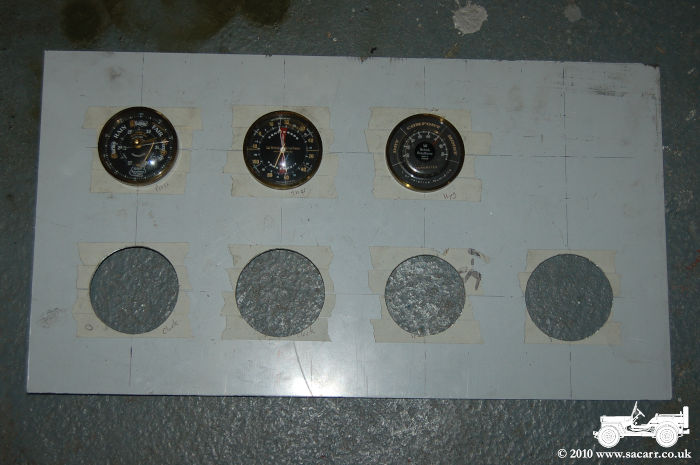
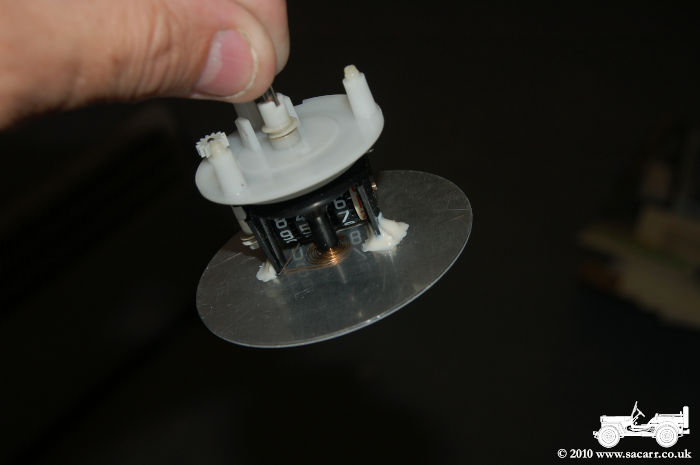
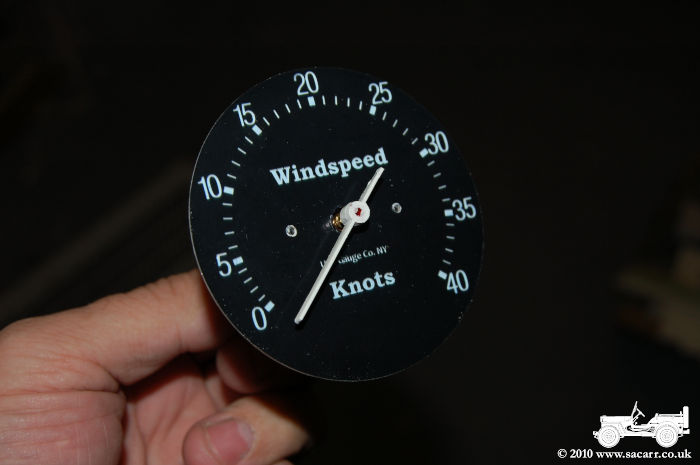
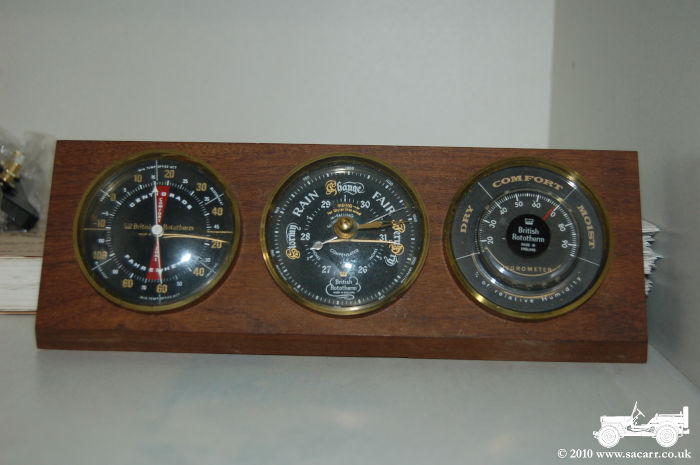
finally got hold of a bicycle speedometer to convert into an Anemometer.
The original dial was scanned, and the coloured sections and
inappropriate text were removed. A new dial was then printed out and
attached with double sided tape. The pointer was also resprayed white
from the original red plastic.
|
|
|
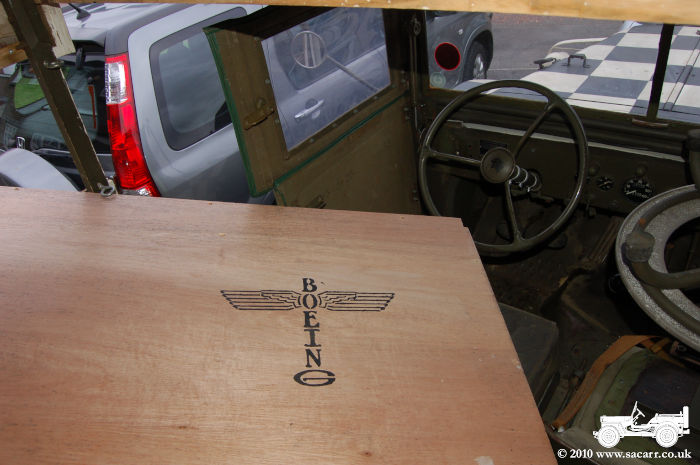
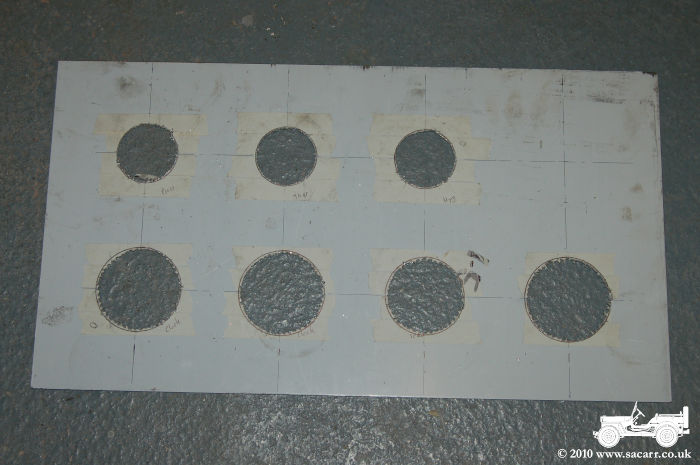
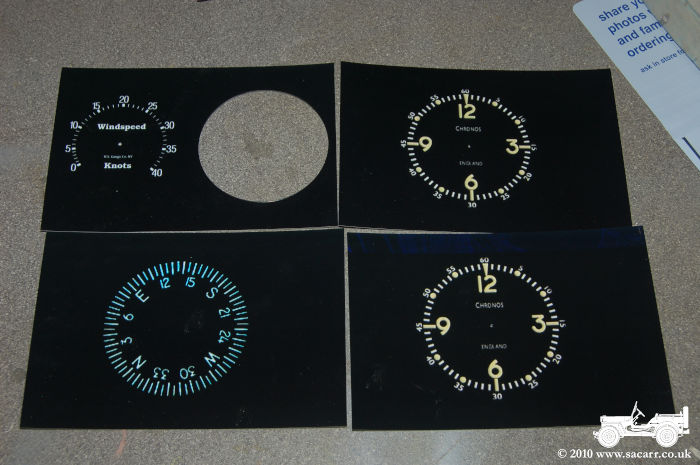
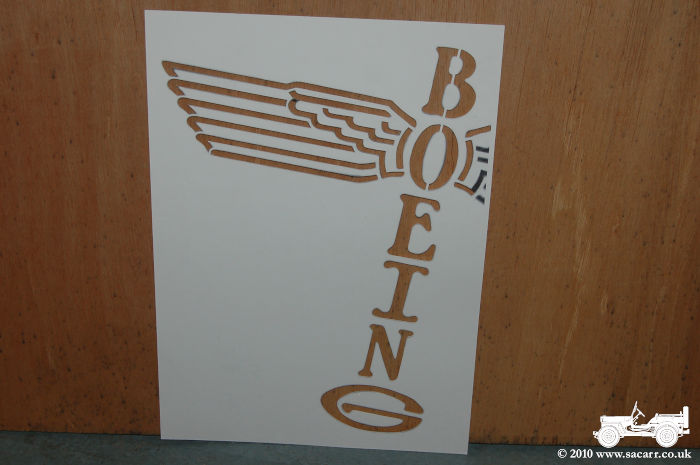
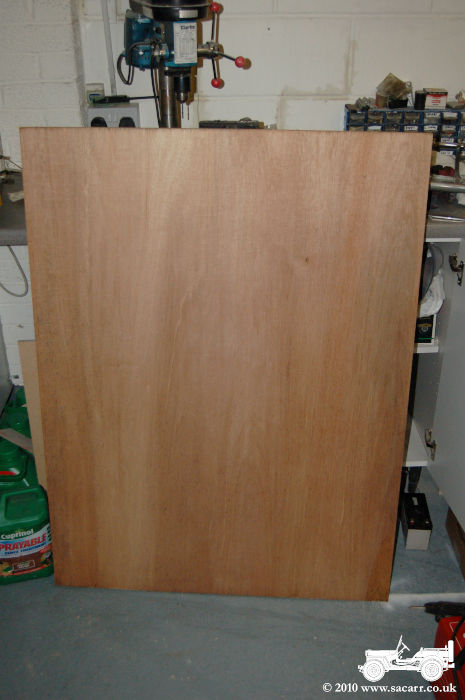
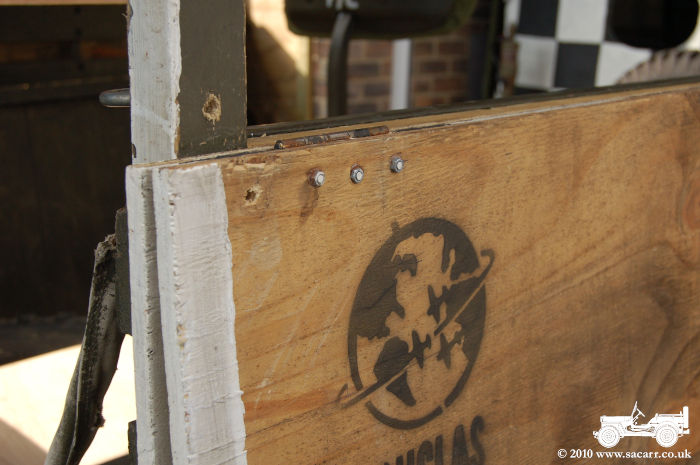
| Below
left are the dial faces for the weather vane instrument and the two
clocks. Below right is the card stencil to use on the floor of the truck
to make it look like a recycled packing crate.
|
|
|
Sept 20th - The Elevated Floor and other odd jobs. |
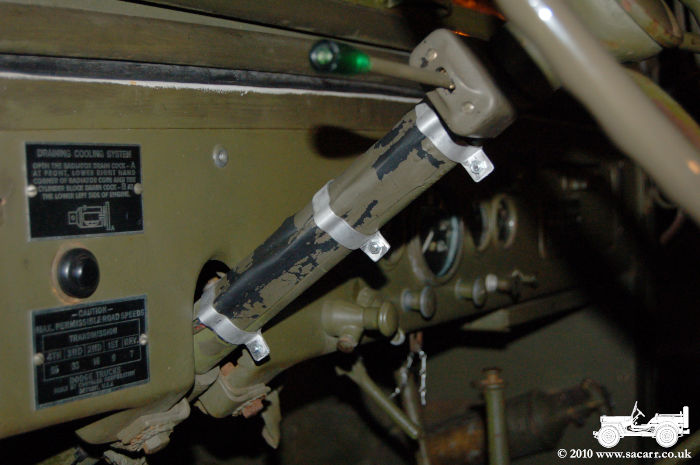
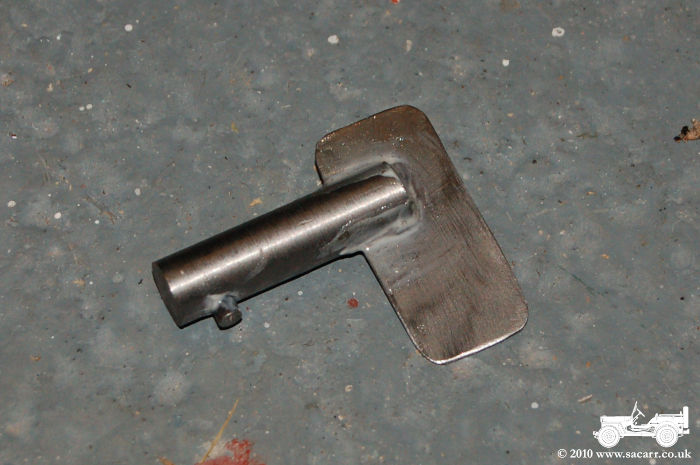
| Dad
was up for the weekend, so I set him to work making some new cable
straps for the indicator wires and a spare battery isolator switch key.
The indicator wires were under some 2 inch wide tape, but with age and
sunlight, it was no longer sticking. The new straps are clamped around
the tape for now, but I would like to find a tube to feed the wires down
and use the clamps to hold the tube in place.
|
|
|
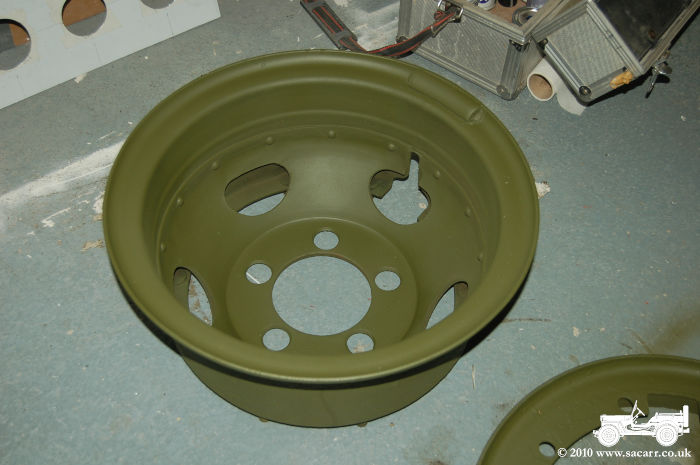
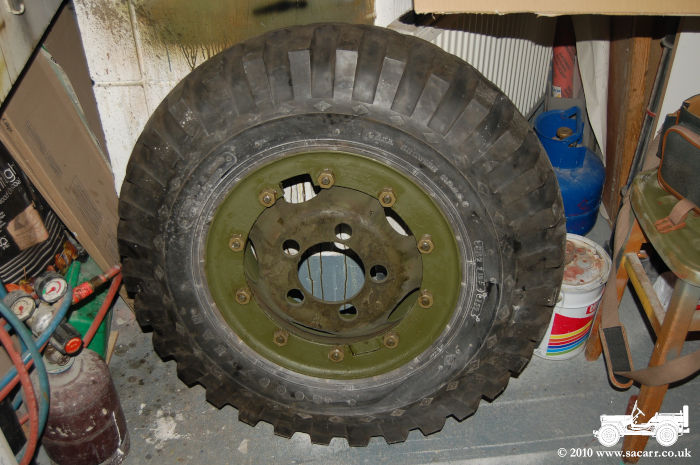
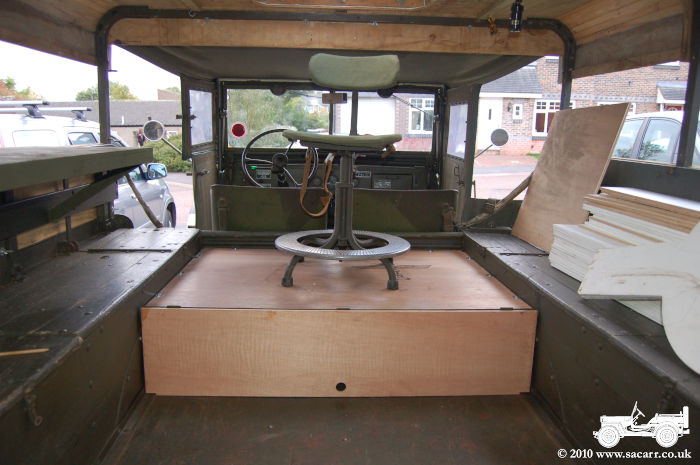
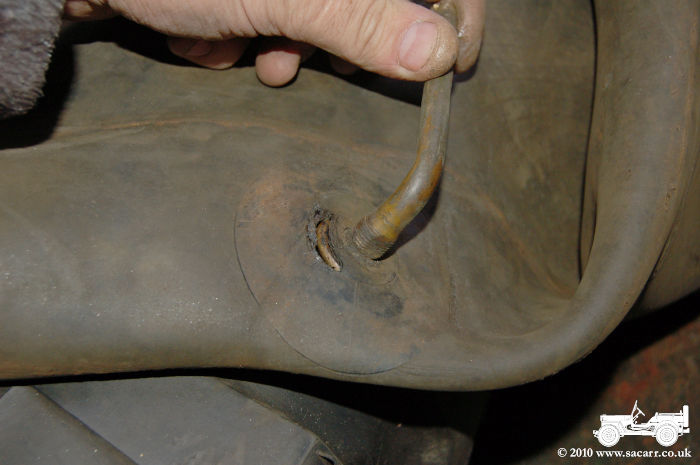
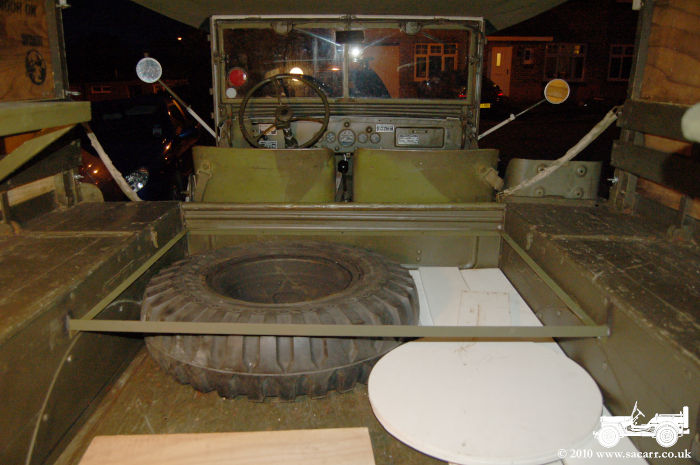
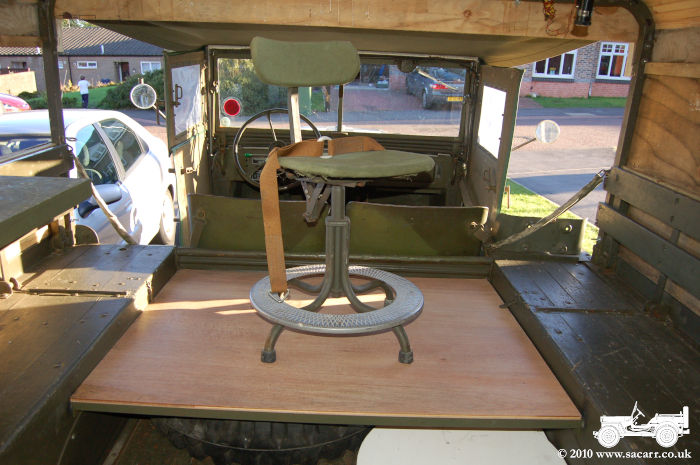
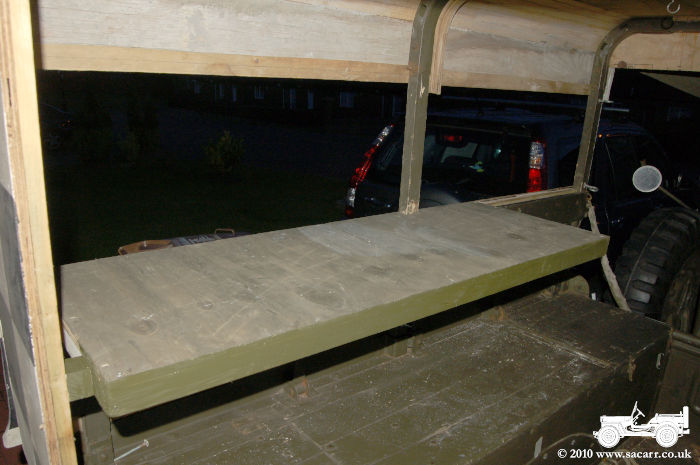
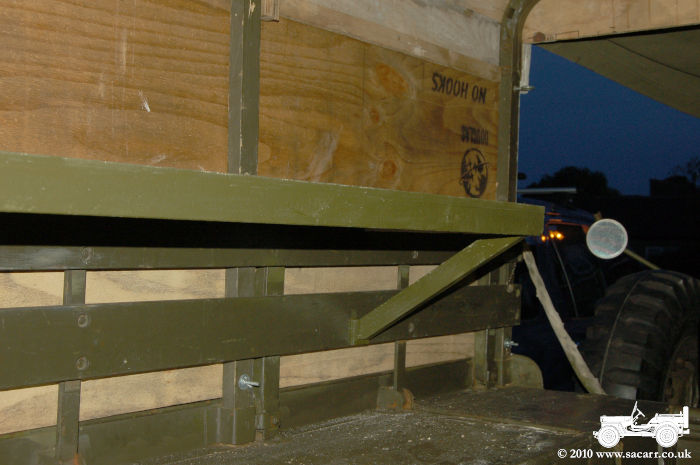
The
raised floor in the rear body sits on a 1 inch angle steel frame and
serves a couple of purposes. Firstly, lifting the floor puts the seat at
the correct height for the astro-dome. It also creates a storage space
beneath, where the spare wheel will now live, as airfield vehicles often
didn't carry spare wheels. Moving the wheel and removing the bracket
gives better entry to the vehicle on the drivers side, and will allow a
full door to be made at some point in the future.
|
| The
current Norwegian doors aren't big enough to fill the whole open area,
and while the drivers side door is split into top and bottom sections,
the bottom couldn't open because of the spare wheel. I will also be
fitting a 12 volt battery under the floor to power the aldis lamps and
other 12v accessories.
|
|
|
Sept 17th - Further work on the Weather Vane and Warning Flag
completed |
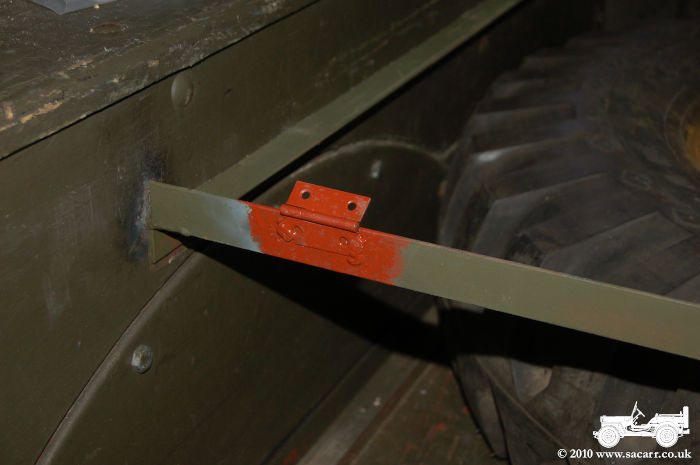
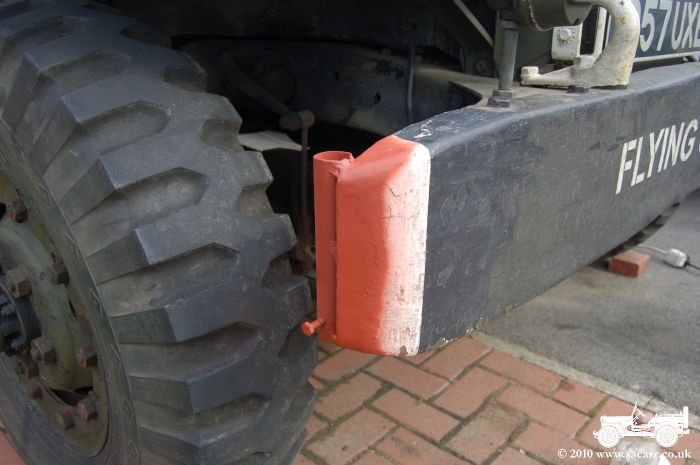
| The
flagstaff mount was welded to the bumper, red oxide primed, then painted
white. Once dry, it was dirtied down with an oily rag so it matched the
other side.
|
|
|
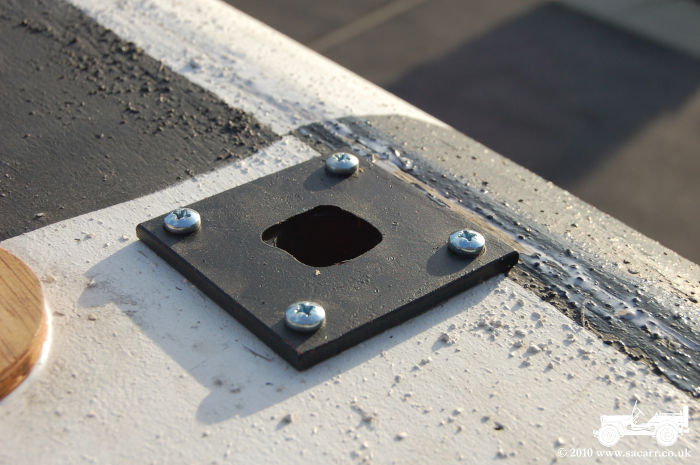
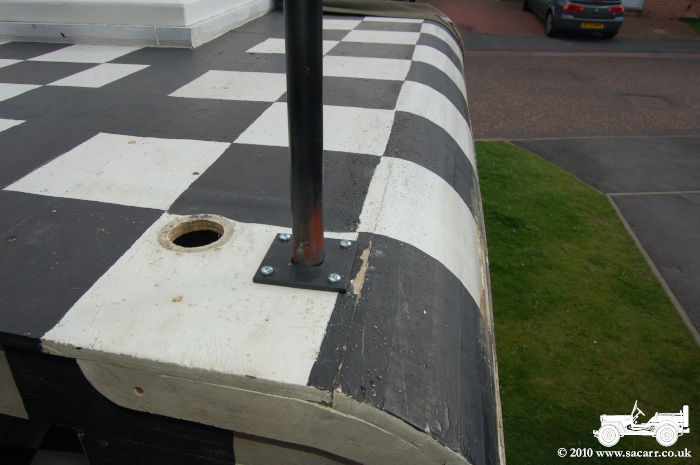
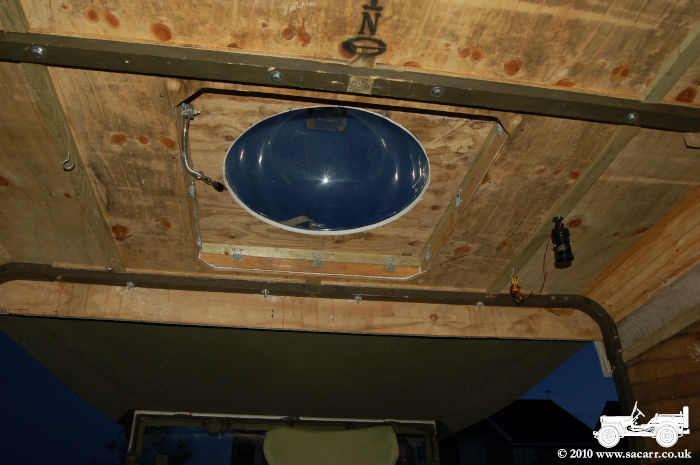
| The
next step on the weather vane was to prime and paint the weather vane
mast mount. A hole was cut into the roof and the mount bolted on. I
really would have preferred slotted bolts, but had nothing to hand, but
they can't be seen on the roof. The first two pictures below show the
mount from above and below.
|
|
|
|
|
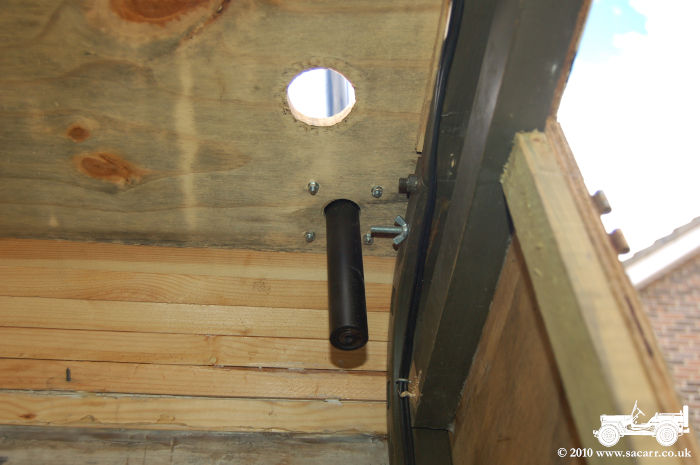
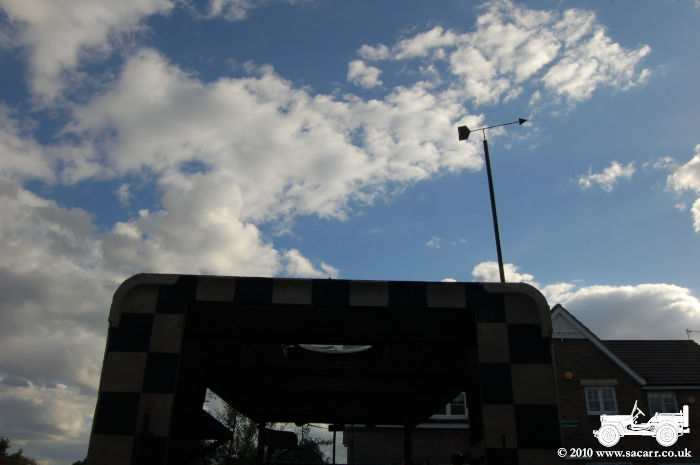
| The
mast just slots into the mount allowing the upper and lower drive rod to
slot together. Fitting the lower rod and instrument panel will be the
next job in getting this all working.
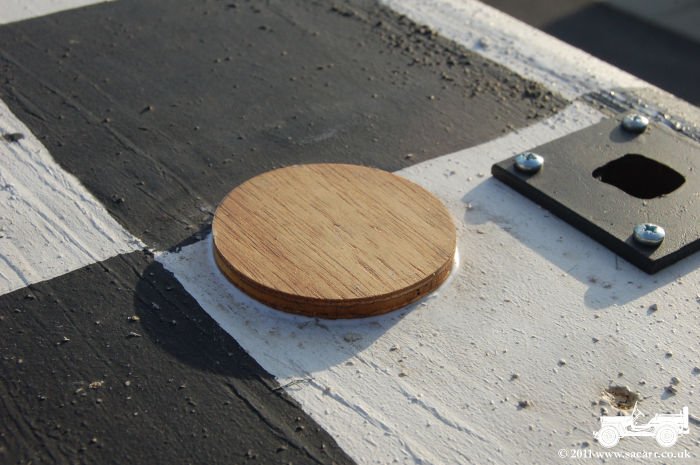
The existing hole in the roof where
an aerial had been mounted was covered over with a ply disc.
Also fitted today was a battery
isolator switch. This allows me to turn off all power when parked up and
immobilise the truck.
|
|
Sept 14th - Further work on the Weather Vane and Warning Flag |
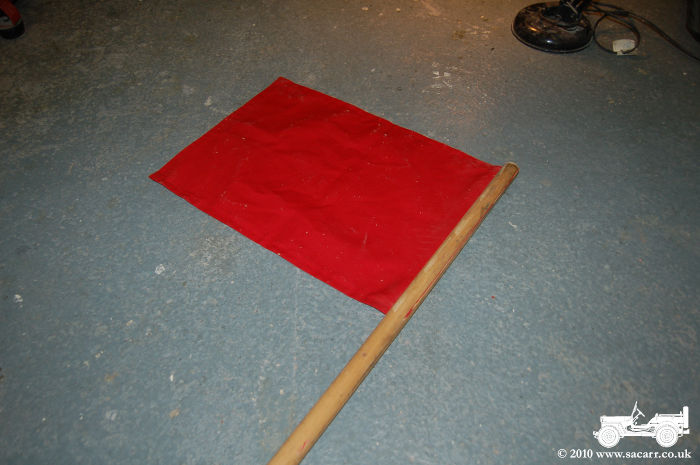
After
work today, I spent a few more hours working on the Dodge parts. Below
is the mount for the flagstaff. This will be welded to the front bumper
with the bolt passing through the wooden flag pole to retain the flag.
|
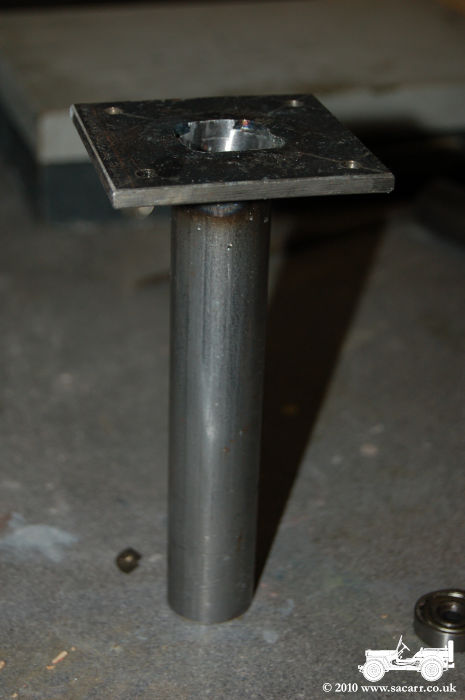
The
main support tube for the weather vane sits in a larger diameter tube
which will be bolted to the truck roof. The drive rod from the
instrument is supported by a slightly larger bearing to fit this tube,
but I couldn't get one with a 6mm hole, so had to machine another two
bushes.
|
|
 |
| The
vane mast will be removeable from this larger tube socket so the shaft
from the vane to the instrument needs to be split. A half lap joint will
key the two rods together while a brass tube over the rod assists with
the alignment.
|
|
|
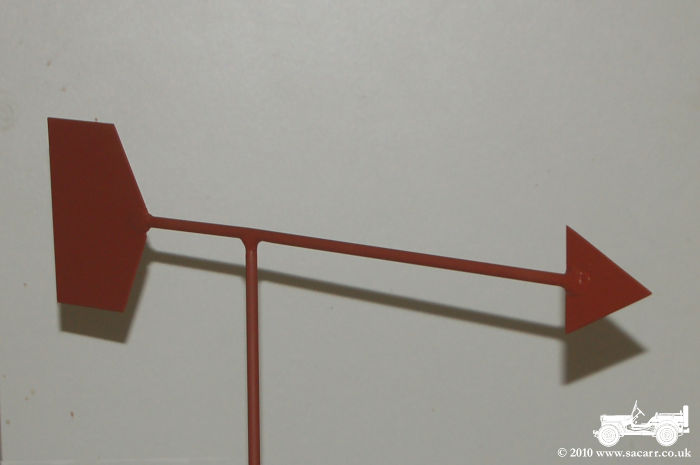
| Below,
the weather vane and main support tube were primed in red oxide followed
by a sprayed black. The brass tube spacer has yet to be painted. The
back of the arrow has been drilled for the windsock mount.
To the right is the ceiling mount
for the weather vane mast. The flat plate will bolt to the ceiling of
the truck body with the instrument drive shaft extending down to the
panel.

|
 |
Sept 13th - Weather Vane, Warning Flag and Meteorological Station |
| Another
busy day today, although not all building work. I spent the first part
of the morning working out material sizes for the metal I needed for a
number of jobs on the Dodge. A trip to a local bearings supplier
followed and then a trip to the metal supplier to discuss my
requirements and place an order.
It was raining all day, so the job
list would have to be stuff I could do mostly indoors, although I did
get the Norwegian canvas doors fitted. They are a bit short, but will do
for now to help keep the rain out while in storage.
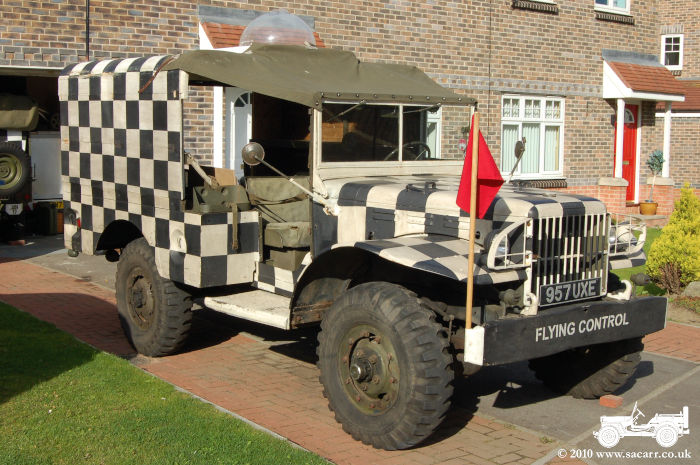
I got the 'Flightline Vehicle'
warning flag made from the front of the Dodge, but have yet to make the
mounting bracket. Next job was the cutting and welding of the weather
vane parts for the meteorological station.
|
 |
 |
 |
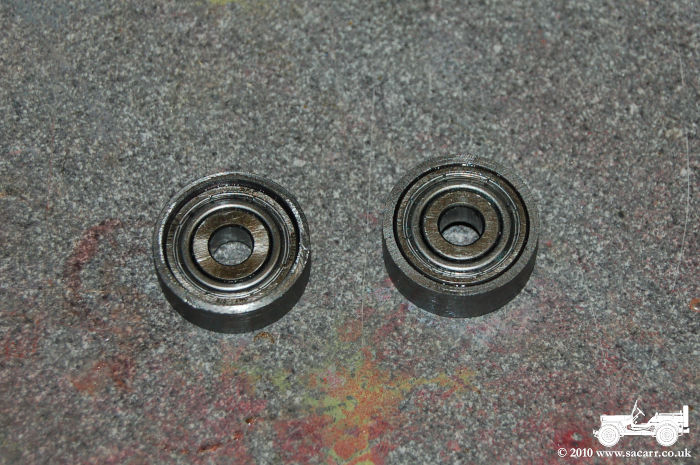
| A
windsock will be mounted on the trailing edge of the vane and it will
drive a wind direction indicator inside the truck. The thin spindle
rides in bearings which fit into a larger steel tube, however I could
get bearings exactly the right size so had to machine a small collar to
fit around the outside of the bearing and take up the space. The
Meteorological instruments will be removed from this wooden board and
mounted into a custom panel, which includes clocks, wind speed and wind
direction. |
 |
 |
Sept 12th - Radio Table and other Minor Jobs
After
a day at the NE Aircraft Museum, I came home and got started on some of
the jobs. The new radio table was made using the original ply bench that
Rupert made, but with new strip wood supports. It is only screwed in so
can be removed if necessary.
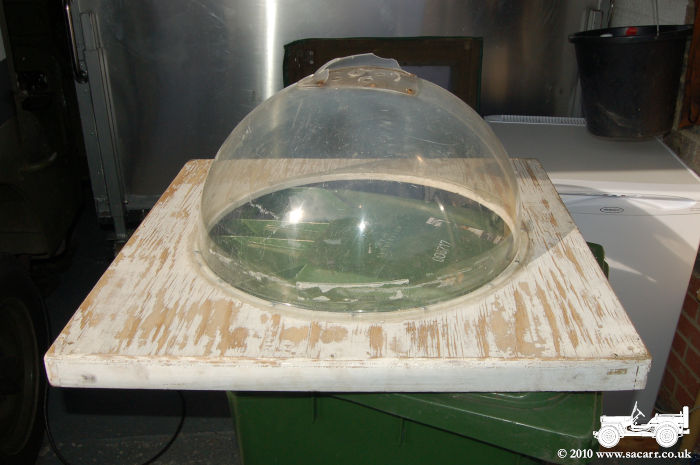
While at the aircraft museum, the
astro dome was given a good polish inside and out with T-Cut. It is now
much more clear, but still has numerous scratches. These will have to be
rubbed out with fine wet and dry paper before re-polishing with the
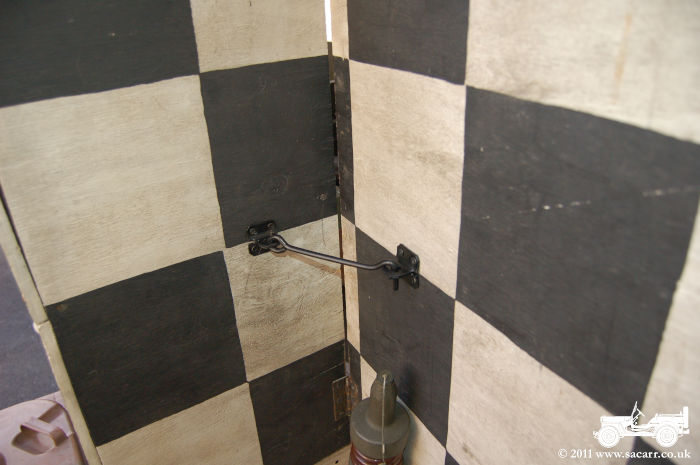
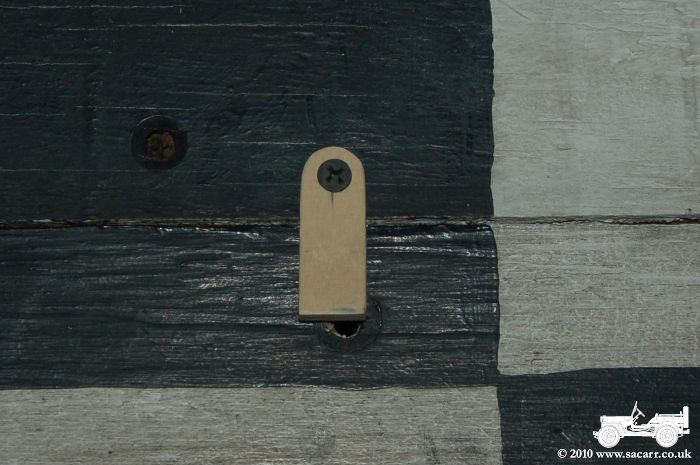
T-Cut. Six small ply latches were made and screwed to the sides just
above the opening side panels. These now latch the sides securely in the
closed position. A ply disc was also cut to be glued over a hole in the
roof that formerly had an aerial mounted there.
|
 |
 |
 |
 |
Sept 5th - Minor Works |
| I didn't
want to get into any heavy maintenance as I was still tired from the
long drive the day before, so the day was spent doing little jobs. The
wood on the dome hatch was splitting and de-laminating a bit, so dad
rubbed that down and sealed it with three coats of dilute PVA glue. It
will be repainted once fully dry.
The engine oil level was checked and
topped up and the water pump greased as I didn't know when that was last
done.
There were several small bolts
around the truck which were over length. The ones on the cab straps were
going to end up puncturing the roof canvas when that was used as an
additional rain cover. They were all cut down and filed smooth. |
 |
 |
 |
| Since
the truck is likely to be kept outside for a few weeks until barn space
becomes available, the seats and roof canvas were painted with Nikwax to
further waterproof them. It took a while to paint the canvas working the
Nikwax into the weave of the fabric, and the one litre bottle was only
just enough.
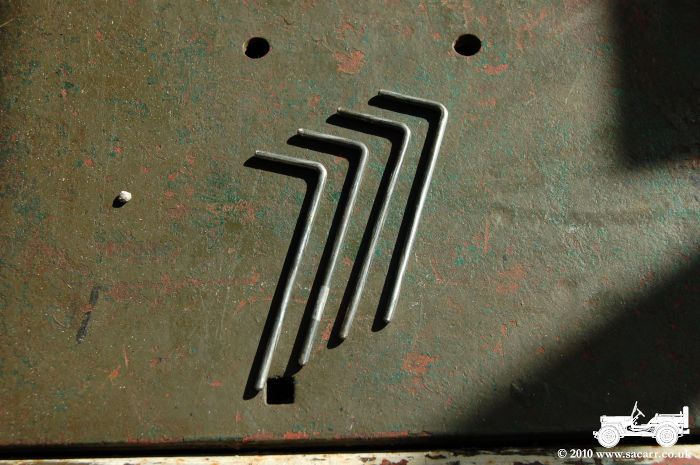
Last job of the day was to make some
new hinge pins for the rear doors. Rupert had used some bent nails, but
because of the nail heads, they had to be fitted from the outside. The
new L shaped piano wire pins can have the L trapped between the door and
hinge post when the doors are closed preventing them from being
removed. |
 |